

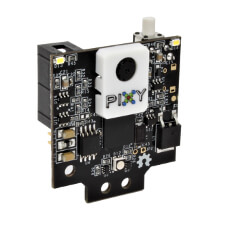
The Pixy2 camera is a computer-aided visual recognition system. It allows your microcontroller to detect colors or lines to create a line-following robot for example or to catch colored objects.
Material
- Computer
- Arduino UNO, Mega or Nano
- USB cable A Male/B Male
- Pixy2 camera
Operating principle
The Pixy2 camera is a complete vision system with an image sensor and a microprocessor. It includes learning algorithms and detection of colour, line, intersection and small barcode. It includes all the technology necessary for visual recognition.
Technical specifications
- Processor: NXP LPC4330, 204 MHz, dual core
- Image Sensor: Aptina MT9M114, 1296×976 resolution with integrated image stream processor
- Power consumption: 140 mA typical
- Power consumption: USB input (5V) or unregulated input (6V to 10V)
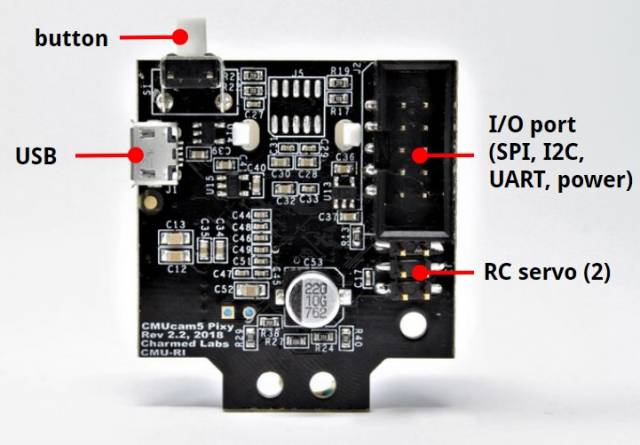
- Available data: UART serial, SPI, I2C, USB, digital, analog
- Dimensions: 38.1 x 41.91 x 15.24mm
- Weight: 10g


Scheme
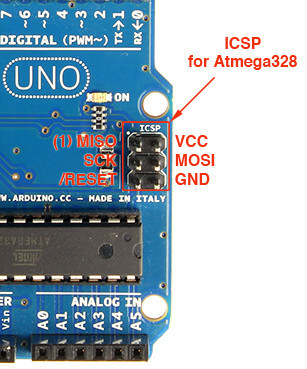
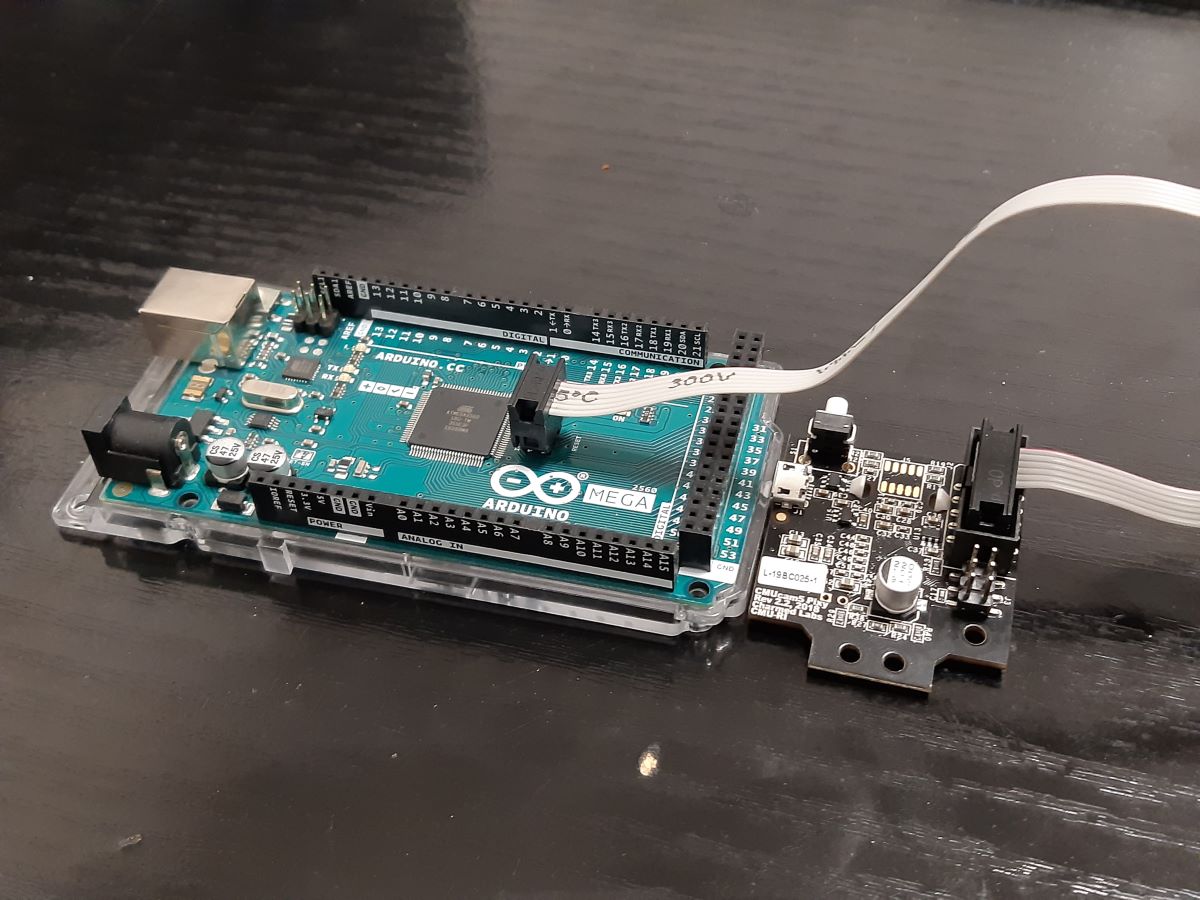
The Pixy2 camera can easily communicate with a microcontroller using its communication interfaces (UART, SPI, I2C, USB). It connects to the ICSP port of the Arduino board.


Configuration of the Pixy2 camera
Download pixymon software
Open the PixyMon v2 software

Learning to recognize
Before being able to use the Pixy2, we will have to teach it to recognize the objects we are interested in and assign them a signature (identifier). It is possible to save up to 7 signatures.
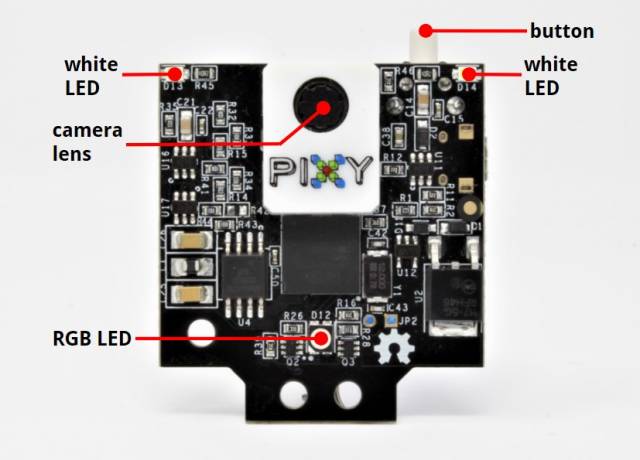
- press the button on top of the camera until the LED turns red then release.
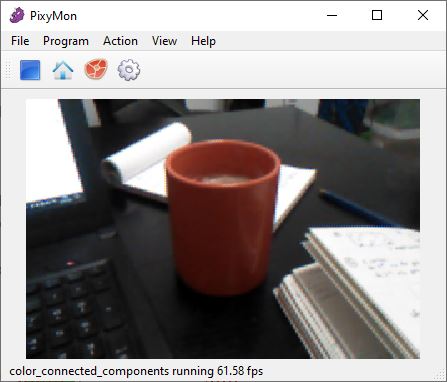
- place an object in front of the camera

- press the button again to save the object
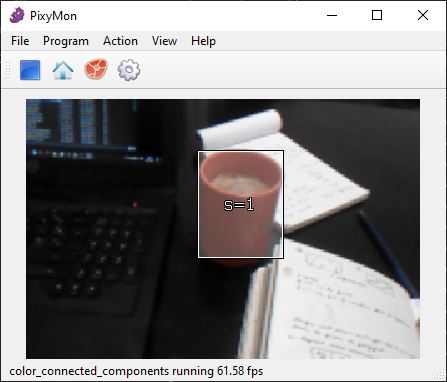
Once the learning is done, we can see that the object is surrounded by a rectangle with the signature written in its center.
If you have problems to recognize the learned object it is possible to configure the sensitivity of recognition in the settings – go to file -> configure under the tuning tab and play with the settings to get the desired result.
Some objects are not easily recognizable. Try to find objects with particular shapes and bright, distinct colors.
Code
Install the Arduino Pixy2 library. The most important function is getBlocks() which returns the number of detected blocks and information like their signatures (identifier after learning) and dimensions.
//Libraries
#include <Pixy2.h>//https://github.com/charmedlabs/pixy2/raw/master/releases/arduino/arduino_pixy2-1.0.3.zip

//Variables
Pixy2 pixy;

void setup() {
  //Init Serial USB
  Serial.begin(9600);
  Serial.println(F("Initialize System"));
  //Init Pixy2
  pixy.init();
}

void loop() {
  testPixy();
}

void testPixy() { /* function testPixy */
  //// Get blocks from Pixy2
  // grab blocks!
  pixy.ccc.getBlocks();

  // If there are detect blocks, print them!
  if (pixy.ccc.numBlocks) {
    Serial.print("Detected ");
    Serial.println(pixy.ccc.numBlocks);
    for (int i = 0; i < pixy.ccc.numBlocks; i++) {
      Serial.print("  block ");
      Serial.print(i);
      Serial.print(": ");
      pixy.ccc.blocks[i].print();
    }
  }
}
If you encounter compilation problems, you can delete the zumobuzzzer and zumomotor files (.h and .cpp) in the Documents library folder\Arduino\libraries\Pixy2
Result
Once the code is uploaded, the camera sends messages to the Arduino as soon as the object appears in its field of view. You then have access to the signature of the object, its dimensions and its position.

Applications
- Make shape recognition or line tracking with Arduino
- Application Dobot
Sources
Retrouvez nos tutoriels et d’autres exemples dans notre générateur automatique de code
La Programmerie