

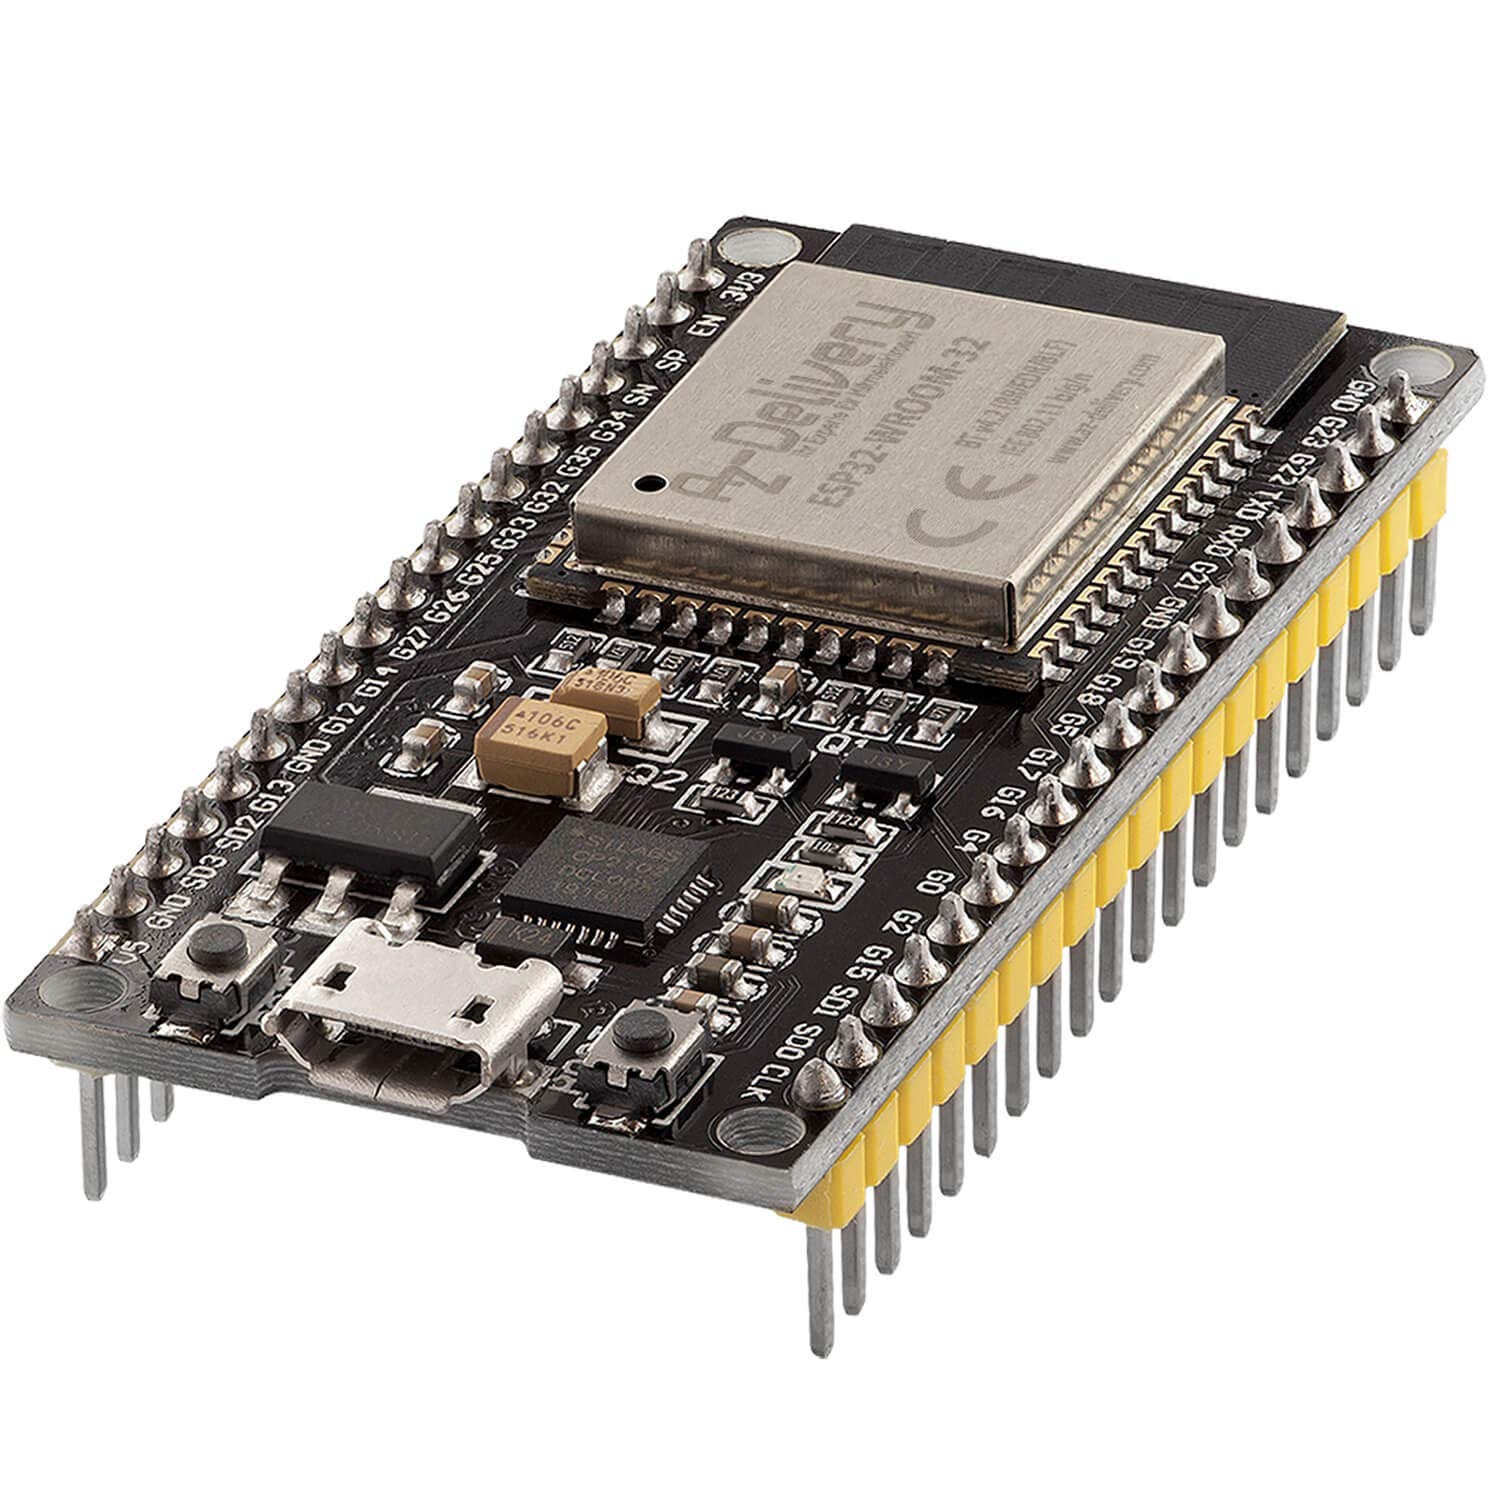
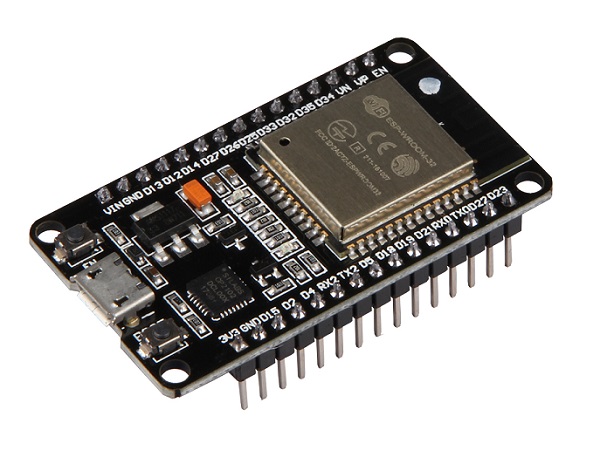
The NodeMCU ESP32 is a microcontroller with integrated Wifi and Bluetooth modules. Very easy to use, it is lightweight and has a memory and computing capacity greater than that of the Arduino. This makes it an ideal board for learning programming, developing connected objects or server.
The basics to create connected objects is to connect them to a network such as WiFi. The WiFi transmitter and antenna integrated in the microcontroller allows connection to the Internet. Thanks to this, it is possible to create a server that hosts a web interface to control the ESP32 microcontroller remotely.
Prerequisites: Programming a NodeMCU with the Arduino IDE.

Hardware
- Computer
- NodeMCU ESP32
- USB cable A Male/Micro B Male
Principle of operation
The NodeMCU ESP32 board uses the ESP-WROOM-32 module containing a dual-core microprocessor operating at 32bits. It integrates a WiFi transceiver which allows it to connect to existing networks or to set up its own network.
NodeMCU ESP32 Schematics
The NodeMCU ESP32 microcontroller has 48 GPIOs of which 25 are available on the pins. On these 25 pins:
- 15 can be used for analogue inputs
- 25 can be used as PWM outputs
- 9 as capacitive sensors
- Some are reserved for serial communication protocols (SPI, I2C, Serial).
The NodeMCU ESP32 card has a WiFi interface. Therefore it does not require any additional components to connect to the internet.

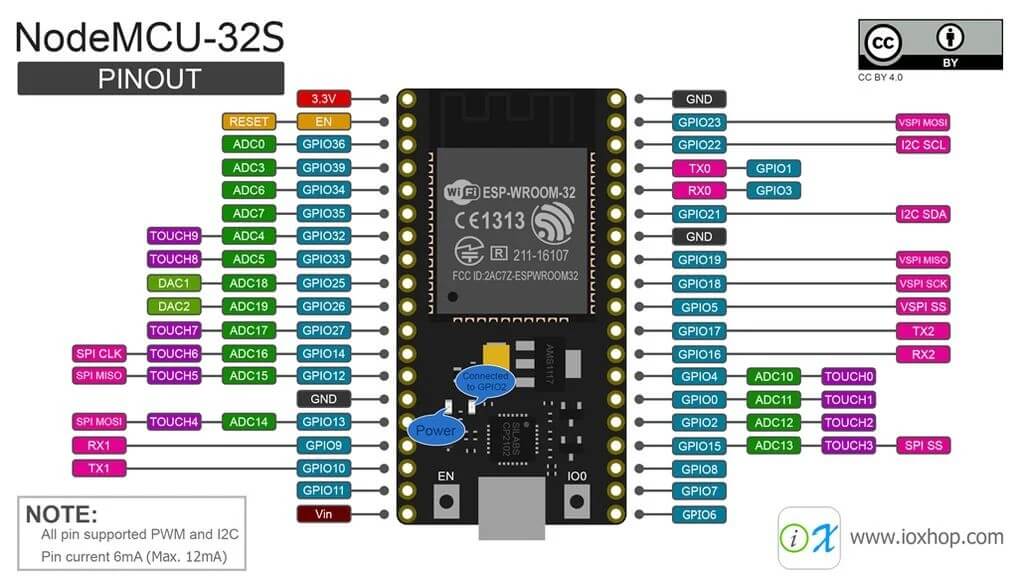
N.B.: There are several versions of NodeMCU. Before connecting components to your board or programming the microcontroller, be sure to check the version and pinout.
Code
In order to use the NodeMCU ESP32 card, we first need to install the card manager by adding the address https://dl.espressif.com/dl/package_esp32_index.json in the arduino IDE preferences. Then, to communicate over the network, we need to use a special protocol. This protocol is included in all the libraries related to WiFi communication.
- The WiFi module must be connected to the network
- define a server
- define a client
In the Arduino IDE, the library that allows us to manage the WiFi transceiver is the WiFi.h library.
//Libraries
#include <WiFi.h>//https://www.arduino.cc/en/Reference/WiFi

//Constants
#define LED 2

//Parameters
String request ;
char* ssid  = "********";
char* password  = "********";
String nom  = "ESP32";

//Objects
WiFiServer server(80);
WiFiClient client;

void setup(){
//Init Serial USB
Serial.begin(9600);
Serial.println(F("Initialize System"));
//Init ESP32Wifi
  Serial.print("Connecting to ");Serial.println(ssid);
WiFi.begin(ssid, password);
  // Connect to Wifi network.
while (WiFi.status() != WL_CONNECTED)
{
  delay(500);Serial.print(F("."));
}
  server.begin();
  Serial.println();
  Serial.println(F("ESP32Wifi initialized"));
  Serial.print(F("IP Address: "));
  Serial.println(WiFi.localIP());
pinMode(LED,OUTPUT);
}

void loop(){
WiFiClient client = server.available();
  if (client) {
    while(client.connected()){
      if (client.available()) {
        String request = client.readStringUntil('\r');
        Serial.println(request);
        handleRequest(request);
      }
      webpage(client);//Return webpage
      break;
    }
    client.stop();
  }
 }

void handleRequest(String request){/* function handleRequest */
////Handle web client request
String pwmCmd;
//Digital Ouputs
if (request.indexOf("/dig0on") > 0){
                digitalWrite(LED, HIGH);
          }
          if (request.indexOf("/dig0off") >0) {
                digitalWrite(LED, LOW);
          }
}

void webpage(WiFiClient client){/* function webpage */
////Send webpage to client
client.println("HTTP/1.1 200 OK");
client.println("Content-Type: text/html");
client.println("");
client.println("<!DOCTYPE HTML>");
client.println("<html>");
client.println("<head>");
client.println("<title> AranaCorp </title>");
client.println("<meta http-equiv='content-type' content='text/html; charset=UTF-8'>");
client.println("<meta name='apple-mobile-web-app-capable' content='yes' />");
client.println("<meta name='apple-mobile-web-app-status-bar-style' content='black-translucent' />");
client.println("<meta http-equiv='refresh' content='5'>");
client.println("</head>");
client.println("<body bgcolor = '#70706F'> ");
client.println("<hr/><hr>");
client.println("<h1 style='color : #3AAA35;'><center> AranaCorp - "+nom+" Web Controller </center></h1>");
client.println("<hr/><hr>");
client.println("<br><br>");
client.println("<br><br><h2> Analog Inputs/Ouputs </h2><center>");
client.println("  Pin G0");
client.println("  <input value="+String(analogRead(0))+" readonly></input>");
client.println("  </center><h2> Digital Pin states </h2><center><center>");
client.println("  LED Pin");
client.println("  <input value="+String(digitalRead(LED))+" readonly></input>");
client.println("  <a href='/dig0on'><button>Turn On </button></a>");
client.println("  <a href='/dig0off'><button>Turn Off </button></a><br /> ");
client.println("  </center><center>");
client.println("<table>");
client.println("<tr>");
if (digitalRead(LED)){
client.println("   <td>LED pin is HIGH</td>");
                 }else{
client.println("<td>LED pin is LOW</td>    ");
                }
client.println("</tr>");
client.println("</table></center></body></html>");
client.println();
}
Once the code has been loaded into ESP32, you should see the web interface appear after entering the IP address which is displayed on the serial monitor.
The following line of code allows the page to refresh every 5 seconds. This allows the data on the web page to be updated automatically.
client.println("<meta http-equiv='refresh' content='5'>");
N.B.: If this line causes problems or if you don’t need it, you can comment it out. There is another more efficient method that uses Ajax requests
Applications
- Internet of Things
- Using a web interface to control your microcontroller and store measures in a database