
We have seen in a previous tutorial how to create a component in Fritzing. Now we will see how to improve the design and the import of the model.
Material
Use Fritzing’s SVG files to compose your own
Rather than redrawing all the elements, it is possible to retrieve the images of the components from Fritzing and insert them into your design.
To do this, select the component in Fritzing then right click on the element and select “Edit (new parts editor)” as if to create a new component.

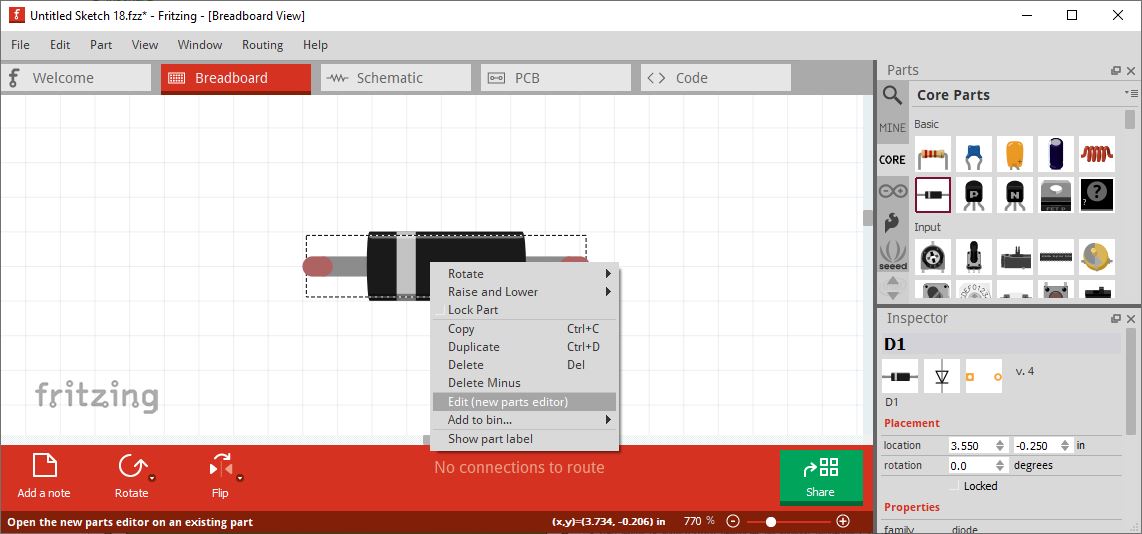
In the file menu, click on “Load image for view…”. You will then have access to the folder containing the SVG files of the Fritzing library.
C:\...\fritzing.0.9.3b.64.pc\fritzing-parts\svg\core\breadboardCopy the path to the file and copy it into an explorer. You can open the file and copy and paste the item into your file.

This will save you time and allow you to quickly get the right look.
Install the OCR-A font to display text
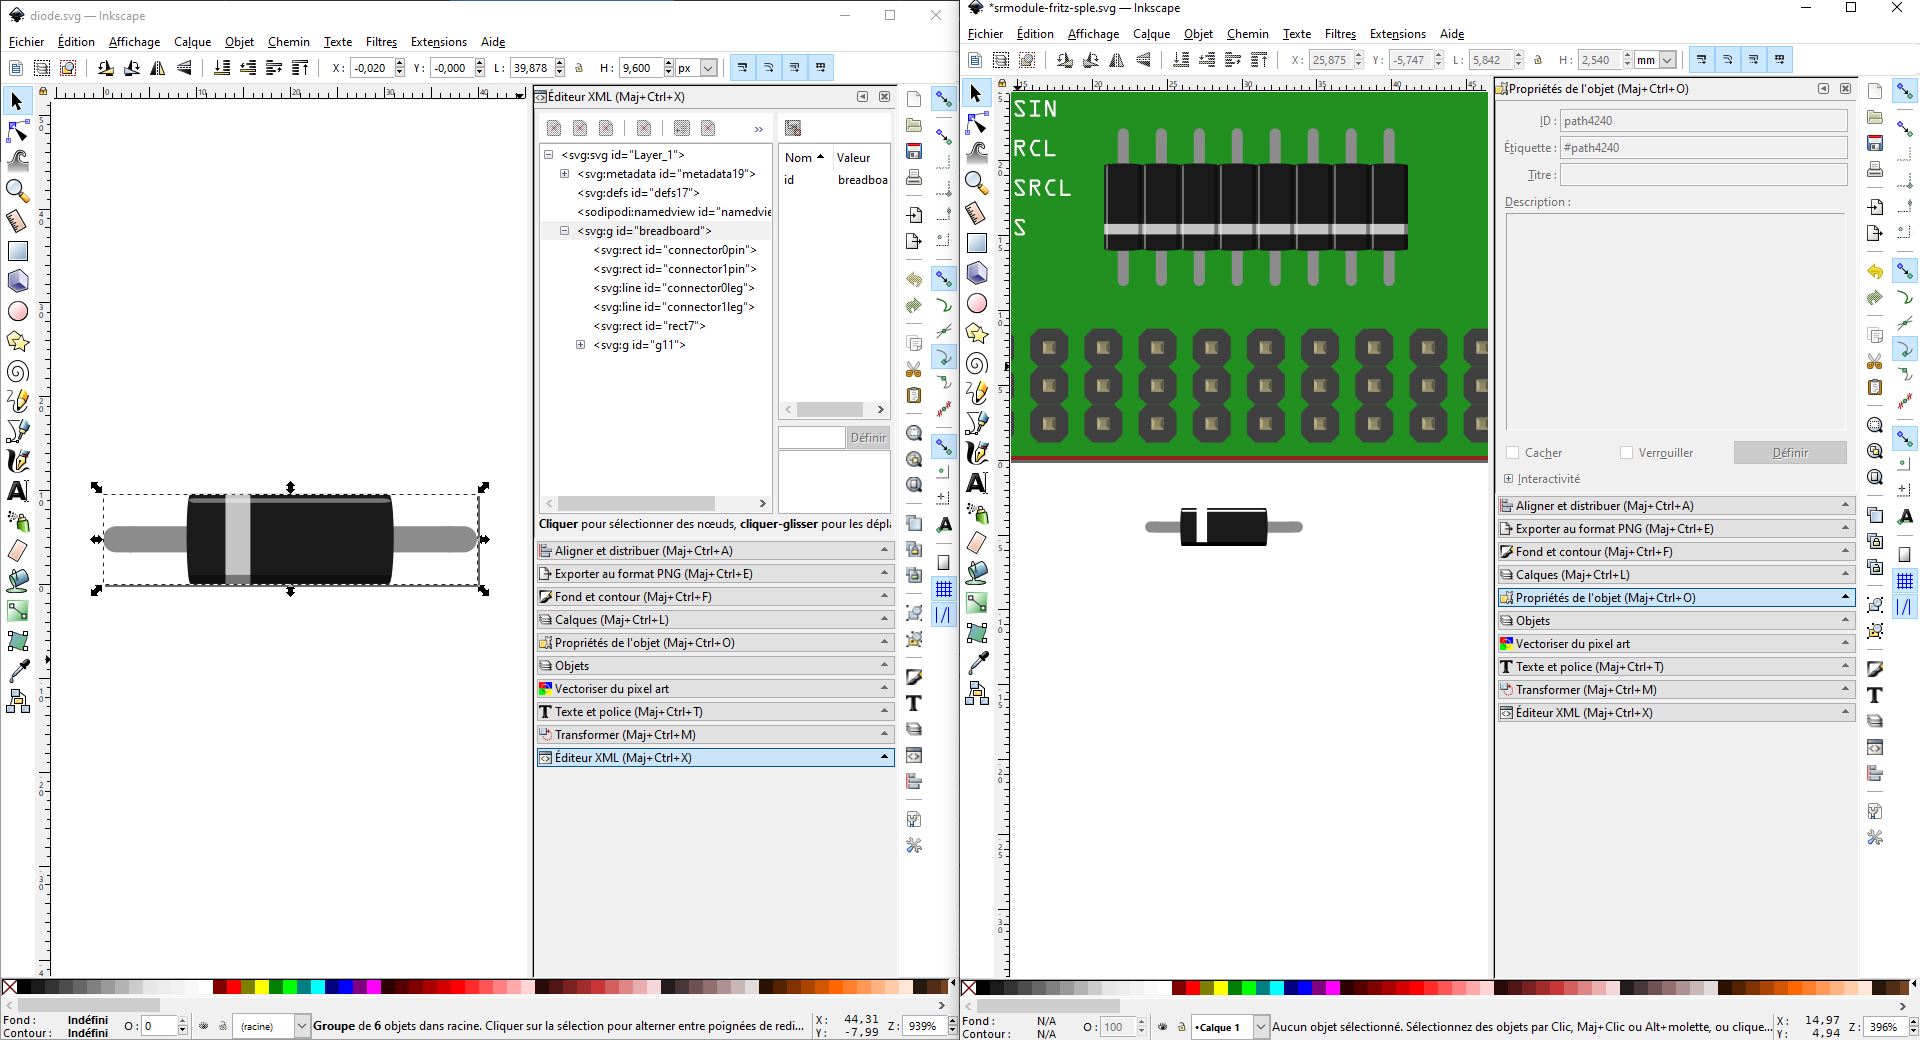
If you have added text to your SVG drawing, you may have received an error message when you imported it into Fritzing saying that only OCRA and Droid fonts are supported by Fritzing. The software replaces the font by another one and changes the initial dimensions.


To solve this problem, you will need to follow these two steps.
- Install the OCR-A font
To install the OCR-A font in Inkscape, you can download the folder containing the font from the Fritzing website.
Once the folder is unzipped, you can install the font by right clicking on the .tff file and then “Install for all users”.

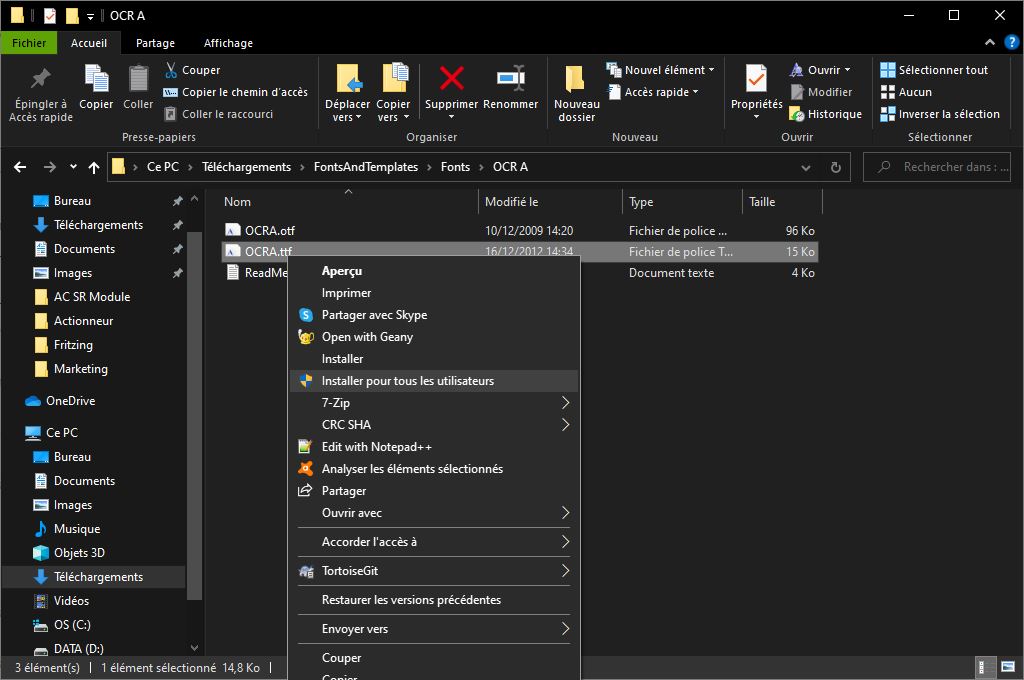
You will have to restart Inkscape for the installation to take effect.
- Edit SVG file manually
Once the font is installed, if you import the template, there will still be a size issue.
To correct this, you need to manually edit the SVG file with a text editor, such as notepad++, and replace all “px” characters with a blank ” ” using the “Replace All” function (Ctrl+H).
Create internal links to the component
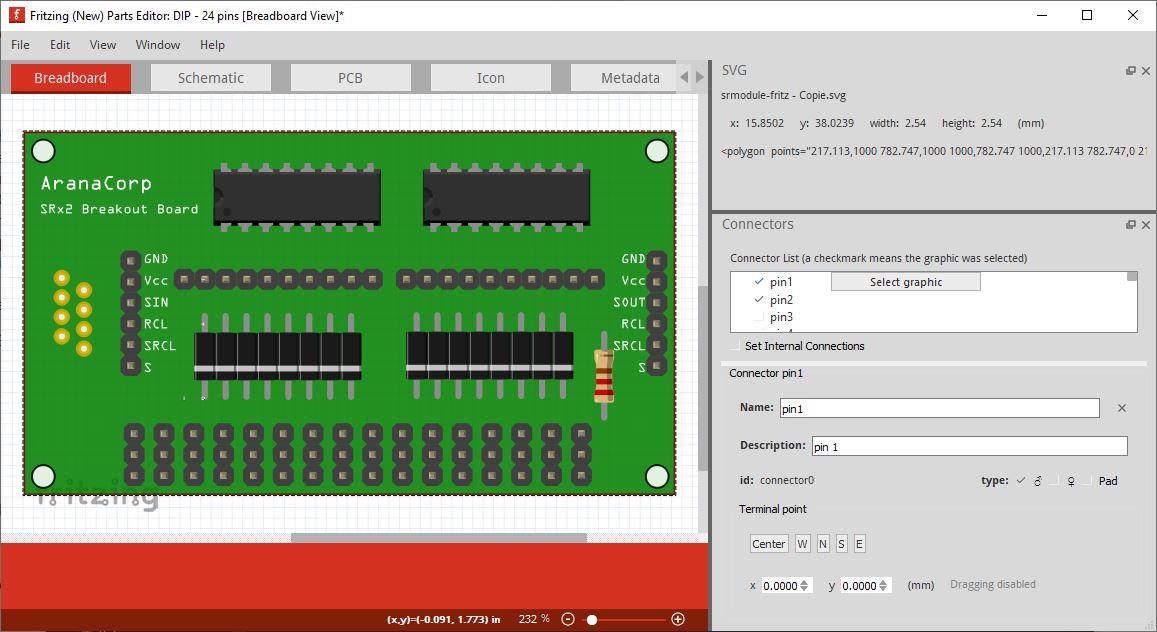
On electronic boards, it often happens that pins are physically connected. To represent this in Fritzing, there is a tool in the editor.
Once all your pins have been identified by the software, you can check the “Set Internal Connections” box. You will then be able to connect the pins together.
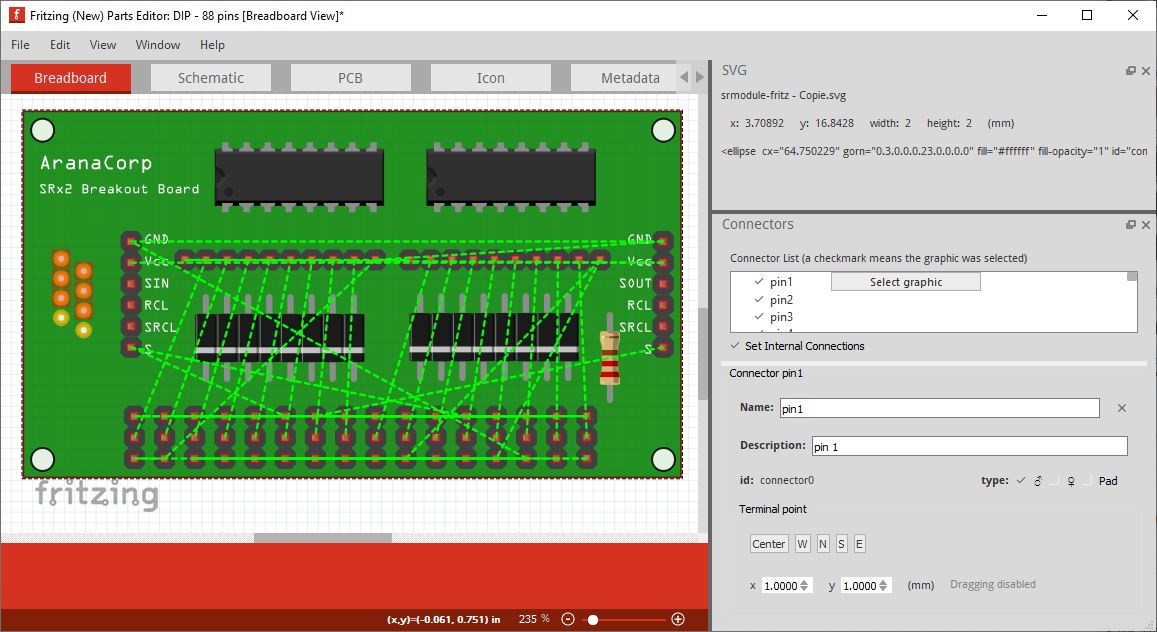
Once the component is registered, the connected pins are highlighted when you click on one of them.

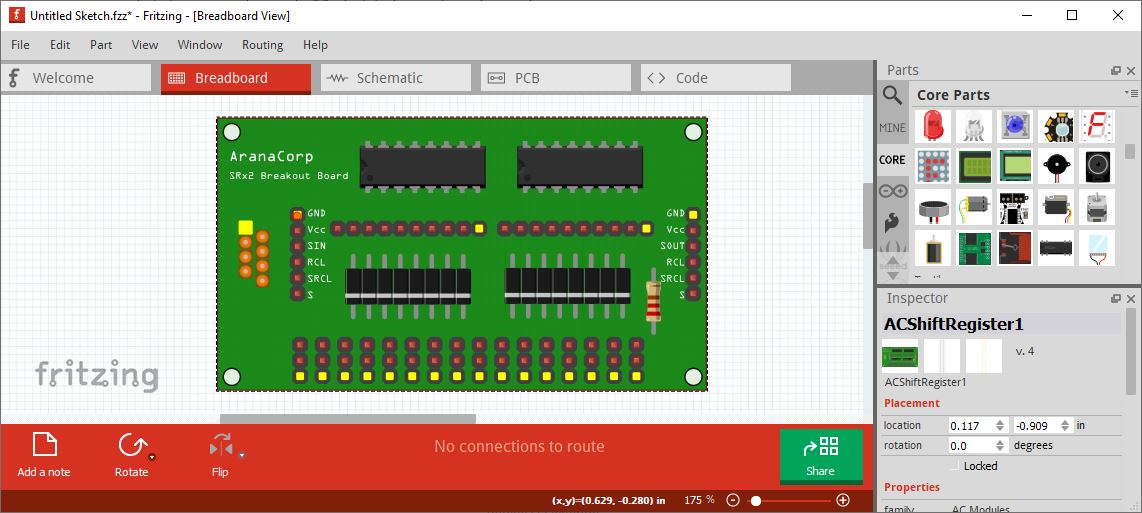
You now have all the keys to make a component design respecting the design codes. If you have other methods or techniques, please share them in comments.