

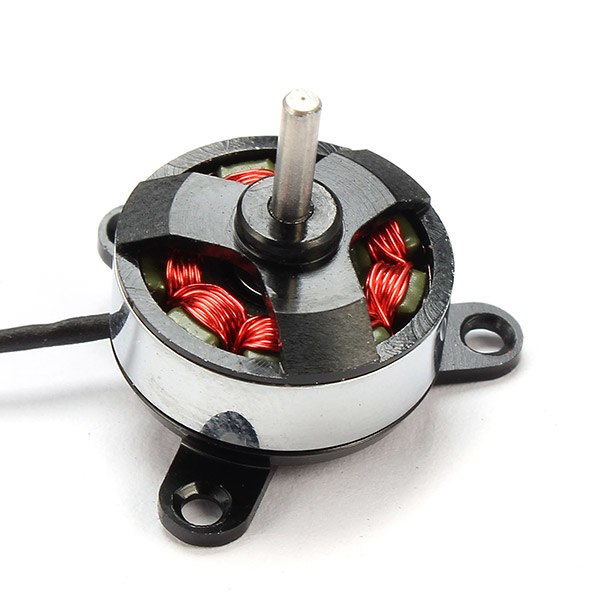
One of the main objectives of robotics is to articulate objects. To do this, it is very common to use electric motors. In the case of flying robots, such as drones, the actuators need a high rotational speed to turn the propellers and allow flight. In this case, brushless motors are often used. The particularity of the brushless (brushless) motor is that it can reach very high speeds compared to other types of motors with a lower torque, of course.

Hardware
- Computer
- Arduino UNO
- USB cable A Male to B Male
- Brushless+ESC
Principle of operation
Brushless motors are motors with three windings called three-phase motors. This means that it generates a continuous rotation when the currents on these windings are shifted. The generation of current profiles on each coil, in order to obtain the desired speed, requires the use of a speed controller (called ESC, Electronic Speed Controller) in order to transform a PWM command into a rotation speed.


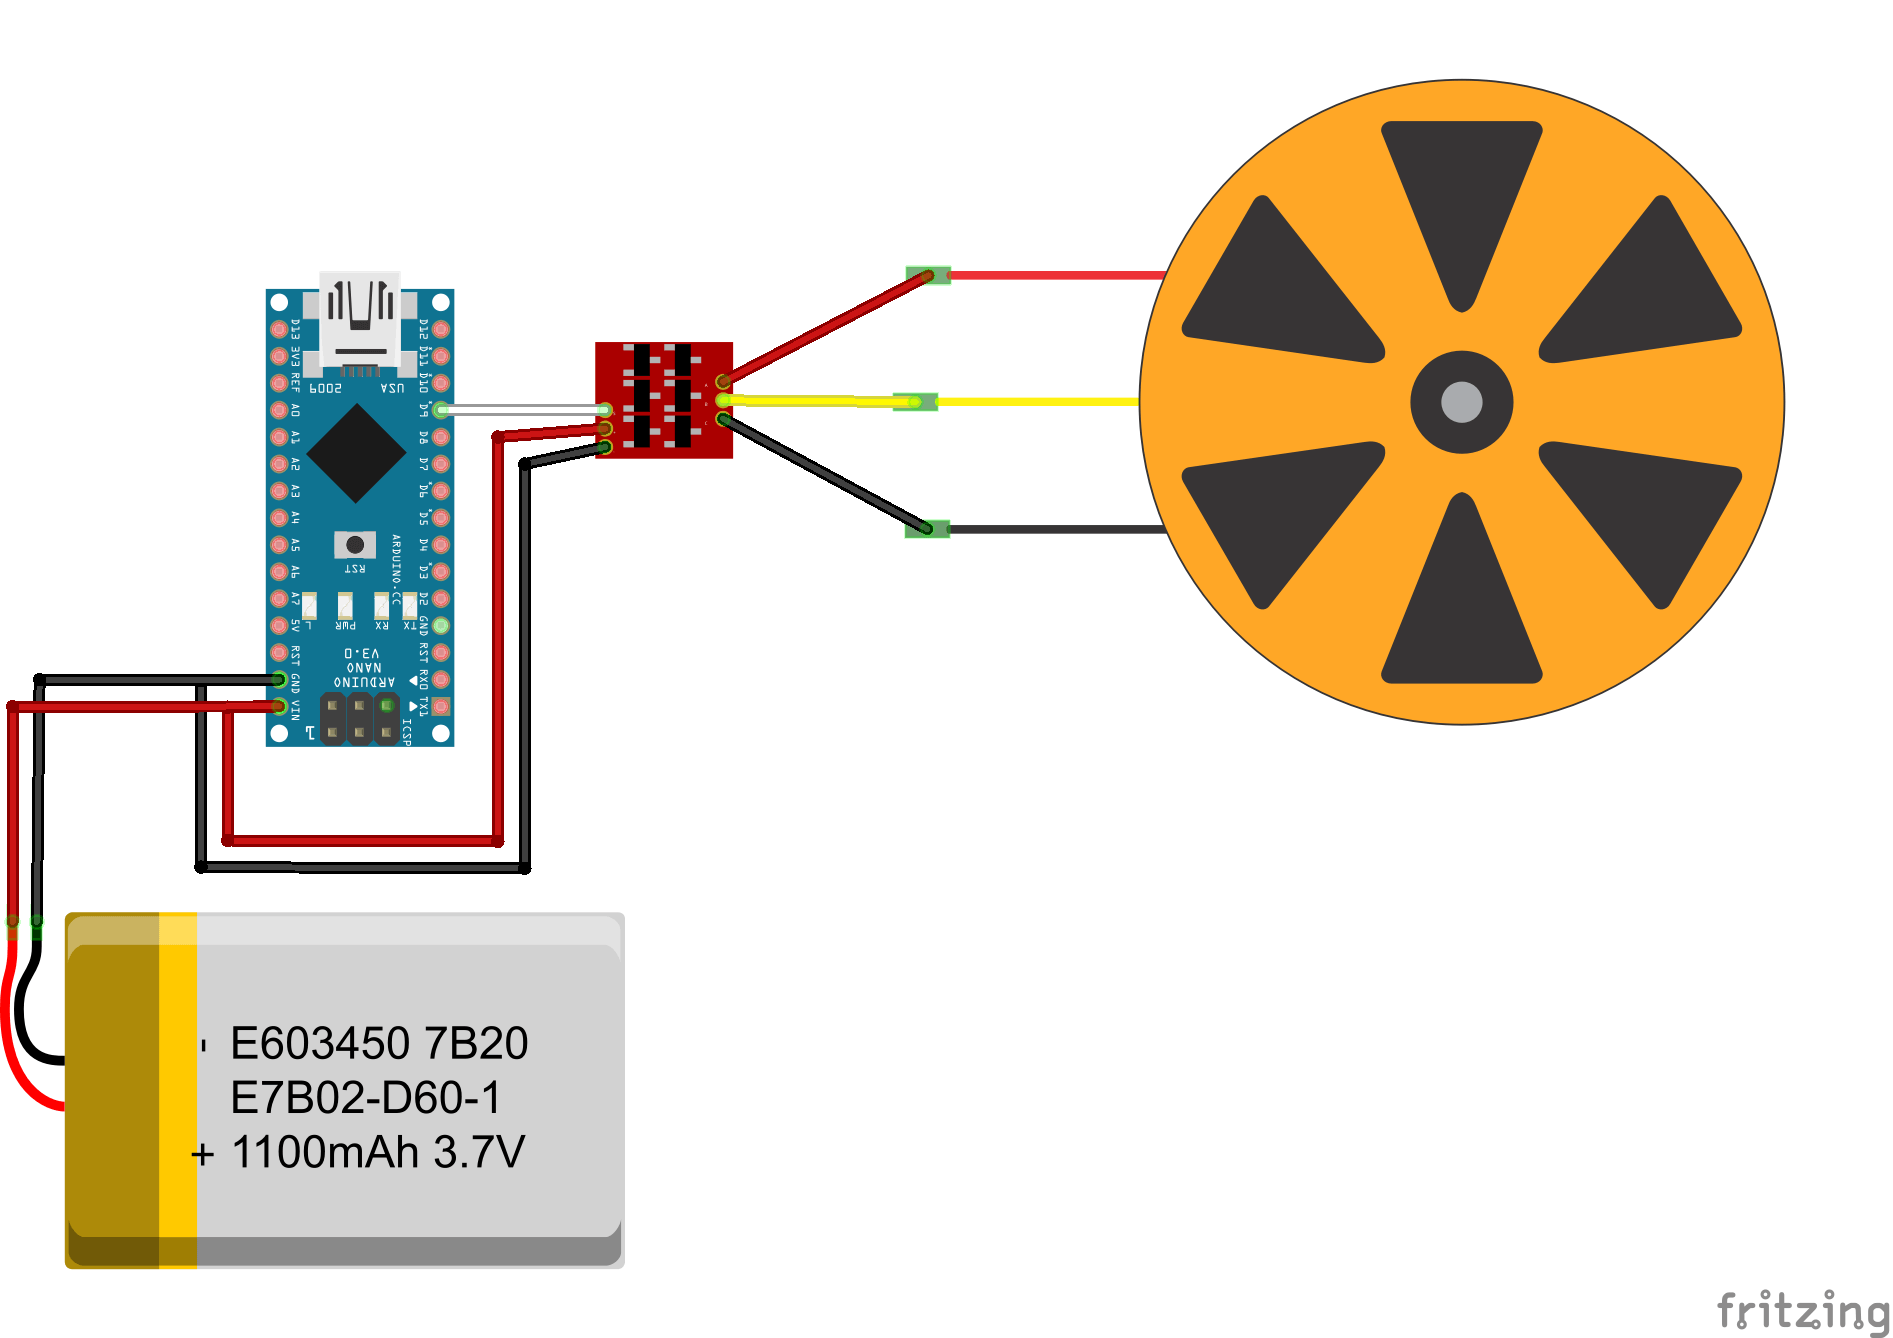
Shematic
The motor requires a high current to operate properly, so the ESC will be powered by a power source external to the microcontroller. The ESC control is connected to a PWM slot on the microcontroller.
Code
Each time the code is started, the ESC must follow a certain procedure to initialise itself correctly. This procedure is described in the initProcedure() function and consists of a succession of PWM commands for a certain time (corresponding to signals from radio remote controls).
//Parameters
const int escPin = 3;
int min_throttle = 1000;
int max_throttle = 2000;
unsigned long currentMillis, previousMillis;

void setup() {
  //Init Serial USB
  Serial.begin(9600);
  Serial.println(F("Initialize System"));
  //Init ESC
  pinMode(escPin, OUTPUT);
  initProcedure();
}

void loop() {
  runBrushless();
}

void runBrushless() { /* function runBrushless */
  //// Test Brushless routine
  Serial.println("running");
  currentMillis = 0;
  previousMillis = millis();
  while (currentMillis < 2000) {
    currentMillis = millis() - previousMillis;
    digitalWrite(escPin, HIGH);
    delayMicroseconds(1350);
    digitalWrite(escPin, LOW);
    delay(20);
  }
  Serial.println("stop");
  currentMillis = 0;
  previousMillis = millis();
  while (currentMillis < 2000) {
    currentMillis = millis() - previousMillis;
    digitalWrite(escPin, HIGH);
    delayMicroseconds(min_throttle);
    digitalWrite(escPin, LOW);
    delay(20);
  }
}

void initProcedure() { /* function initProcedure */
  //// ESC inittialisation process
  previousMillis = millis();
  Serial.println("throttle up");
  while (currentMillis < 3000) {
    currentMillis = millis() - previousMillis;
    Serial.println(currentMillis);
    digitalWrite(escPin, HIGH);
    delayMicroseconds(max_throttle);
    digitalWrite(escPin, LOW);
    delay(20);
  } //beep- beep-
  currentMillis = 0;
  previousMillis = millis();
  Serial.println("throttle down");
  while (currentMillis < 4500) {
    currentMillis = millis() - previousMillis;
    Serial.println(currentMillis);
    digitalWrite(escPin, HIGH);
    delayMicroseconds(min_throttle);
    digitalWrite(escPin, LOW);
    delay(20);
  } // beep--
  // 1 2 3
}
Result
When you switch on the Arduino card and start the code, you should hear the ESC emitting sounds to inform you of its progress in initialisation (two short beeps and one long beep). You should then see the engine running.
Applications
- Build a drone
- Propelling a remote-controlled boat
Find other examples and tutorials in our Automatic code generator
Code Architect