

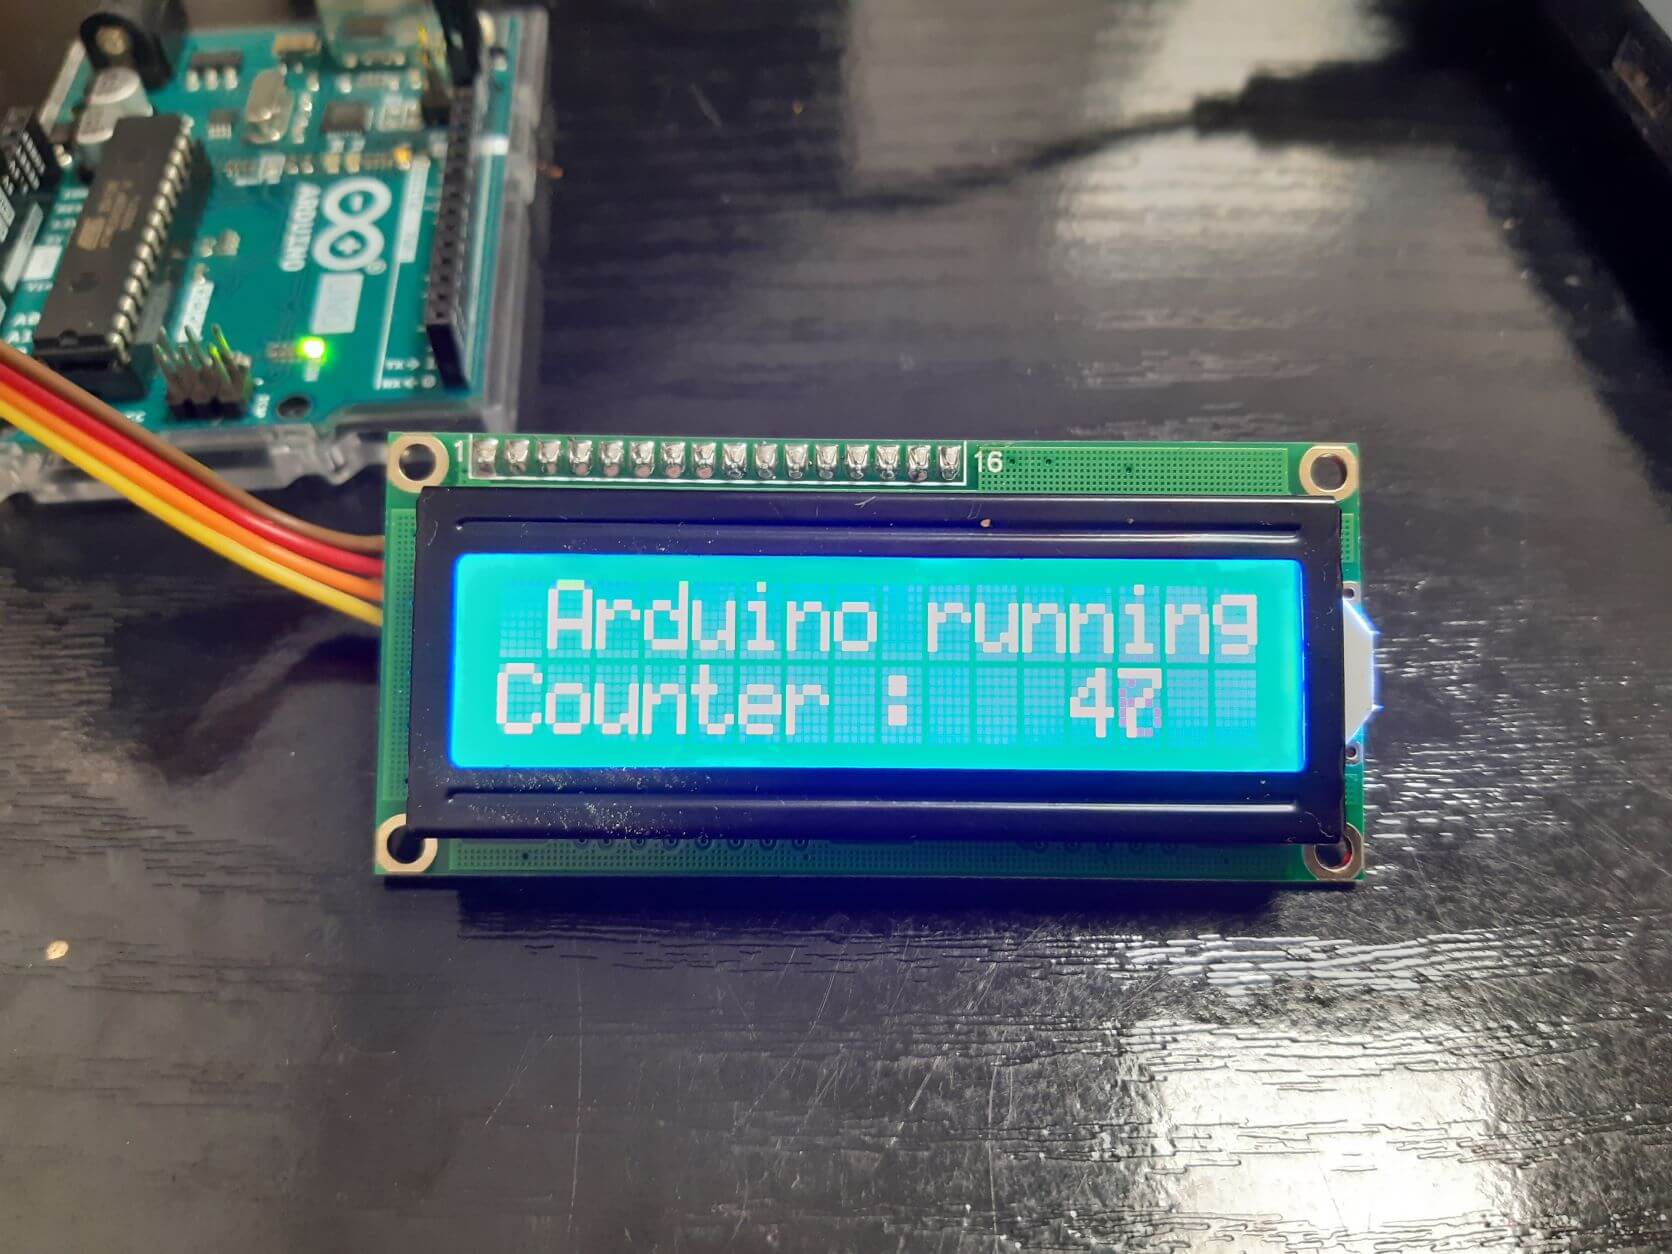
The objective of this tutorial is to learn how to display a message on its LCD screen using the special I2C module for LCD. To realize this tutorial, we met some difficulties like to display a whole word with only the print() function of the LiquidCrystal library. So we have chosen to deconstruct each message character by character to get around this problem. This will solve some of the problems you may have encountered.
If your LCD screen does not have an I2C connection, follow this link.
Material
- An Arduino Nano (in the example we use a Nano but any Arduino board with an I2C port is suitable)
- An LCD screen with its I2C module
- Jumper cables
Electronic schematic


Connect the I2C ports of the LCD screen to the I2C ports of the Arduino Nano or the Shield Nano used.
Installation of the LCD library
To use the display, the LiquidCrystal_I2C library must be installed:
Open the Arduino IDE and go to Sketch > include library > Manage libraries


In the library manager, search for “LiquidCrystal_I2C” and install LiquidCrystalI2C:


Code
#include <Wire.h>
#include <LiquidCrystal_I2C.h>

LiquidCrystal_I2C lcd(0x20,16,2);  // set the LCD address to 0x20(Cooperate with 3 short circuit caps) for a 16 chars and 2 line display
char message[10]="hello !";
void setup(){
  lcd.init();                      // initialize the lcd
  lcd.backlight();
}


void loop(){
    int len = strlen(message);
    for (int k=0; k<len; k++)
    {
      lcd.setCursor(k,0);
      lcd.print(message[k]);
    }
}
Note
Before writing this code you can replace the void loop() with :
void loop(){
      lcd.setCursor(0,0);
      lcd.print(« salut ») ;
}
If with this code the display is not correct and you only see the first letter of the message, here the ‘s’, replace the loop() function with the one above which displays a message by unpacking character by character.
Application
- Create an interface for your Arduino project