In this tutorial, we will see how to program a Teensy board with Teensyduino and the Arduino IDE. Teensy microcontrollers are development boards with an ARM architecture. They have a high computing power, a large number of inputs and outputs and communication interfaces. They are ideal for developing USB devices such as HID controllers or MIDI modules.
Material
- Computer
- Teensy microcontroller
- USB A Male to USB Mini B Male Cable
Installation of the Teensyduino software
In order for the Arduino IDE software to communicate and program the Teensy microcontroller, it needs certain features and libraries. All this is contained in the Teensyduino software that serves as an extension.
Download and install the Teensyduino software. Just follow the installation guide.

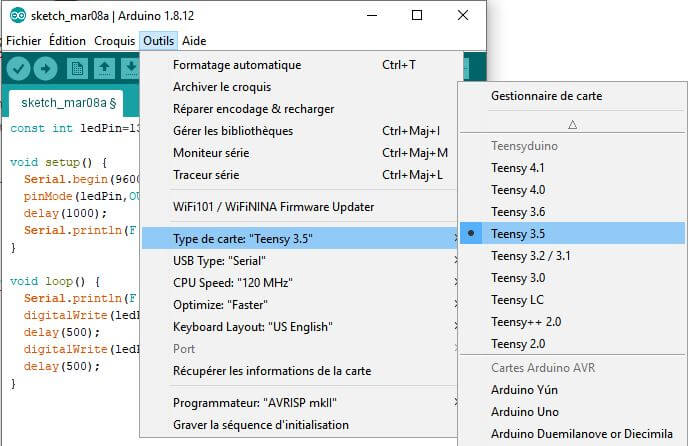
Once Teensyduino is installed, you should see the Teensy section appear in the board selection in Arduino.

Code
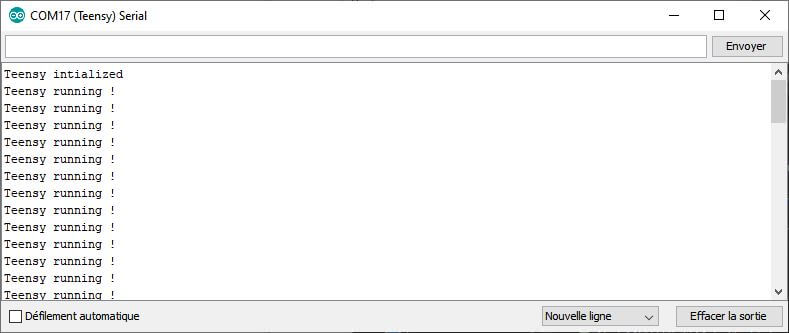
const int ledPin=13;

void setup() {
  Serial.begin(9600);
  pinMode(ledPin,OUTPUT);
  delay(1000);
  Serial.println(F("Teensy intialized"));
}

void loop() {
  Serial.println(F("Teensy running !"));
  digitalWrite(ledPin,HIGH);
  delay(500);
  digitalWrite(ledPin,LOW);
  delay(500);
}
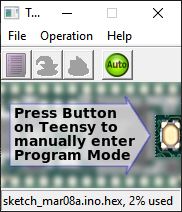
To upload the code the first time, you need:
- check the code
- press the button on the Teensy card to enter the programming mode
- then upload the code
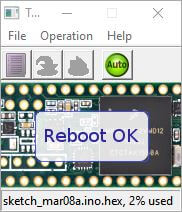
Once you have done this procedure once, you can upload the program normally.
Result
The above code simply verifies that the card has been flashed by flashing the onboard LED and displaying a message on the serial monitor.