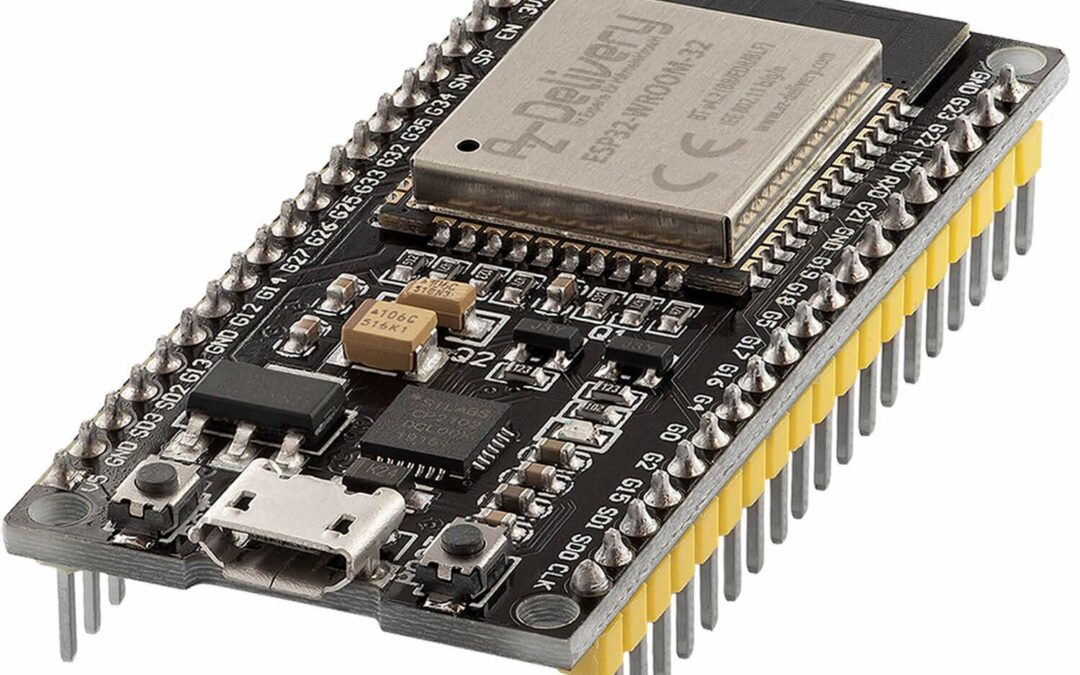
ESP32 NodeMCUs are more and more used to make connected objects thanks to their embedded Wifi and Bluetooth links and their computing power. We will see how to use the Arduino IDE to program a NodeMCU.
The way to configure the Arduino IDE is similar between these different boards. We will see in this article the procedure to configure and program a NodeMCU ESP32.
Install the drivers on the computer
Usually, a new device installs its drivers at the first connection. When this is not the case, it is possible, as with the NodeMCU, that the device is not recognized. There are two main families of drivers in the Arduino world:
- CP2102
- CH340
If you bought an Arduino compatible board, there is a good chance that one of these two drivers is needed to communicate with the microcontroller.
In this case, there are two methods to get the drivers. The first one is to find and download them on the internet (NodeMCU drivers and CP2102).
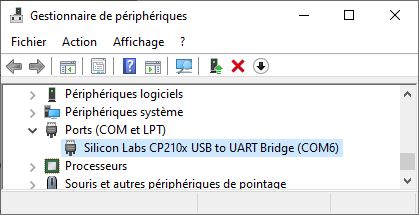
The second is to use the device manager. The microcontrollers connected to the computer are found under the tab “Ports (COM and LPT)”.
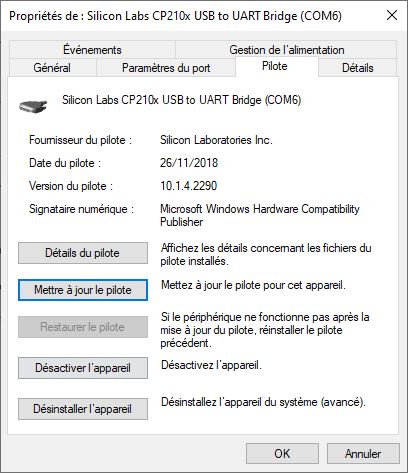
Double-click on the device and the properties window will appear. Under the “Driver” tab, you will find the option “update” the driver.
Select the “Automatically search for the driver” option.
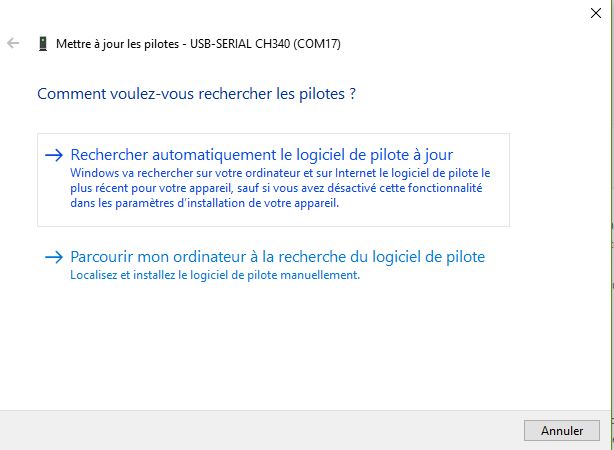
Depending on the version of the microcontroller you have and the manufacturer, it may use different drivers CP2102 (Normally installed with Arduino) and CH340.
Once the driver is installed, it will be possible to communicate with the device.
Add JSON handlers
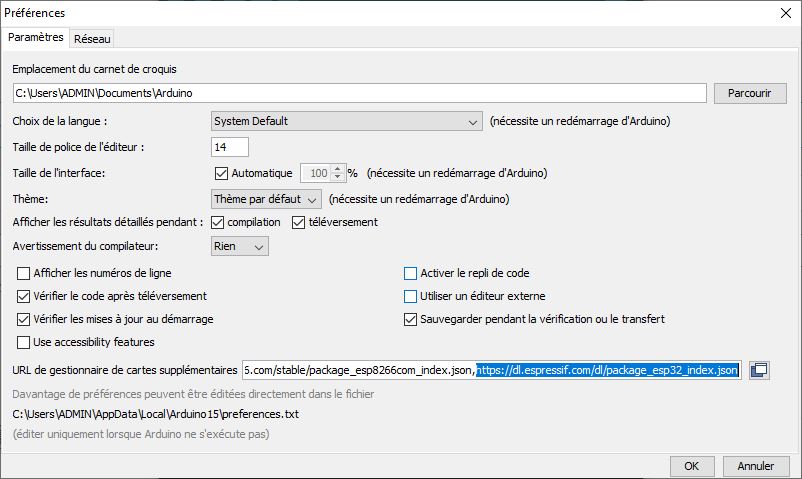
To be able to program other microcontrollers with the Arduino IDE, it is necessary to install on the Arduino board managers containing all the tools necessary for their programming. To get the managers you have to find the corresponding URL. In the case of the NodeMCU ESP32, https://dl.espressif.com/dl/package_esp32_index.json.
UPDATE: For Arduino IDE 2.0 or higher : https://raw.githubusercontent.com/espressif/arduino-esp32/gh-pages/package_esp32_index.json
N.B.: If you encounter compilation problems, check if a previous version of ESP32 is installed. If it is the case, delete it manually (C:\Users\\AppData\Local\Arduino15\packages\esp32\hardware\esp32).
Then open the File>Preferences window of the Arduino software. At the bottom of the page you will find a text box in which to enter the URL: “Additional board manager URL”. (don’t forget to separate the URLs with a comma “,”)
Install the managers
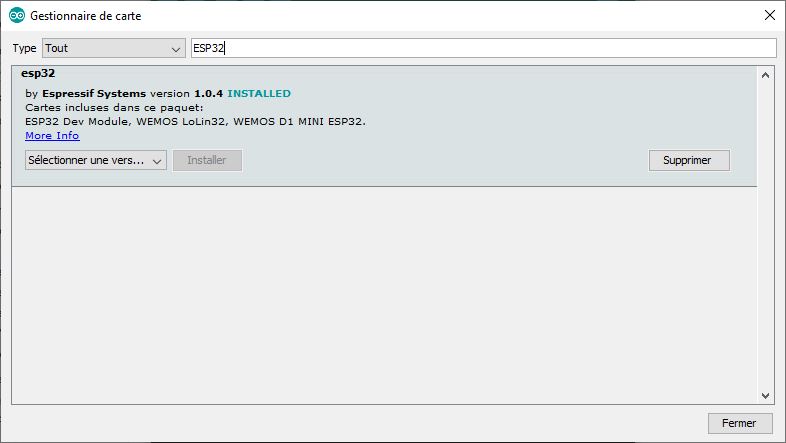
Under the “Tools” tab, follow the path “BoardType > Board Manager”. The IDE will load the board catalog from the URL.

If you search for the microcontroller in the search bar, the package to be installed should appear.
Select the configuration
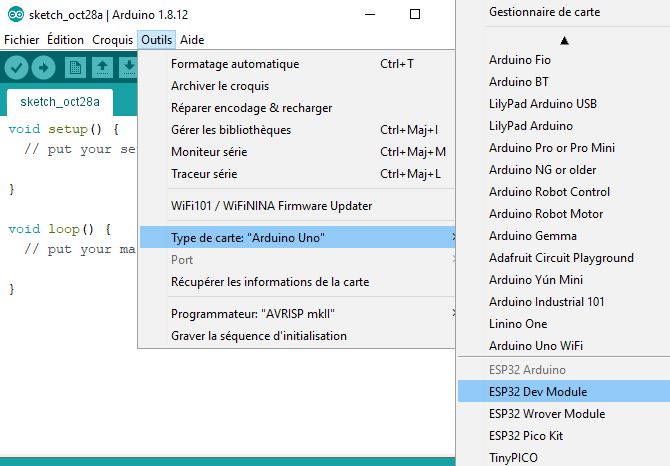
Once the management package is installed, the microcontroller should appear in the available card types.
For NodeMCU ESP32 (ESP-WROOM-32S), select “ESP32 Dev Module
You will then need to know the characteristics of your card to select the right settings. However, except in exceptional cases, the default settings will work without problem.