

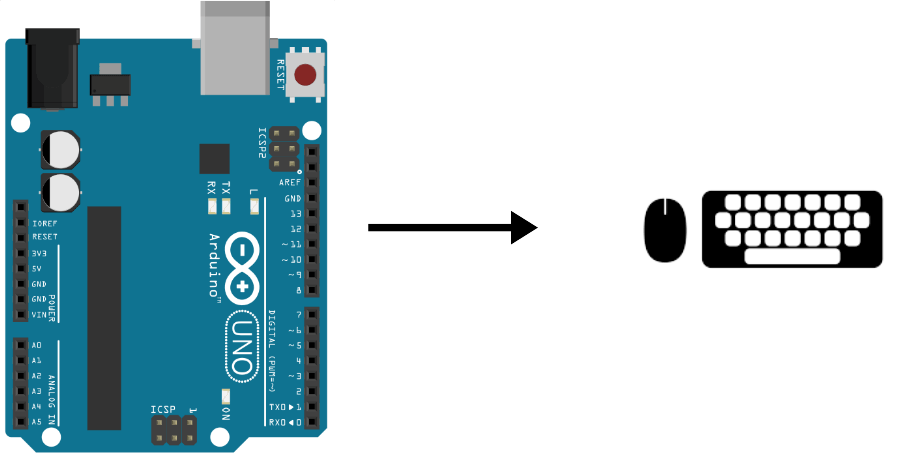
It is possible to interface Arduino with the computer and turn it into an HID device. It is thus possible to transform an Arduino into a computer controller in the same way as a video game controller, a computer keyboard or a mouse.
Material
- Arduino UNO
- push button (or 1 dupont cable)
Scheme
In this tutorial, we will use a single input to test the keyboard and the HID device configuration. We place a push button between the GND pin and the A0 pin of the Arduino.

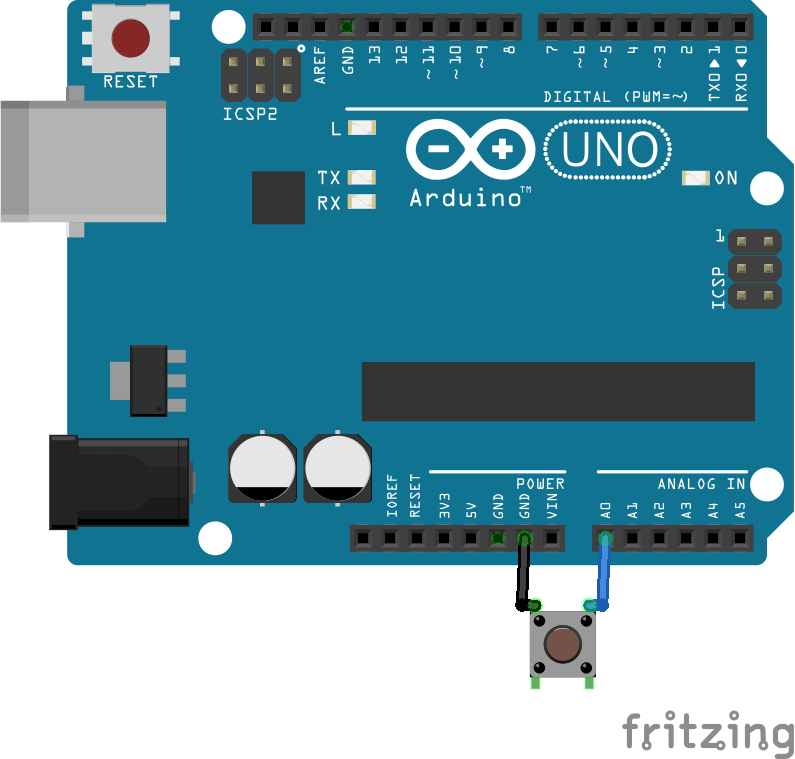
You can use a button for each key or any sensor to create your own controller.
Code
As we have only one button, each time we press it we increment the variable btnCount in order to modify the next character to be displayed.
//azerty       q  b  c  d  e  f  g  h  i  j  k  l  ,  n  o  p  a  r  s  t  u  v  z  x  y  w  &  é  "  '  (  -  è  _  ç  à    )  =  ^  $  *  No fr  m  ù   ²    ;  :  !    <
//qwerty       a  b  c  d  e  f  g  h  i  j  k  l  m  n  o  p  q  r  s  t  u  v  w  x  y  z  1  2  3  4  5  6  7  8  9  0    -  =  [  ]  \  No US  ;  '   `    ,  .  /   No US
//keycode      4, 5, 6, 7, 8, 9, 10,11,12,13,14,15,16,17,18,19,20,21,22,23,24,25,26,27,28,29,30,31,32,33,34,35,36,37,38,39,  45,46,47,48,49,  50,  51,52, 53,  54,55,56,  100};


uint8_t buf[8] = { 0 }; //Keyboard report buffer

//Keypad
const int btnPin = A0;
int btnState=false,oldState=true;
int btnCount=4; //Key code A-4 Z-29

void setup() {
  Serial.begin(9600);
  pinMode(btnPin,INPUT_PULLUP);
}

void loop() {
  sendKey();
}


void sendKey() { /* function readAbtn */
  //// Read button states from keypad
  getBtn();
  if (btnState!=oldState and btnState==true) {
    buf[2] = btnCount++; // keycode
    Serial.write(buf, 8); // Send keypress
    releaseKey();
  }
  if(btnCount>29) btnCount=4;
  oldState=btnState;
}

void getBtn() { /* function getABtn */
  //// Read button states from keypad
  if (analogRead(btnPin) > 200) {
    btnState=false;
  } else {
    btnState=true;
  }
  delay(100); //anti-bounce delay
}


void releaseKey() {
  buf[0] = 0;
  buf[2] = 0;
  Serial.write(buf, 8); // Send Release key
}
To simplify the code and avoid having to find the keycodes, you can use the USBKeyboard library, Keyboard.h (for compatible boards) or HID-project (with HoodLoader2).
Configuration of the HID device
To transform the Arduino into an HID device, we need to modify the code of the USB port controlled by the ATmega16U2. To do this we will use Flip software which will allow us to change the firmware of the microprocessor.
- Download and install the logiciel Flip

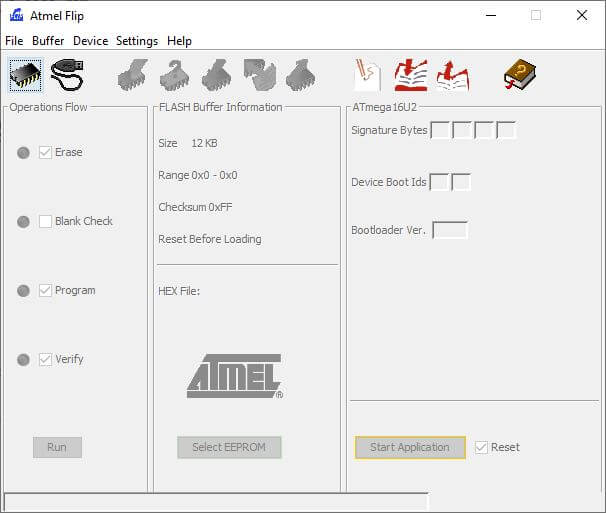
- Select the microprocessor from the list

- Reset the USB port by connecting the two leftmost pins of the ICSP2 port. (the Tx and Rx LEDs should both light up).
- Select Settings>Communication>USB Ctrl+U, then click on “Open”.
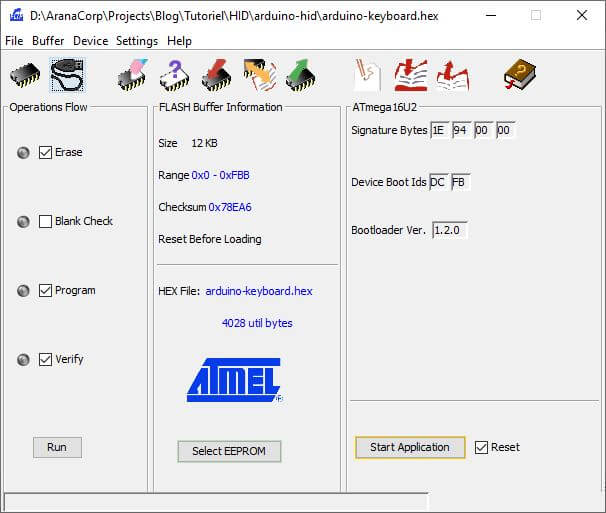
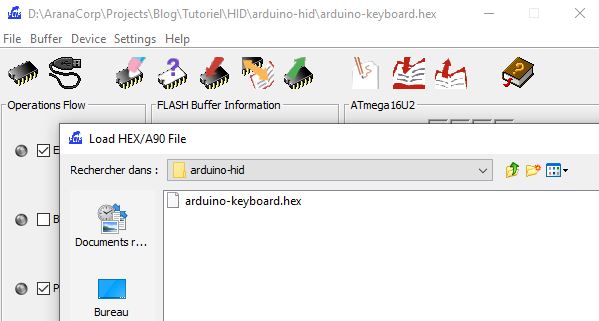
- Load the file Arduino-keyboard-0.3.hex in File> Load HEX…, then press “Run”

Result
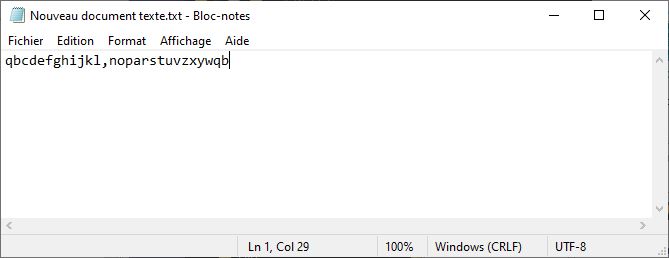
Once this is done, disconnect and reconnect the USB port. Open a text file. When you press the button, the characters should be displayed successively. You will notice that the keys a,q,w,z are reversed because the keyboard is configured in AZERTY.

Switch the Arduino from HID device to Serial device
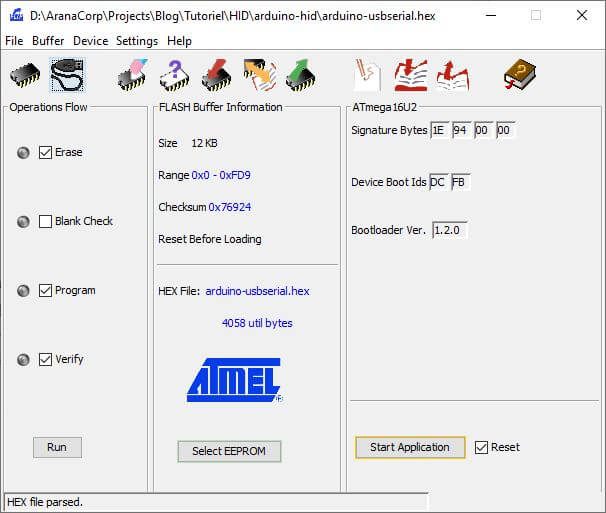
Pour retrouver un fonctionnement normal de l’Arduino, on refait la manipulation avec le logiciel Flip mais à la place du fichier arduino-keyboard.hex on charge le fichier Arduino-usbserial-uno.hex.
Reset the USB port with a bridge between the ICSP pins, then load the hex file and press “Run”.
Applications
- Create a keyboard or a video game controller with Arduino
- Use Arduino to drive a computer automatically