The Nextion screen is one of the best solutions for creating a graphical interface to drive your Arduino project. The best-known interface for interacting with an Arduino is the LCD screen with a few buttons and potentiometers, at the cost of I/O and Arduino code overload. In this tutorial, we’ll look at how to set up a Nextion display and how to use it with Arduino.
Hardware
- Arduino (or other board with UART port)
- Nextion display
- USB-TTL 5V adapter
- 4x Dupont wire with JST connector
Nextion card presentation
The basic interface for controlling an Arduino, and present in all kits, is the LCD screen with a few buttons and potentiometers, available as an LCD Shield. There are also Shields with touch screens, but these use all the Arduino’s I/O and overload the Arduino code. One solution is to use a Nextion screen, which contains its own program and communicates with any microcontroller via the serial port.

N.B.: It is possible to create a graphical interface on a PC or to create a web interface to control the project by adding a wireless communication module.
Nextion editor installation and presentation
Download and install the Nextion editor

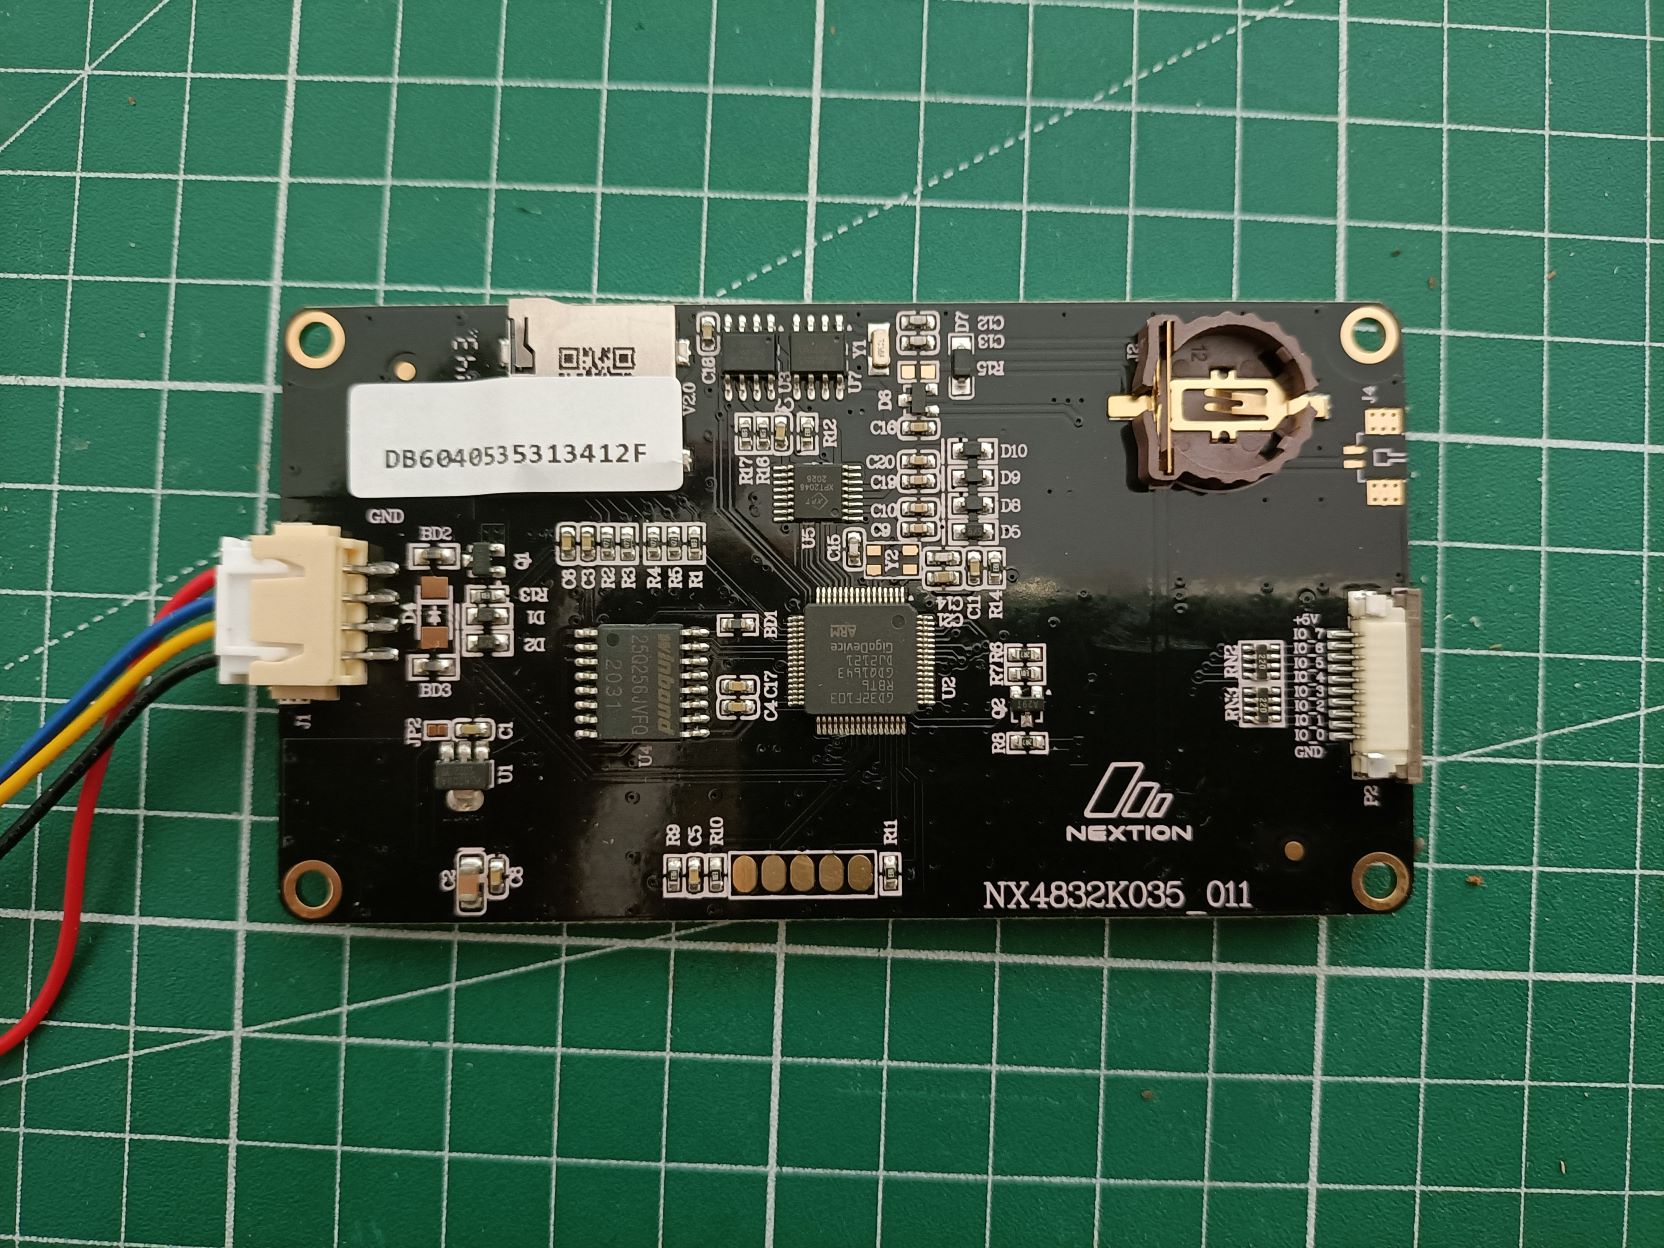
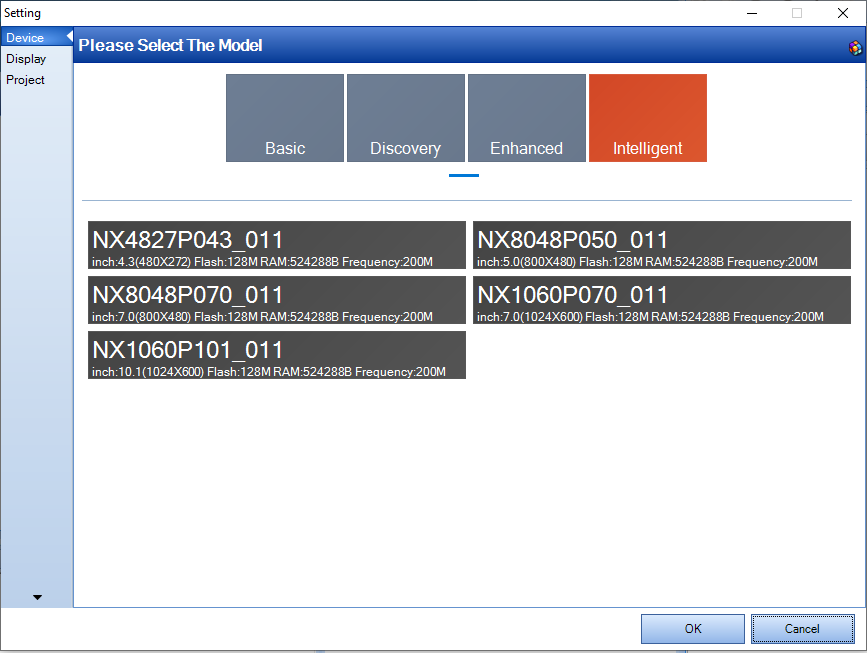
When you open a new project or file, the software asks you for the screen model (in our case NX4832K035_011). You can change the selection in the Device>Settings menu.

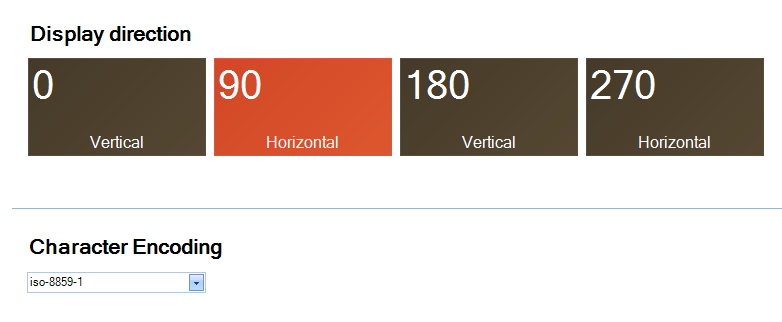
Then choose screen orientation and encoding.

Creating a graphical interface
We’re going to use the Nextion graphical editor to create our graphical interface. In this example, we will add:
- An image
- Some texts for the title or to display data
- A button that modifies the interface
- A button that sends a command to the serial port
- A timer that refreshes the interface
- A variable that stores data received from the serial port

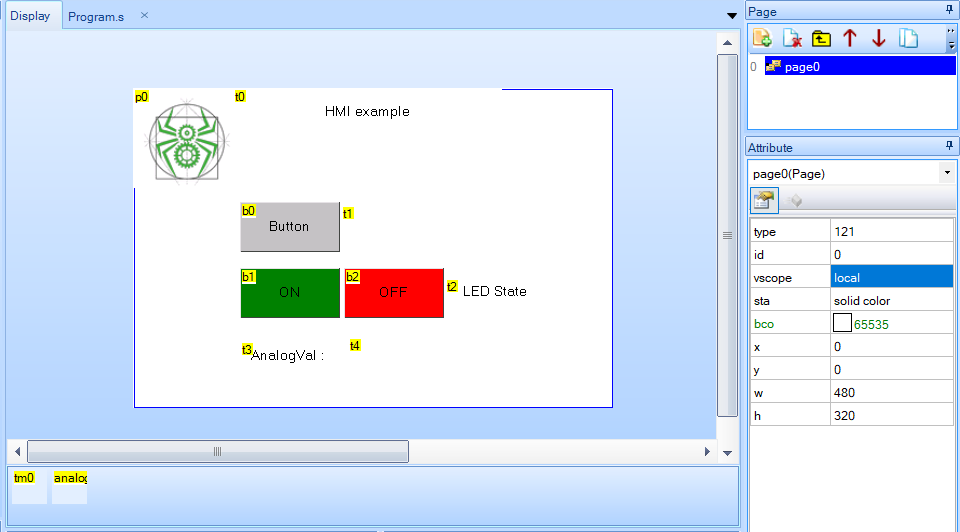
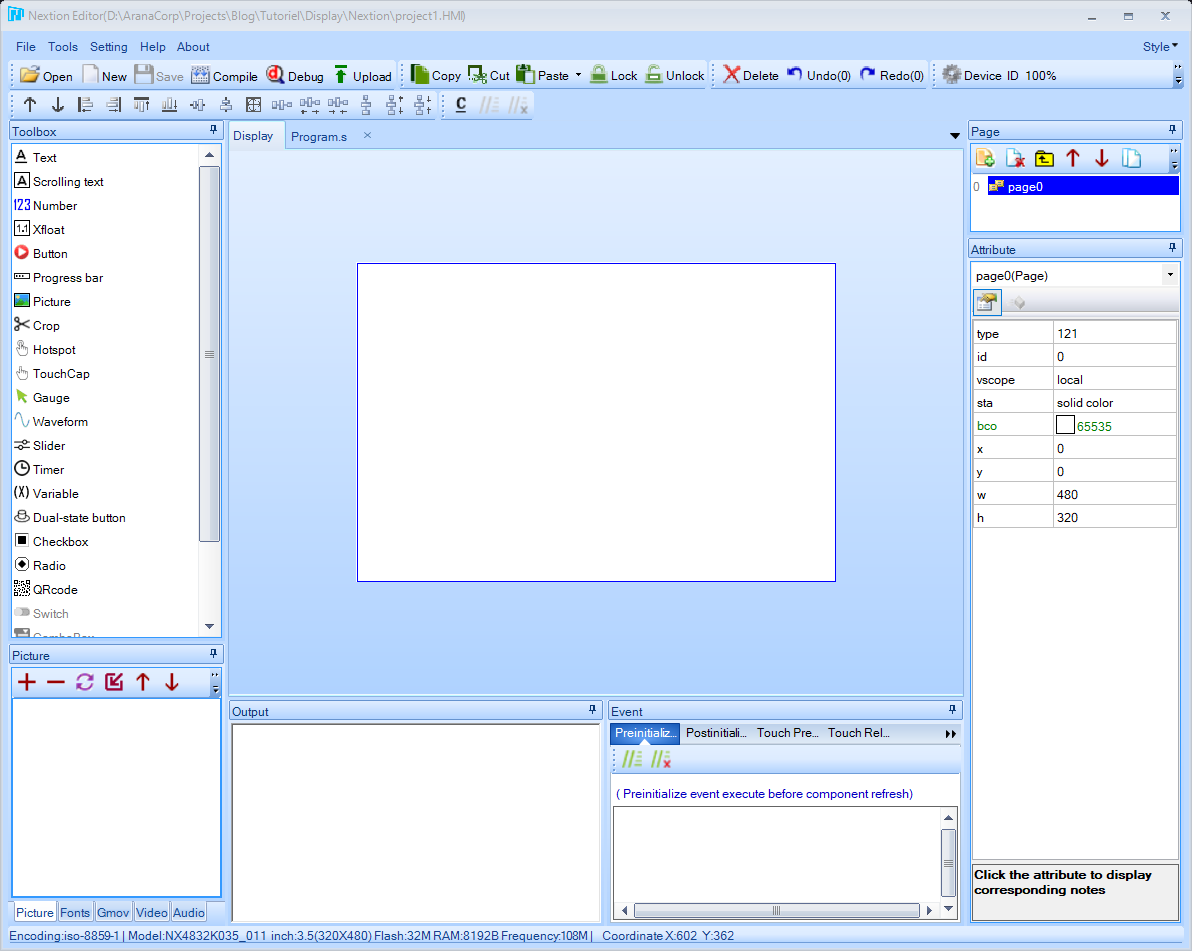
To add an object, click on the desired object in the Toolbox window and the object will be automatically inserted in the Display window. You can then configure the object in the Attributes window.
You can download the GUI file to import into Nextion Editor. With this example, you’ll be able to create much more complex interfaces.
Add an image
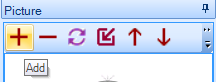
To add an image, first import it into the software using the (+) button in the “Picture” window.

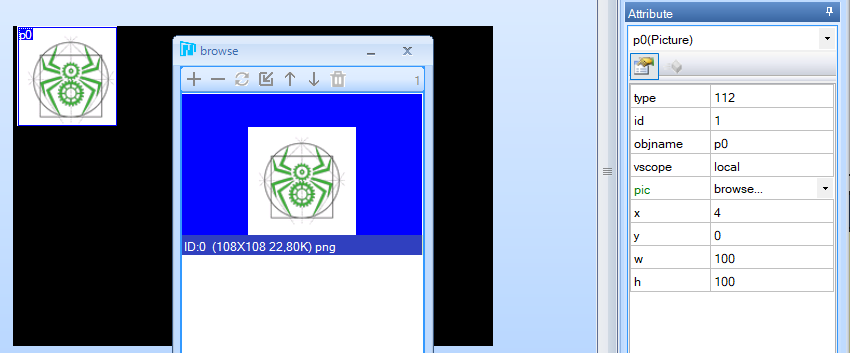
You can then insert a Picture object in the Display window and select the image by pressing the pic > browse… attribute.

N.B.: Add an imageaux dimensions désirées
Add text
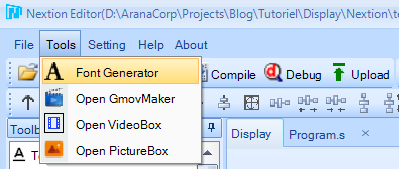
Before adding a text object, you need to generate a font. This can be done in Tools> Generate Font

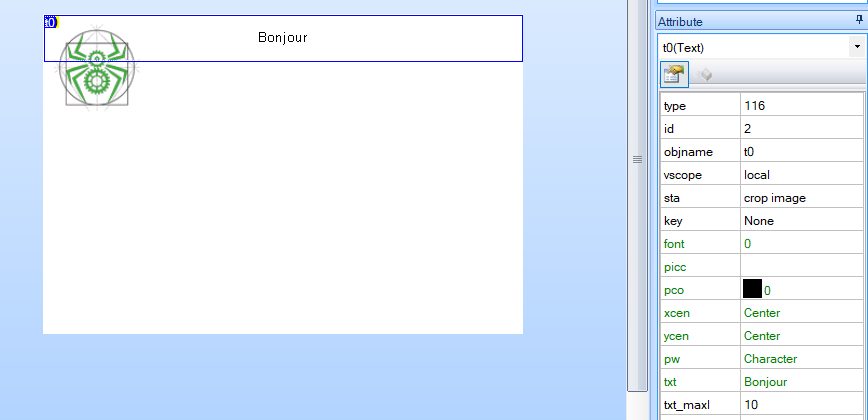
Once the font has been generated, you can select it in the font attribute of the Text object. You can then modify the text in the txt attribute (note the maximum number of characters txt_maxl).

We add four text objects:
- The title label
- LED status
- the “Analog Val” label
- the analog value received from the micrcontroller
Add a button
Once the button object has been added to the interface, you can adjust its attributes:
- the text displayed
- the color when the button is pressed
- color when color is released
In the Events window, you can program what the screen will do when the button is pressed or released. There are a number of instructions you can use in these windows. These include
- Modify interface elements (Ex: t0.txt=”Pressed “)
- Send button identifier via serial port
- Envoyer une autre commande avec prints
- Button b0


- Button b1
In the Touch Release Event tab, we write the following command, which is a predefined command from the Nextion library and corresponds to trigger1()
printh 23 02 54 01- Button b2
For the b2 button, we use the same command but for trigger2()
printh 23 02 54 02Add a timer
The Timer object can be used to execute code on a regular basis. Particularly useful for retrieving data from the serial port and updating the interface.
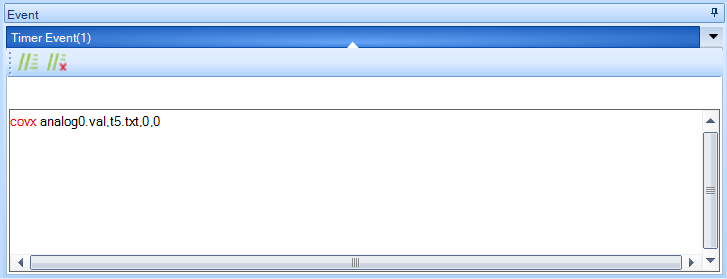
In the Timer event tab, we use the covx function to convert the value of the variable into a string and write it to the text t4
covx analog0.val,t4.txt,0,0

Load program on Nextion screen
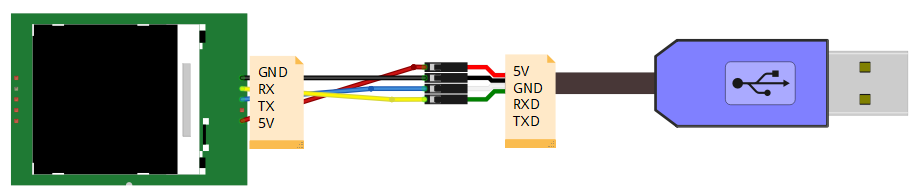
Connect the Nextion card to the USB-TTL converter

To load the interface, press Compile then Upload


Connecting the Nextion display to the Arduino microcontroller

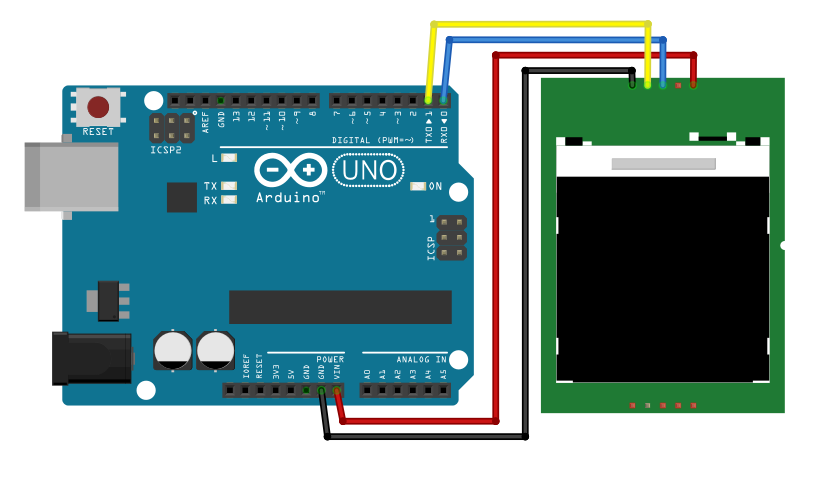
To download Arduino code to the board, pins RX and TX must be disconnected from the screen.
Using the Nextion.h library
There are various libraries you can use to manage a Nextion display
We use EasyNextion
In Nextion Editor, we define an event release “printh 23 02 54 01” for the ON button and an event release “printh 23 02 54 02” for the Off button.
Using the NextionListen() function, these commands activate the trigger1 and trigger2 functions.
#include "EasyNextionLibrary.h"

#define baudrate 9600

EasyNex myNex(Serial);

//Variables
uint16_t analog;
bool ledstate;

const int REFRESH_TIME = 100;
unsigned long refresh_timer = millis();

void setup() {
  myNex.begin(baudrate);

  pinMode(A0, INPUT);
  pinMode(LED_BUILTIN, OUTPUT);
}

void loop() {
  myNex.NextionListen();

  if ((millis() - refresh_timer) > REFRESH_TIME) {
    analog = analogRead(A0);
    myNex.writeNum("analog0.val", analog);

    refresh_timer = millis();
  }
}

//`printh 23 02 54 XX` , where `XX` the id for the triggerXX() in HEX.
void trigger1() {
  digitalWrite(LED_BUILTIN, HIGH);
  myNex.writeStr("t2.txt", "LED ON");
}

void trigger2() {
  digitalWrite(LED_BUILTIN, LOW);
  myNex.writeStr("t2.txt", "LED OFF");
}
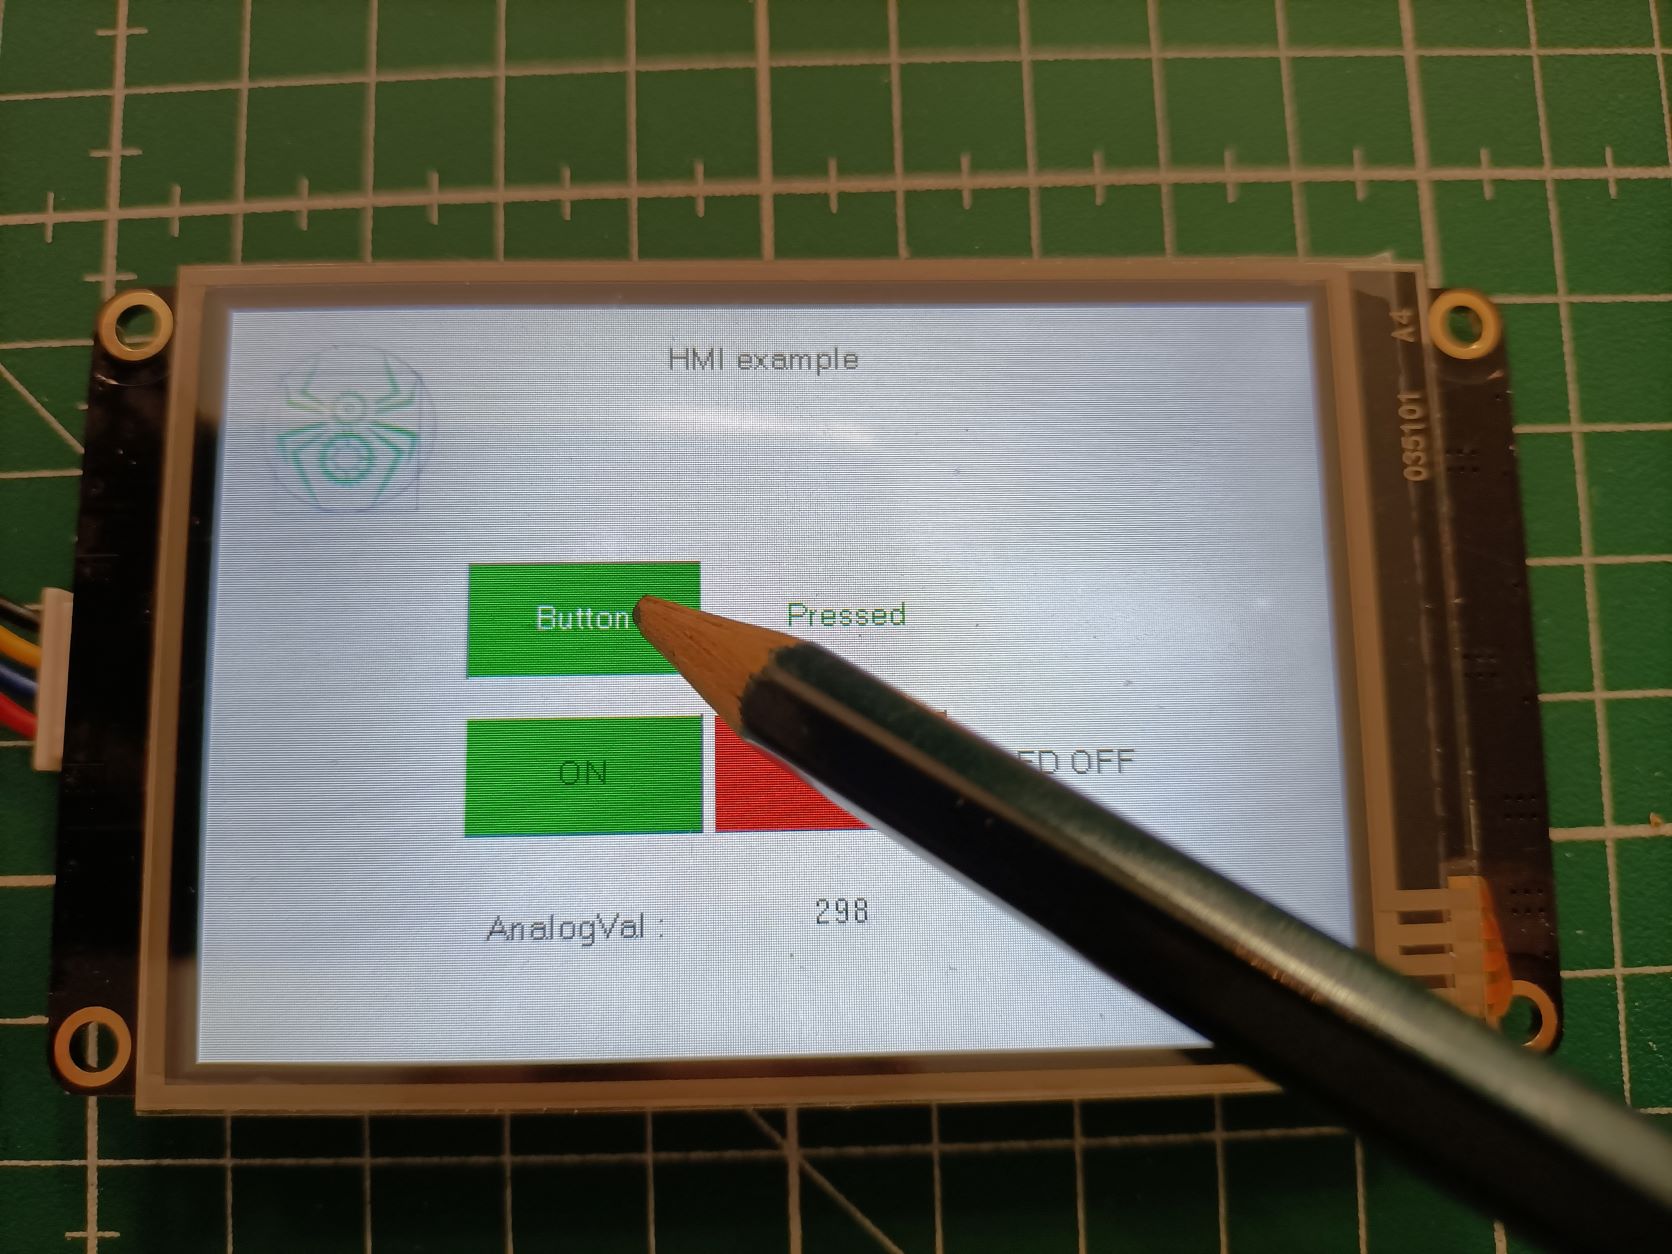
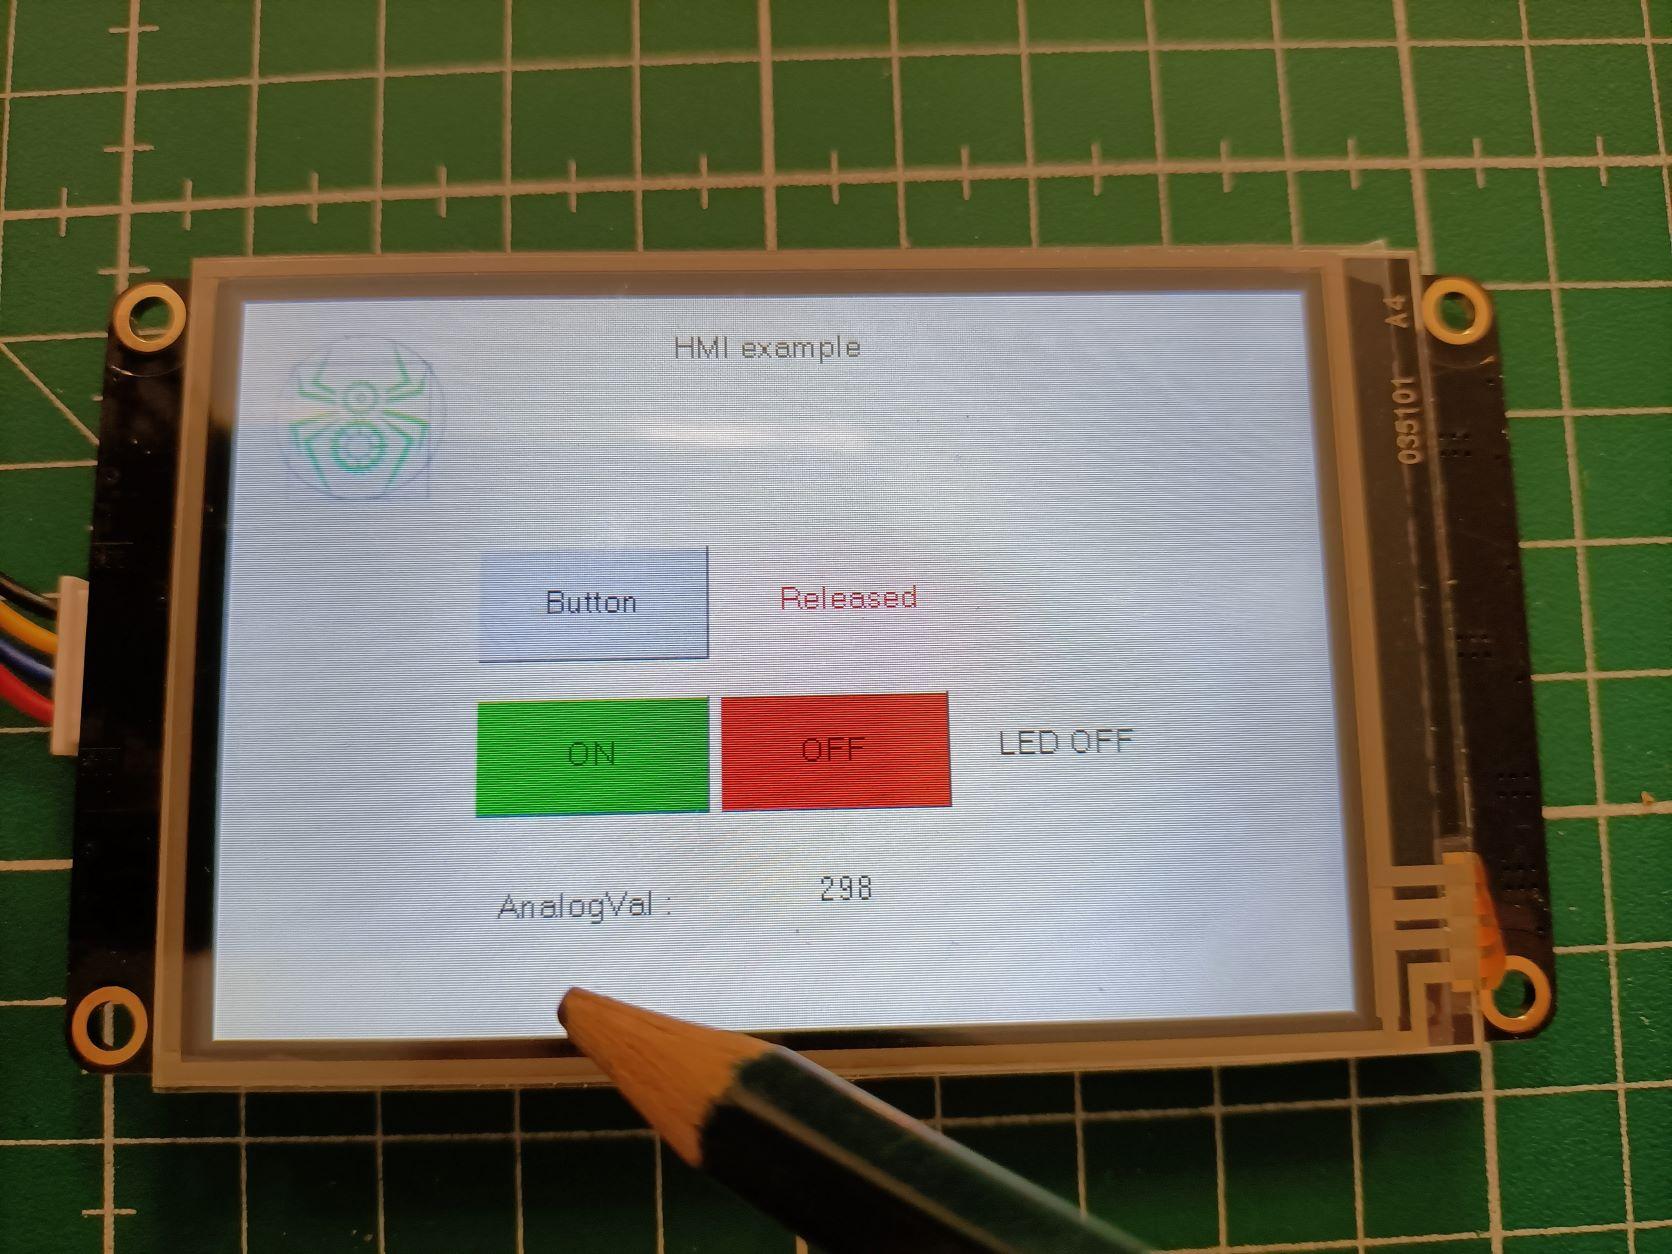
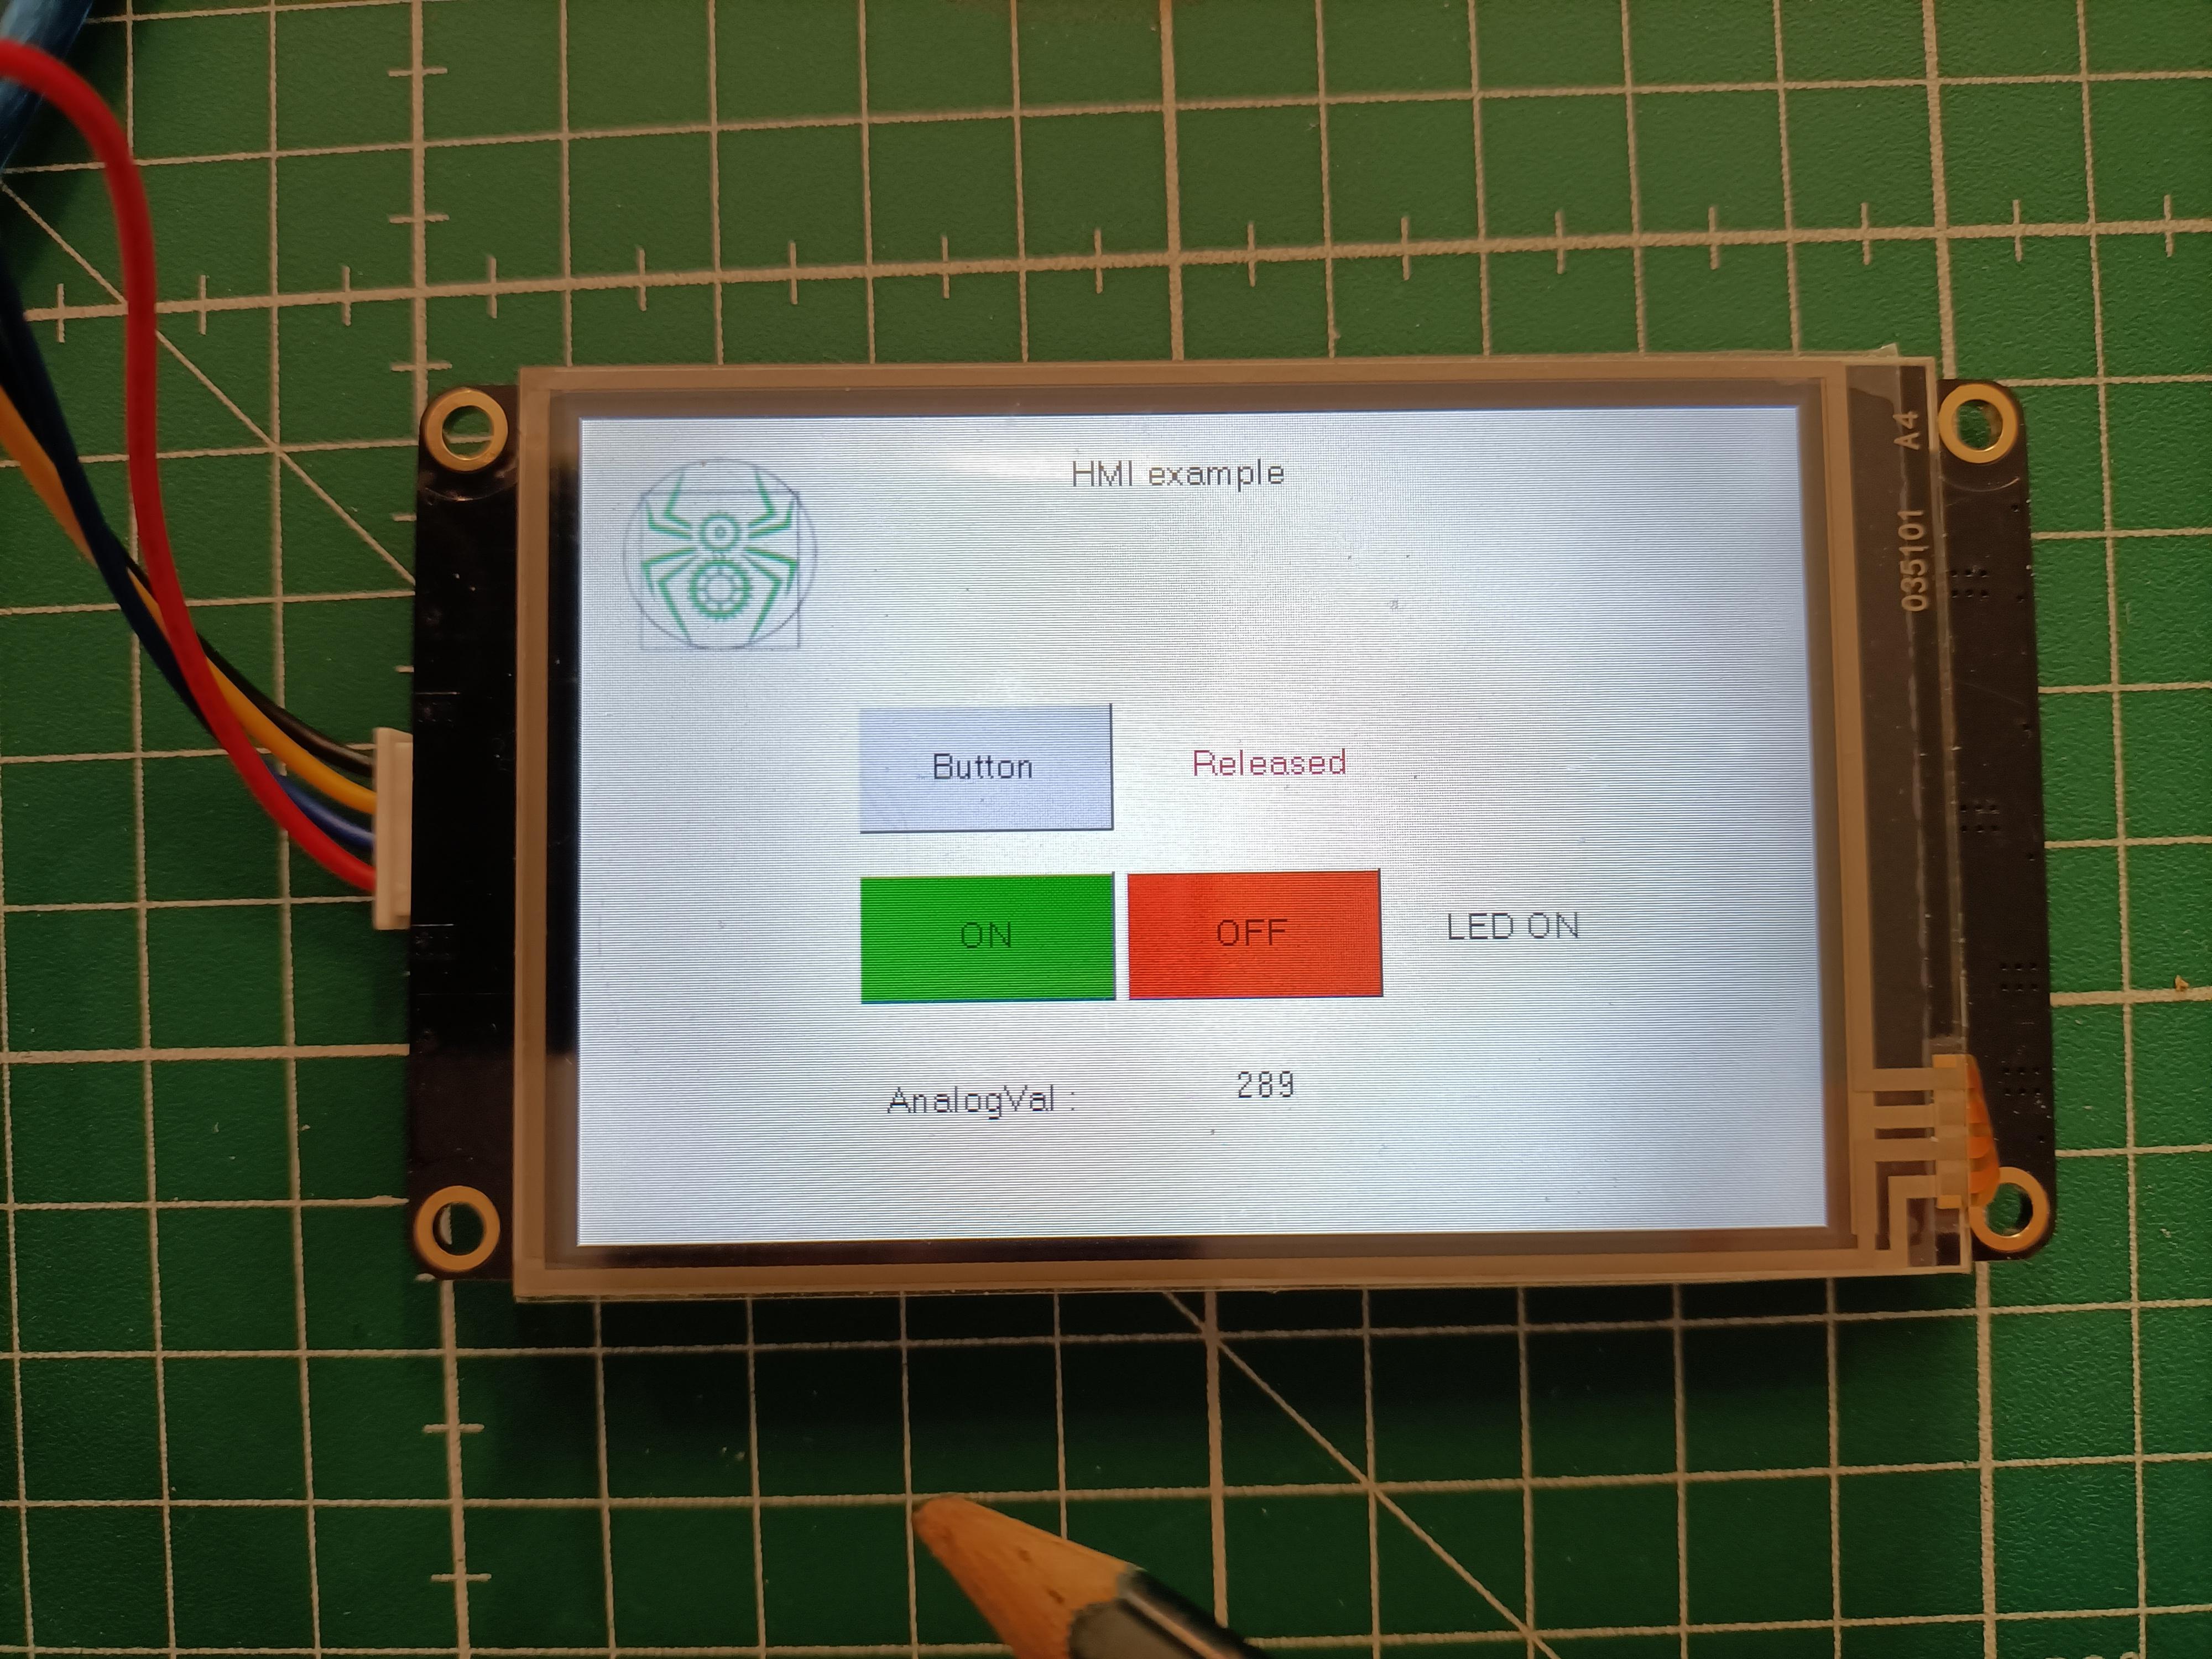
Results


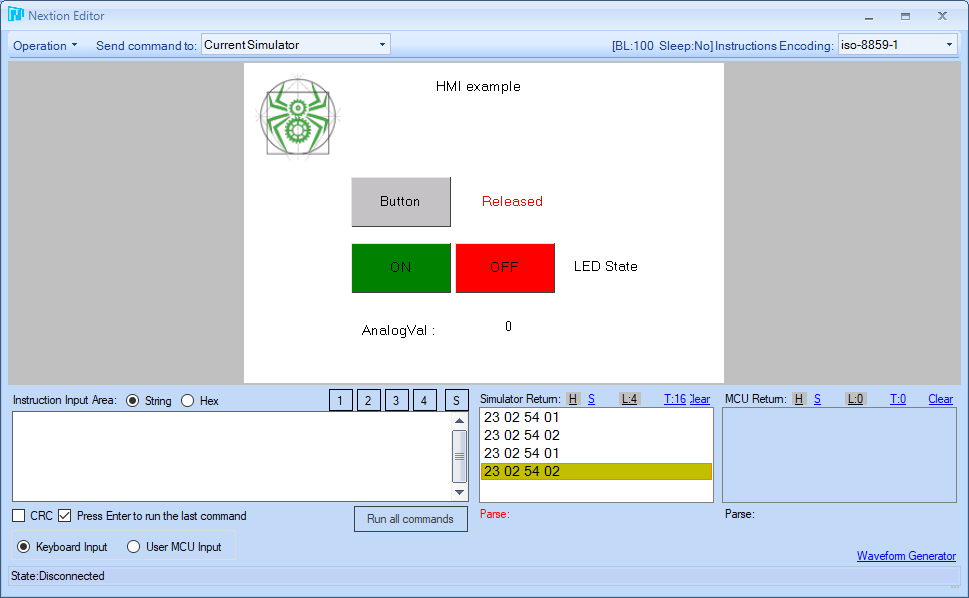
Bonus: Nextion Editor Simulator
Nextion offers a simulator for testing interactions between the display and microcontroller and the graphical user interface. This simulator can be accessed by clicking on “Debug”.