

A possible solution to the problems generated by using the delay() function is to use the millis() function. From the first use of the Arduino, the delay() function is used to manage instructions as a function of time. The major problem with the delay() function is that it blocks the execution of the code sequence. This becomes very limiting when working with several components (management of several LEDs or sensors). We will see in this tutorial how to use the millis() function to replace the delay() function.
Description of the millis() function
The millis() function takes no parameters and returns a value representing the number of milliseconds that have elapsed since the Arduino was powered up. The value is unsigned long (4-bytes or 32-bits). The maximum value it can take is 4,294,967,295 or 49 days.
N.B.: There is also the micros() function which works on the same principle but returns microseconds.
void setup() {}

void loop() {
  Serial.print("Milliseconds since ignition: ");
  Serial.println(millis())
  delay(200);
}
Replace delay()
In the first examples of Arduino, the delay() function is used to execute a block of code periodically but it is not its own function since it blocks the execution of the code. The millis() function is much more suitable for this function.
Let’s take the example of Blink again. We use the delay function to flash an LED every 200 milliseconds.
void setup() {
  pinMode(13,OUTPUT);
}

void loop() {
  digitalWrite(13,HIGH);
  delay(200);
  digitalWrite(13,LOW);
  delay(200);
}
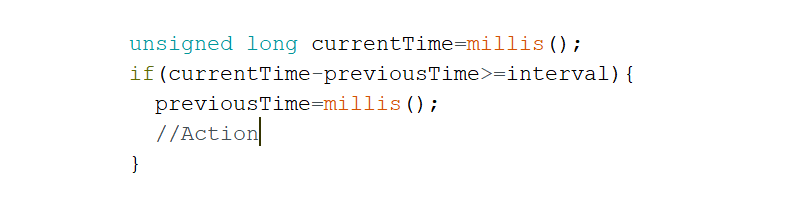
To replace this code by a structure with millis(), the idea is to create a variable in order to keep in memory at each iteration the elapsed time value and then to compare it to the current time value. At each interval, we invert the state of the led with the “!” operator.
unsigned long currentTime=0;
unsigned long previousTime=0;
bool ledState=LOW;

void setup() {
  Serial.begin(9600);
  pinMode(13,OUTPUT);
}

void loop() {
  currentTime=millis();
  if((currentTime-previousTime)>200){
    previousTime=currentTime;
    ledState=!ledState;
    digitalWrite(13,ledState);
    Serial.print(F("LED State : "));Serial.println(ledState);
  }
}
We recreate the blink example with, in addition, the possibility of executing code even if the time interval has not elapsed. In this code, the led will light on and off every 200ms.
Define different time intervals
In case you would like to have ON and OFF cycles of the LED with different times, it is possible to change the time interval depending on the status of the LED.
unsigned long currentTime=0;
unsigned long previousTime=0;
unsigned long interval,interval1=200, interval2=1000;
bool ledState=LOW;
void setup() {
  Serial.begin(9600);
  pinMode(13,OUTPUT);
}

void loop() {
  currentTime=millis();
  if(ledState){
    interval=interval2;
  }else{
    interval=interval1;
  }
  if((currentTime-previousTime)>interval){
    previousTime=currentTime;
    ledState=!ledState;
    digitalWrite(13,ledState);
    Serial.print(F("LED State : "));Serial.println(ledState);
  }
}
This code allows the LED to light up for 200ms every second.
Go further
It is important to note that the millis() function uses internal microcontroller timers and can be disrupted by the use of interrupts or other libraries.
To go to a more advanced level of programming, it is possible to use the timer management libraries (Timer.h,Timer2.h, TimerOne.h, etc.)
It is also possible to play with the registers of the microcontroller to configure the internal timers.
Sources
- Arduino reference on millis()
- The famous example Blink without delay
- Programming with Arduino