Neste tutorial, vamos configurar o Visual Studio Code para que ele possa executar o C# scripts.
Instalando o Visual Studio Code
Em seguida, abra o Visual Studio Code
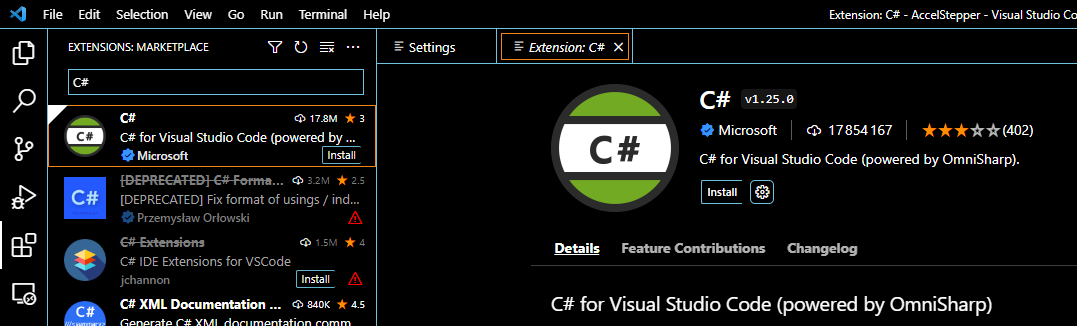
Instalar a extensão C#

Verificar se o .NET está instalado no terminal
dotnet --versionCriar uma aplicação de consola
Criar um novo projeto .NET
dotnet new console -o app
cd app
code .
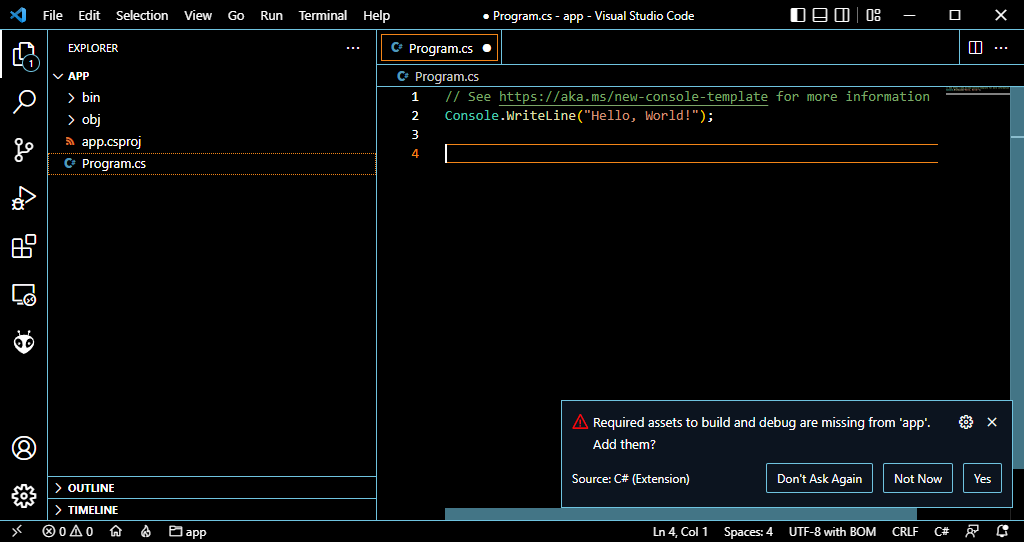
Seleccione Sim para adicionar a configuração de compilação e depuração
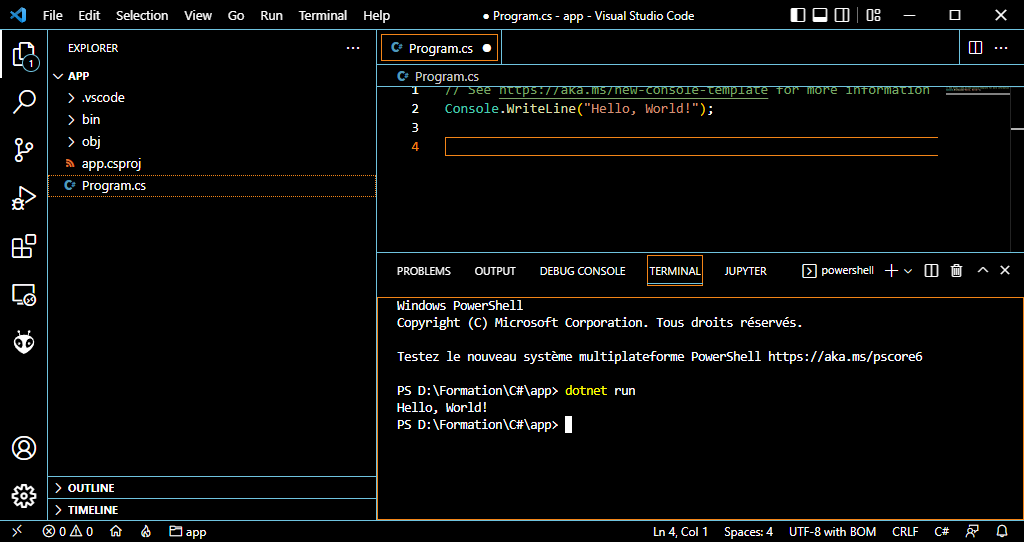
Executar o script C#
Para executar o código C#
dotnet runOu seleccione Executar > Iniciar depuração (F5)
Adicionar bibliotecas
Para adicionar bibliotecas, pode introduzir o seguinte comando, substituindo pelo nome do pacote que pretende instalar
dotnet add package como opção, pode selecionar a versão que pretende instalar (por exemplo, 1.0.0)
dotnet add package --version Criar uma interface gráfica
É possível criar uma interface gráfica com C#
Introduza o seguinte comando para criar um novo projeto winforms (apenas Windows)
dotnet new winforms -o appgui
cd appgui
code .
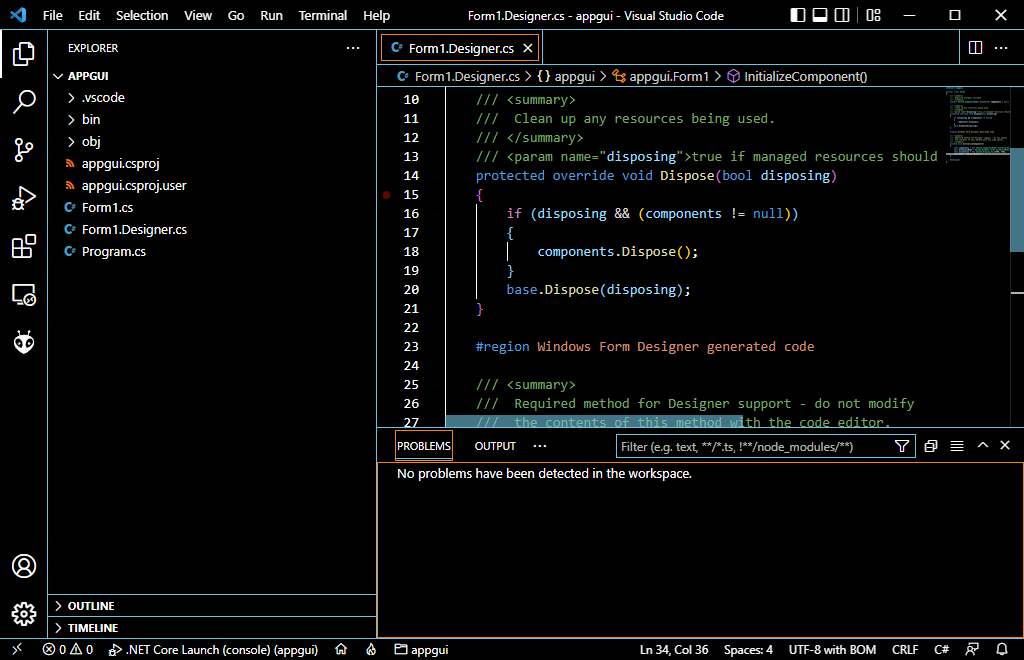
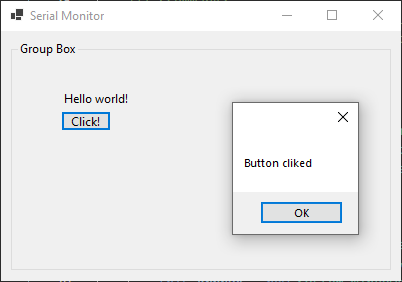
O código do Visual Studio criará vários ficheiros para definir uma interface gráfica. Pode modificar estes três ficheiros para desenvolver a sua interface. Vamos ver um exemplo simples com uma etiqueta e um botão.
- Form1Designer.cs
Este ficheiro contém a definição gráfica de cada componente da interface e a sua posição.
Neste exemplo, definimos uma etiqueta e um botão contidos numa caixa de grupo.
N.B.: Para cada elemento, é necessário
- declare-o: private System.Windows.Forms.Label label1;
- criar uma instância this.label1 = new System.Windows.Forms.Label();
- definir os parâmetros (se necessário) this.label1.Text = “Hello world!
- colocá-lo num contentor this.grpbox.Controls.Add(this.label1);
namespace appgui;

partial class Form1
{
    /// <summary>
    ///  Required designer variable.
    /// </summary>
    private System.ComponentModel.IContainer components = null;

    /// <summary>
    ///  Clean up any resources being used.
    /// </summary>
    /// <param name="disposing">true if managed resources should be disposed; otherwise, false.</param>
    protected override void Dispose(bool disposing)
    {
        if (disposing && (components != null))
        {
            components.Dispose();
        }
        base.Dispose(disposing);
    }

    #region Windows Form Designer generated code

    /// <summary>
    ///  Required method for Designer support - do not modify
    ///  the contents of this method with the code editor.
    /// </summary>
    private void InitializeComponent()
    {
        this.components = new System.ComponentModel.Container();
        this.AutoScaleMode = System.Windows.Forms.AutoScaleMode.Font;
        this.ClientSize = new System.Drawing.Size(400, 250);
        this.Text = "Form1";

        // components
        this.label1 = new System.Windows.Forms.Label();
        this.button1 = new System.Windows.Forms.Button();
        this.grpbox = new System.Windows.Forms.GroupBox();

        // label1
        this.label1.AutoSize = true;
        this.label1.Location = new System.Drawing.Point(50, 50);
        this.label1.Name = "label1";
        this.label1.Size = new System.Drawing.Size(50, 10);
        this.label1.TabIndex = 3;
        this.label1.Text = "Hello world!";
        //button1
        this.button1.Location = new System.Drawing.Point(50, 70);
        this.button1.Name = "button1";
        this.button1.Size = new System.Drawing.Size(50, 20);
        this.button1.TabIndex = 0;
        this.button1.Text = "Click!";
        this.button1.UseVisualStyleBackColor = true;
        this.button1.Click += new System.EventHandler(this.button1_Click);

        //grpbox
        this.grpbox.Controls.Add(this.label1);
        this.grpbox.Controls.Add(this.button1);
        this.grpbox.Location = new System.Drawing.Point(10, 10);
        this.grpbox.Name = "grpbox";
        this.grpbox.Size = new System.Drawing.Size(380, 230);
        this.grpbox.TabIndex = 0;
        this.grpbox.TabStop = false;
        this.grpbox.Text = "Group Box";

        //layout
        this.Controls.Add(this.grpbox);

    }

    private System.Windows.Forms.Label label1;
    private System.Windows.Forms.GroupBox grpbox;
    private System.Windows.Forms.Button button1;

    #endregion
}
- Form1.cs
Este ficheiro define a forma como os componentes irão reagir.
Neste exemplo, quando o botão é premido, é apresentada uma mensagem numa nova janela
namespace appgui;

public partial class Form1 : Form
{
    public Form1()
    {
        InitializeComponent();
    }

    private void button1_Click(object sender, EventArgs e)
    {
        MessageBox.Show("Button cliked");
    }
}
- Programa.cs
Este ficheiro é utilizado para lançar a aplicação. Não deve ser necessário modificar este ficheiro imediatamente.
namespace appgui;

static class Program
{
    /// <summary>
    ///  The main entry point for the application.
    /// </summary>
    [STAThread]
    static void Main()
    {
        // To customize application configuration such as set high DPI settings or default font,
        // see https://aka.ms/applicationconfiguration.
        ApplicationConfiguration.Initialize();
        Application.Run(new Form1());
    }
}
Se executar o código e premir o botão, deverá obter o seguinte resultado