Neste tutorial, vamos aprender a ativar e gerir o Bluetooth Low Energy (BLE) num ESP32 utilizando a linguagem de programação Arduino.
O Bluetooth Low Energy é uma versão de baixo consumo de energia do Bluetooth que permite o envio de pequenos pacotes de dados a intervalos regulares.
Equipamento
- Um módulo ESP32 (Bluetooth+Wifi integrados)
- Um computador com Python instalado ou um smartphone
- Cabo USB para ligação ao computador ESP32
Configuração do ambiente e do IDE
Para programar o seu ESP32 com o IDE Arduino, pode seguir este tutorial anterior.
Communication Série via BLE
A comunicação BLE deve ser configurada com um determinado número de endereços (UIID), que são como registos de memória nos quais podemos ler e escrever.
//https://github.com/espressif/arduino-esp32/tree/master/libraries/BLE

#include <BLEDevice.h>
#include <BLEUtils.h>
#include <BLEServer.h>

// See the following for generating UUIDs:
// https://www.uuidgenerator.net/

#define SERVICE_UUID        "4fafc201-1fb5-459e-8fcc-c5c9c331914b"
#define CHARACTERISTIC_UUID "beb5483e-36e1-4688-b7f5-ea07361b26a8"


class MyCallbacks: public BLECharacteristicCallbacks {
    void onWrite(BLECharacteristic *pCharacteristic) {
      std::string value = pCharacteristic->getValue();

      if (value.length() > 0) {
        Serial.println("*********");
        Serial.print("New value: ");
        for (int i = 0; i < value.length(); i++)
          Serial.print(value[i]);

        Serial.println();
        Serial.println("*********");
      }
    }
};

void setup() {
  Serial.begin(115200);

  Serial.println("1- Download and install an BLE Terminal FREE");
  Serial.println("2- Scan for BLE devices in the app");
  Serial.println("3- Connect to ESP32BLE");
  Serial.println("4- Go to CUSTOM CHARACTERISTIC in CUSTOM SERVICE and write something");

  BLEDevice::init("ESP32BLE");
  BLEServer *pServer = BLEDevice::createServer();

  BLEService *pService = pServer->createService(SERVICE_UUID);

  BLECharacteristic *pCharacteristic = pService->createCharacteristic(
                                         CHARACTERISTIC_UUID,
                                         BLECharacteristic::PROPERTY_READ |
                                         BLECharacteristic::PROPERTY_WRITE
                                       );

  pCharacteristic->setCallbacks(new MyCallbacks());

  pCharacteristic->setValue("Hello World");
  pService->start();

  BLEAdvertising *pAdvertising = pServer->getAdvertising();
  pAdvertising->start();

  Serial.print("Server address:");
  Serial.println(BLEDevice::getAddress().toString().c_str());
}

void loop() {
  // put your main code here, to run repeatedly:
  delay(2000);
}
Nota: é possível obter o endereço MAC do ESP32 utilizando a função BLEDevice::getAddress().toString().c_str().
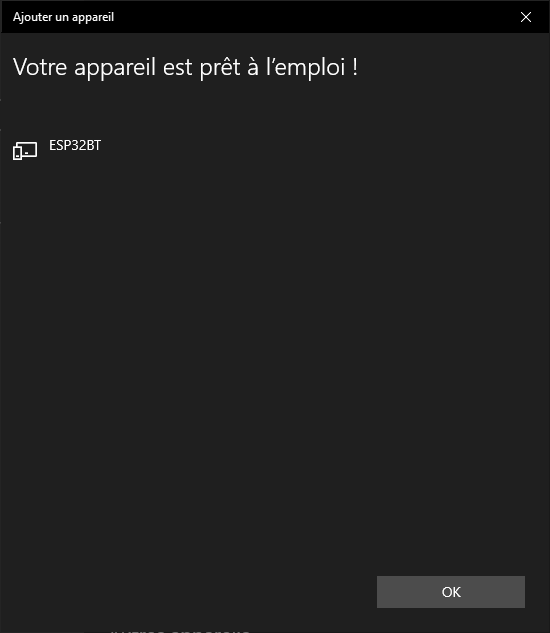
Emparelhamento
Uma vez configurado o módulo, pode emparelhar o ESP32 com o sistema da sua escolha, como qualquer outro dispositivo Bluetooth. Seleccione o nome na lista dos dispositivos detectados (nome ESP32BLE)
Teste da comunicação BLE utilizando o terminal BLE
Vamos testar a comunicação BLE utilizando a aplicação Terminal BLE.
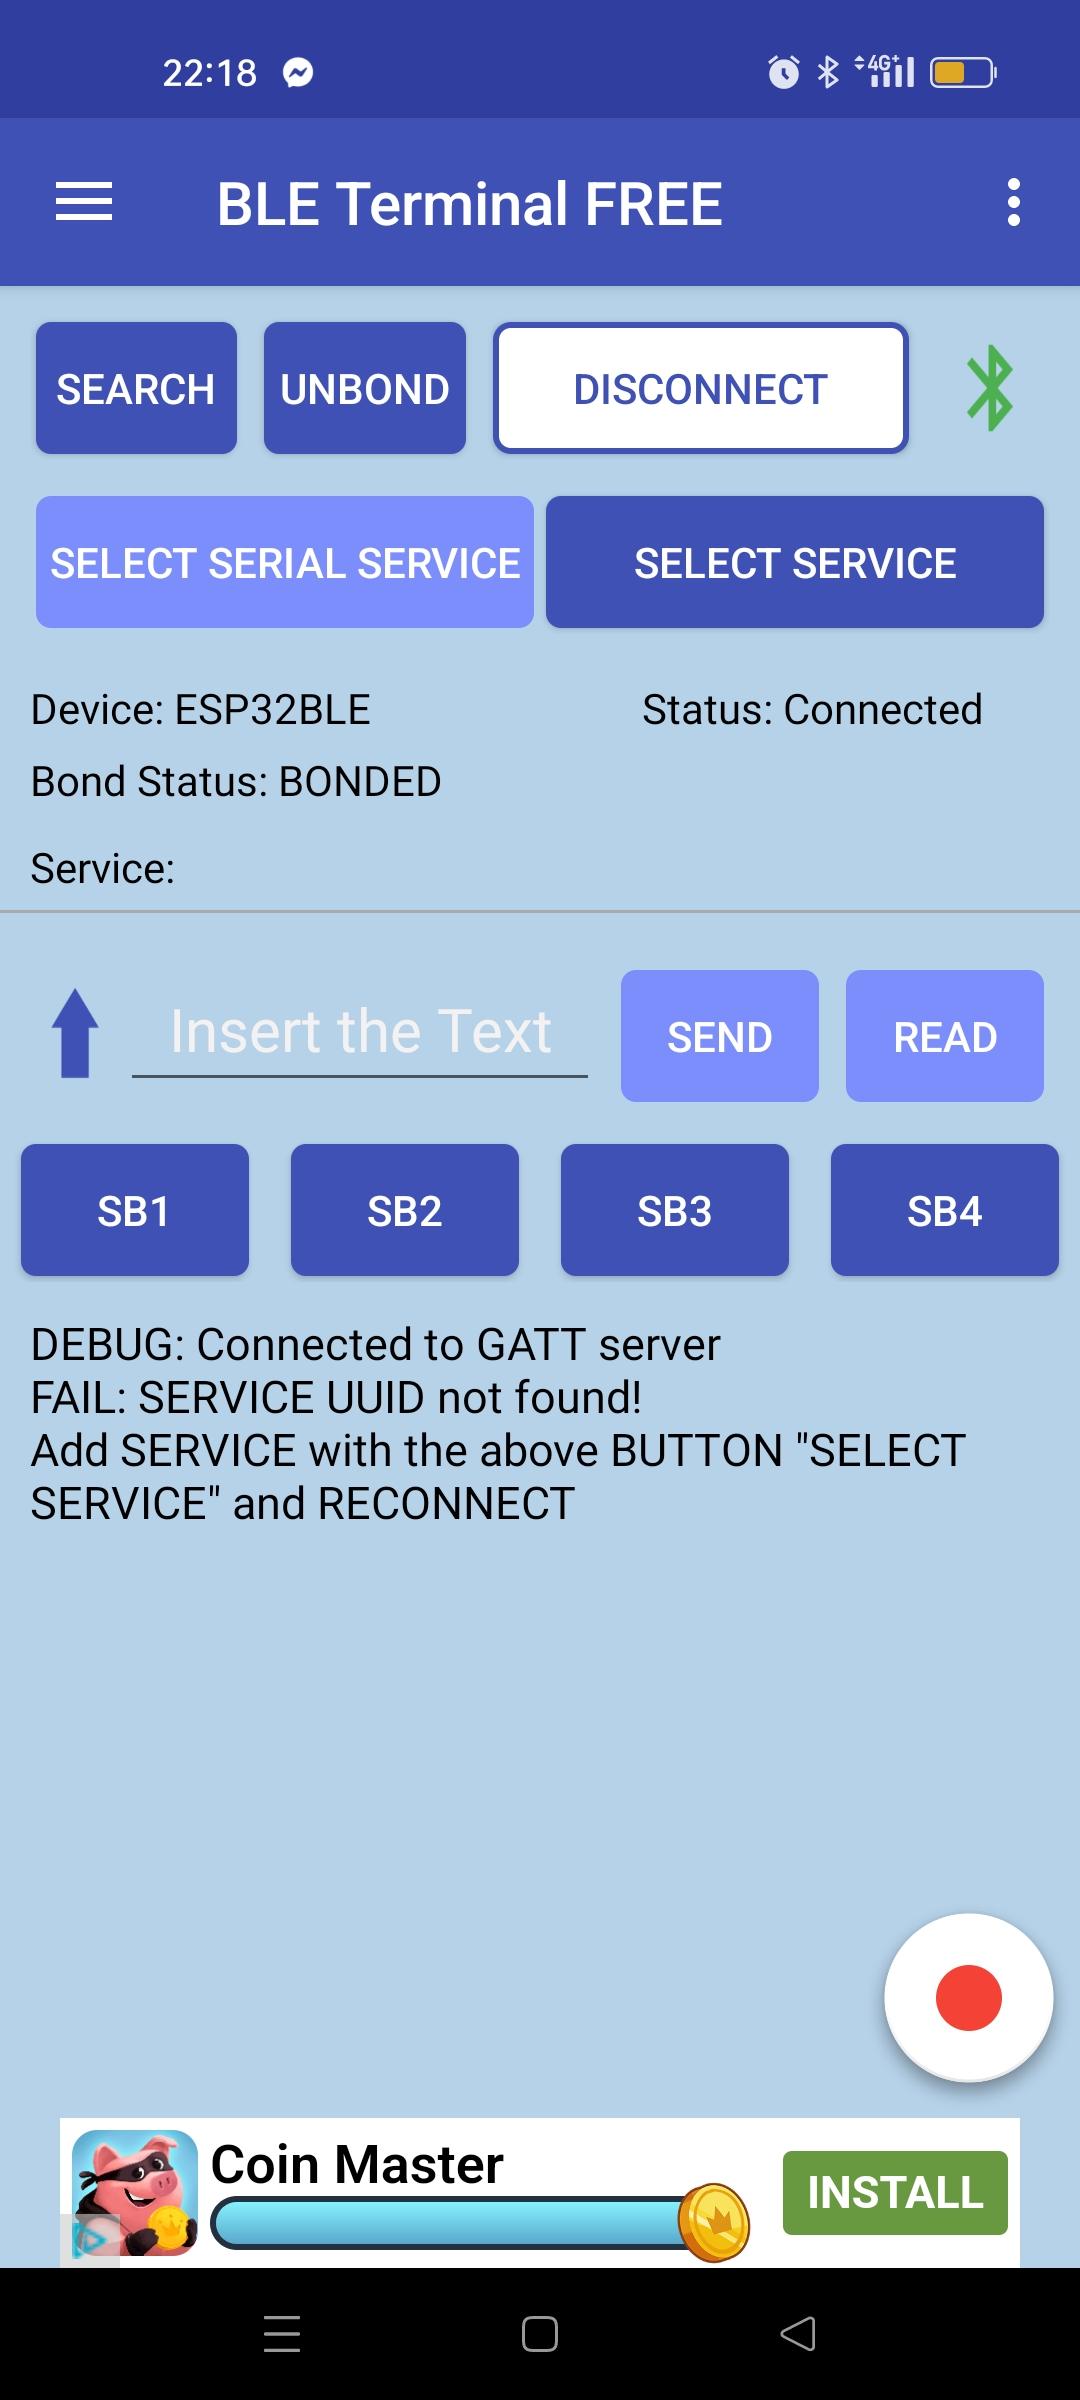
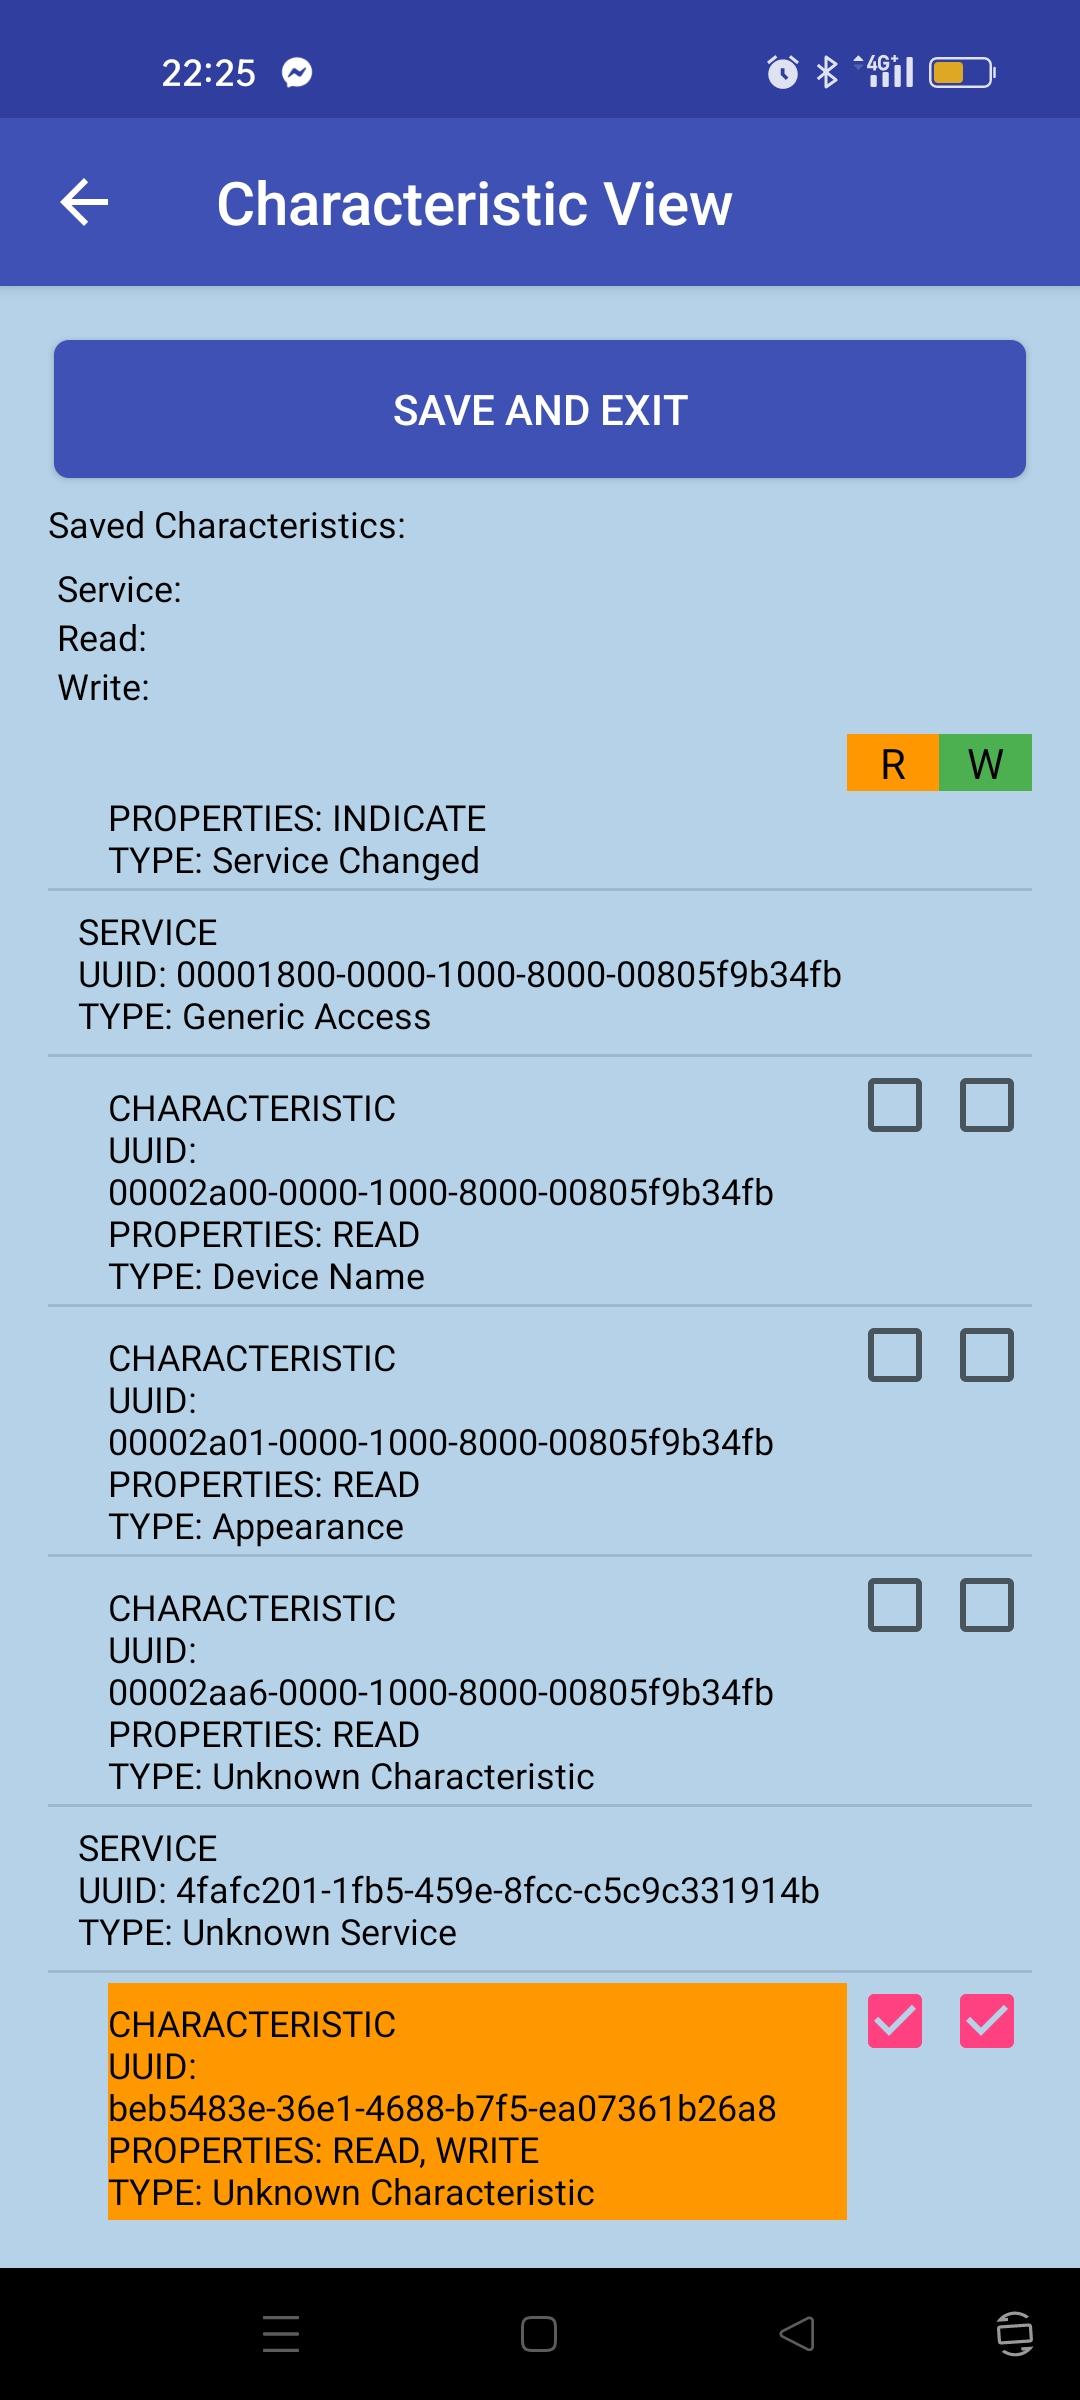
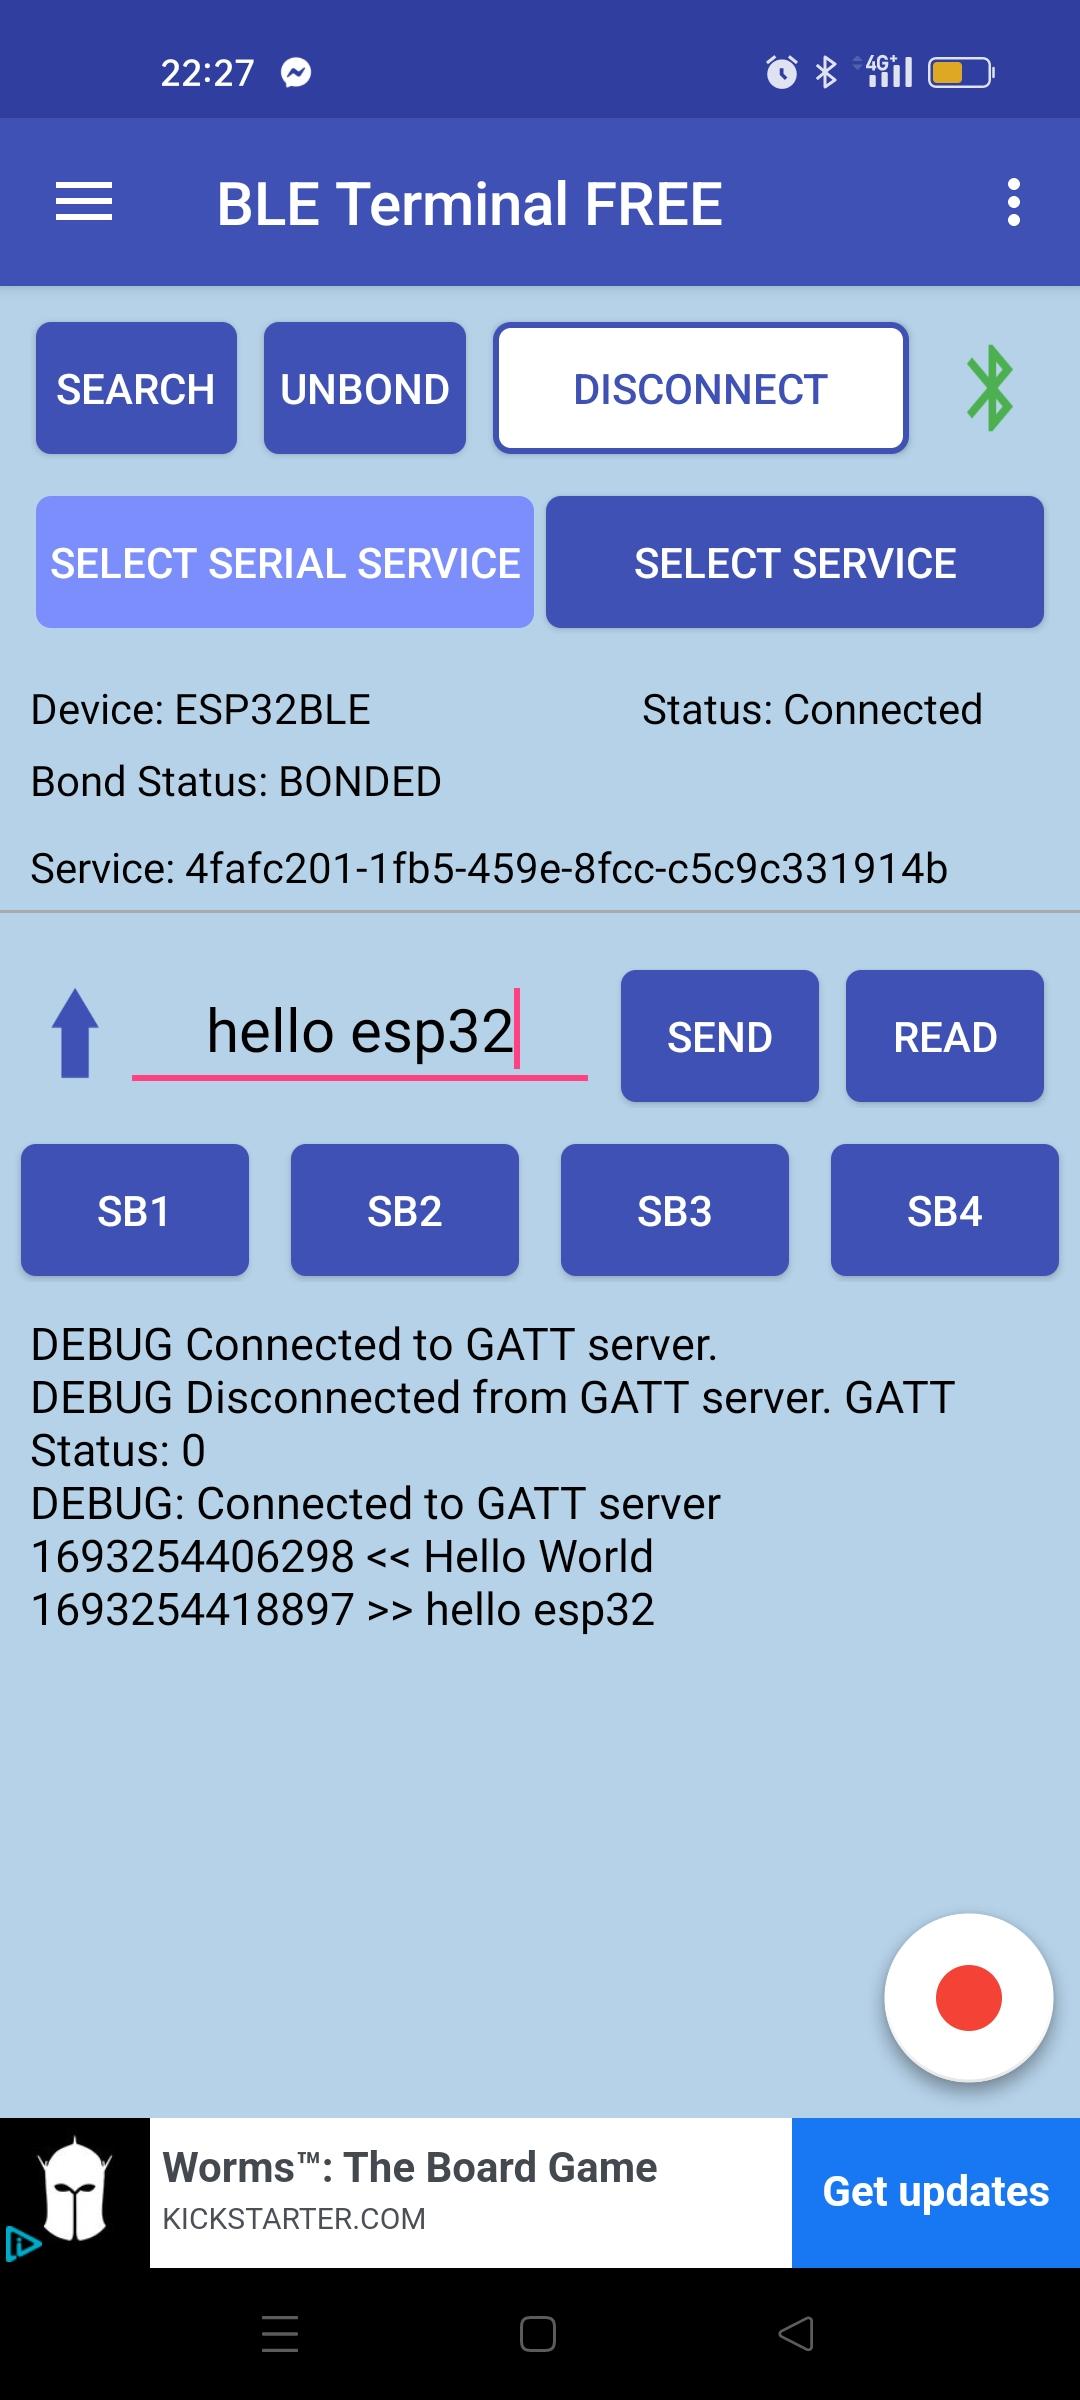

A mensagem é trocada entre o telemóvel e o ESP32 através de Bluetooth LE
Comunicação bidirecional entre o dispositivo e o ESP32BLE
Este é o código utilizado para modificar o valor da caraterística através do monitor serial. O dispositivo conectado e o monitor serial modificam o valor da caraterística.
#include <BLEDevice.h>
#include <BLEUtils.h>
#include <BLEServer.h>

// See the following for generating UUIDs:
// https://www.uuidgenerator.net/

#define SERVICE_UUID        "4fafc201-1fb5-459e-8fcc-c5c9c331914b"
#define CHARACTERISTIC_UUID "beb5483e-36e1-4688-b7f5-ea07361b26a8"

BLECharacteristic *pCharacteristic = NULL;

std::string msg;

class MyCallbacks: public BLECharacteristicCallbacks {
    void onWrite(BLECharacteristic *pCharacteristic) {
      std::string value = pCharacteristic->getValue();

      if (value.length() > 0) {
        Serial.println("*********");
        Serial.print("New value: ");
        for (int i = 0; i < value.length(); i++)
          Serial.print(value[i]);

        Serial.println();
        Serial.println("*********");
      }
    }
};

void setup() {
  Serial.begin(115200);

  Serial.println("1- Download and install an BLE Terminal Free");
  Serial.println("2- Scan for BLE devices in the app");
  Serial.println("3- Connect to ESP32BLE");
  Serial.println("4- Go to CUSTOM CHARACTERISTIC in CUSTOM SERVICE and write something");

  BLEDevice::init("ESP32BLE");
  BLEServer *pServer = BLEDevice::createServer();

  BLEService *pService = pServer->createService(SERVICE_UUID);

  pCharacteristic = pService->createCharacteristic(
                                         CHARACTERISTIC_UUID,
                                         BLECharacteristic::PROPERTY_READ |
                                         BLECharacteristic::PROPERTY_WRITE
                                       );

  pCharacteristic->setCallbacks(new MyCallbacks());

  pCharacteristic->setValue("Hello World");
  pService->start();

  BLEAdvertising *pAdvertising = pServer->getAdvertising();
  pAdvertising->addServiceUUID(SERVICE_UUID);
  pAdvertising->setScanResponse(true);
  pAdvertising->setMinPreferred(0x06);  // functions that help with iPhone connections issue
  pAdvertising->setMinPreferred(0x12);
  pAdvertising->start();

  Serial.print("Server address:");
  Serial.println(BLEDevice::getAddress().toString().c_str());
}

void loop() {
  readSerialPort();

  //Send data to slave
  if(msg!=""){
    pCharacteristic->setValue(msg);
    msg="";
  }

  delay(2000);
}

void readSerialPort(){
 while (Serial.available()) {
   delay(10);
   if (Serial.available() >0) {
     char c = Serial.read();  //gets one byte from serial buffer
     msg += c; //add to String
   }
 }
 Serial.flush(); //clean buffer
}
Na prática, será certamente preferível utilizar um serviço para a escrita e outro para a leitura.
Comunicação entre o ESP32 e o Python via BLE
Pode gerir a comunicação Bluetooth Low Energy a partir do seu PC.
Para isso, instale o pacote Bleak
python -m pip install bleak
Detetar dispositivos bluetooth
import asyncio
from bleak import BleakScanner

async def main():
	target_name = "ESP32BLE"
	target_address = None

	devices = await BleakScanner.discover()
	for d in devices:
		print(d)
		if target_name == d.name:
			target_address = d.address
			print("found target {} bluetooth device with address {} ".format(target_name,target_address))
			break
asyncio.run(main())
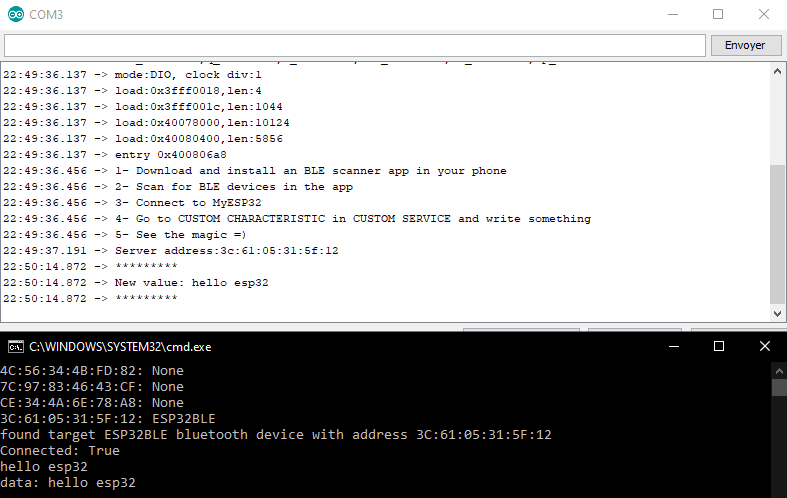
Saída
C1:2E:C6:8E:47:E8: None
3C:61:05:31:5F:12: ESP32BLE
found target ESP32BLE bluetooth device with address 3C:61:05:31:5F:12
Ligação e comunicação com o ESP32
Eis um script Python para ligar automaticamente o dispositivo ESP32 BLE a partir de um PC. Para comunicar com o dispositivo BLE, é importante conhecer o uiid dos diferentes serviços. Definimos os UUIDs como os definidos no código do ESP32
import asyncio
from bleak import BleakScanner
from bleak import BleakClient

async def main():
	target_name = "ESP32BLE"
	target_address = None

	SERVICE_UUID=        "4fafc201-1fb5-459e-8fcc-c5c9c331914b"
	CHARACTERISTIC_UUID= "beb5483e-36e1-4688-b7f5-ea07361b26a8"

	devices = await BleakScanner.discover()
	for d in devices:
		print(d)
		if target_name == d.name:
			target_address = d.address
			print("found target {} bluetooth device with address {} ".format(target_name,target_address))
			break

	if target_address is not None:
		async with BleakClient(target_address) as client:
			print(f"Connected: {client.is_connected}")

			while 1:
				text = input()
				if text == "quit":
					break

				await client.write_gatt_char(CHARACTERISTIC_UUID, bytes(text, 'UTF-8'), response=True)

				try:
					data = await client.read_gatt_char(CHARACTERISTIC_UUID)
					data = data.decode('utf-8') #convert byte to str
					print("data: {}".format(data))
				except Exception:
					pass


	else:
		print("could not find target bluetooth device nearby")


asyncio.run(main())
Aplicação
- Criar um sensor IoT ligado que envia dados através de BLE
- Criar um terminal BLE com o React Native