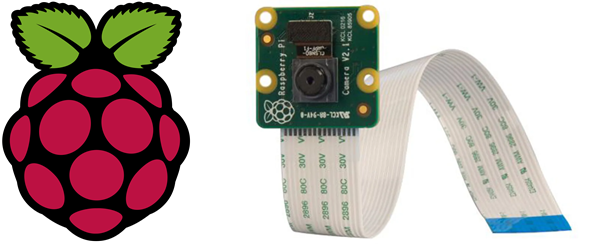
One of the most interesting elements to add is the Raspberry Pi Camera V2 or PiCam. This component allows you to take photos and videos. It is also possible to perform live image processing, such as line tracking for a robot.
Material
- Raspberry Pi with a Linux distribution (for example Raspbian).
- PiCamV2 and its connection (note that the RaspberryPi Zero does not have a CSI port like other Raspberry models, so you need to buy a special Raspberry Pi Zero flex cable).
Hardware installation of the PiCam
First, turn off your Raspberry to insert the camera cable into the CSI port. Gently pull the lock on the CSI port to release it and insert the camera cable without forcing it. Close the latch, test that the cable is securely held in place, and turn the Raspberry back on once you have completed these steps.
Software installation
With the Raspberry Pi turned on and the camera connected, open a terminal and type the command :
$sudo raspi-confiA window like the one below will open, go to suggestion 5 entitled “Interfacing Options” and press Enter.
You are now in the window below:

Click Enter once on proposal 1: “Camera” and allow the connection to a Camera.
Now your PiCam is set up and we can start writing our first code to take a picture.
Code
Go to a directory where you want to write your code and type the following commands:
$ nano test_picam.pyWrite the following lines inside this file:
from time import sleep
from picamera import PiCamera

camera = PiCamera()
camera.resolution = (1024, 768)
camera.start_preview()
sleep(2)
camera.capture('testPhoto.jpg')   #Mettez le nom de l’image et le chemin du dossier dans lequel vous souhaitez stocker l’image (si vous mettez juste le nom, l’image s’enregistrera dans le dossier du code python)
camera.stop_preview()
Application :
- Image processing and recognition with OpenCV : https://www.aranacorp.com/fr/traitement-dimage-avec-open-cv-detection-dun-cable-avec-python/
- Create a monitoring system

