Programming in C++ with VS Code
Installing and configuring VS Code If you haven’t already done so, download and install Visual Studio Code Installing the C\ extension Installation of the Code Runner extension. This extension is optional, but will enable you to run code in an external terminal...
C++ programming with OpenCV and VS Code
We’re going to program using OpenCV and C++ under VS Code. Configuring VS Code and the libraries for certain languages can be complicated. In this tutorial, we’ll look at how to set up a computer and VS Code so you can develop with OpenCV and C++....Code C/C++ testing and optimization with GNU
Optimizing C code for embedded systems C code optimization is necessary for embedded systems because, in order to save on hardware costs, we plan for the bare minimum in terms of interface, memory and computing capacity. For a fixed computer, however, low execution...
Programming in Python with VSCode
The VSCode code editor lets you create and develop projects in various programming languages, such as Python or C++, thanks to numerous extensions. Installing VSCode If you haven’t already done so, download and install VSCode Using a code editor like VSCode is...
Programming an ESP32 with VSCode and ESP-IDF
In this tutorial, we’ll look at how to program an ESP32 using the ESP-IDF environment with VSCode. ESP-IDF, or Espressif IoT Development Framework, is the official programming environment for ESP32s, enabling the programming of high-quality applications in C and...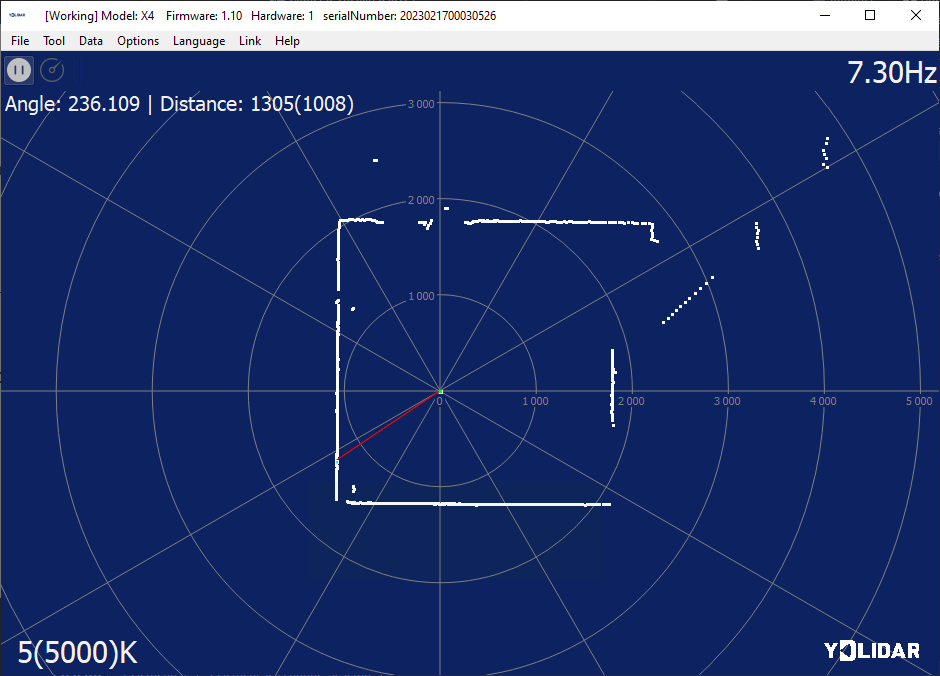
Using a Lidar sensor with Python
In this tutorial, we’ll look at how to set up a Lidar sensor map in Python. The lidar sensor is used for spatial orientation and mapping. Lidar sensor description The lidar sensor is a laser distance sensor coupled to a motor that drives it. It behaves like a...Setting up RetroPie on Raspberry Pi
The Raspberry Pi microcomputer is used for a variety of purposes, including retro-gaming with RetroPie. In this tutorial, we’ll show you how to install, configure and use RetroPie on a Raspberry Pi. Hardware Raspberry Pi 4 or other compatible boards...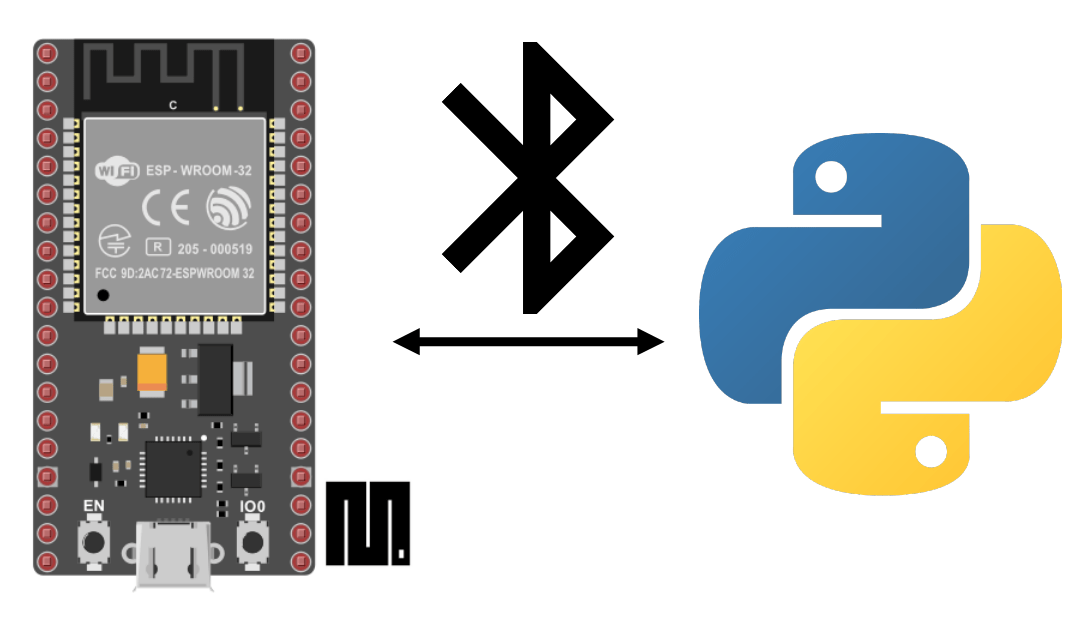
BLE management on an ESP32 with MicroPython
In this tutorial, we’ll learn how to manage and test BLE (Bluetooth Low Energy) communication on an ESP32 with MicroPython. Equipment An ESP32 module A computer with Python installed USB cable for ESP32-computer connection An Android device IDE environment and...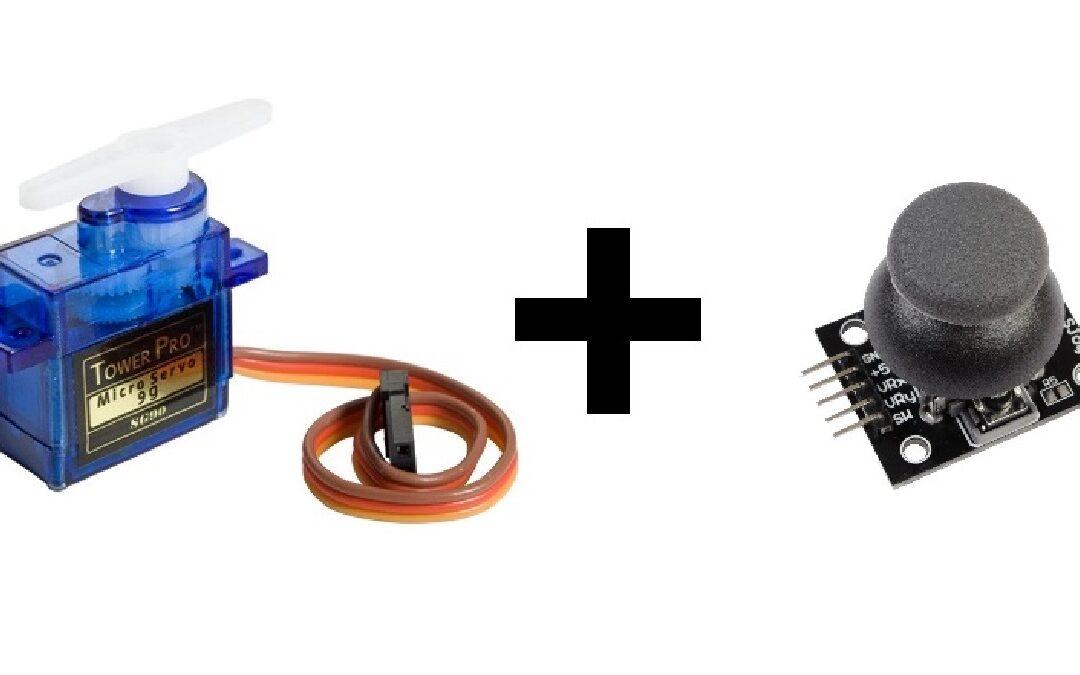
Controlling servomotors with an Arduino joystick
One of the main objectives of robotics is to articulate objects. And to do this, we can also act on the articulation of objects via user action directly on the system. In this article, we’ll look at how to program the Arduino board to drive servo motors with a...Products
-
 Robotic kit Quadrina Servo MG90S
208.33€
Robotic kit Quadrina Servo MG90S
208.33€
-
 STL file QuadrinaV1
1.50€
STL file QuadrinaV1
1.50€
-
 Robotic kit Rovy for DC Motor TTGM
137.50€
Robotic kit Rovy for DC Motor TTGM
137.50€
-
 Robotic kit WillySR Servo FS90R
100.00€
Robotic kit WillySR Servo FS90R
100.00€
License
![]()
Files are licensed under the Creative Commons – Attribution – Non-Commercial license