If you use your Raspberry Pi regularly, it’s a good idea to make a backup of the SD card. One of the weaknesses of the Raspberry Pi is that the SD card can become corrupted. So it’s a good idea to make an image of the SD card in order to retain its codes and programs, so that you can reload it in the event of a problem.
Hardware
- Computer
- Raspberry Pi SD card
Causes of SD card corruption
Over time, the Raspberry Pi’s SD card can become corrupted at random. A corrupt SD card means that memory areas have been damaged or accidentally rewritten. Once the card is corrupted, it’s impossible to restart the Raspberry Pi correctly (boot). In general, it’s necessary to perform a clean installation of the OS.
Here are some known causes of corruption
- A poor-quality SD card that doesn’t meet the same standards as reputable brands
- Electromagnetic fields (EMC). Bringing a magnet close to a storage device is never a good idea.
- Power outages
- Cut power before shutting down the Raspberry Pi
- Removing the SD card while the Raspberry is switched on
N.B.: It’s worth noting that the backup procedure is more likely to work if the SD cards used are of the same capacity and brand. Even if the Raspberry Pi doesn’t boot, you can still recover the files by mounting the uncorrupted SD card on a Linux computer.
Installing Win32 Disk Imager
To make a backup of the Raspberry Pi’s SD card, we’re going to use Win32 Disk Imager. This freeware allows you to make backups of CDs or storage devices, such as SD cards, as images (.img). Once the backup has been saved as a file, it can be written to a new storage device.
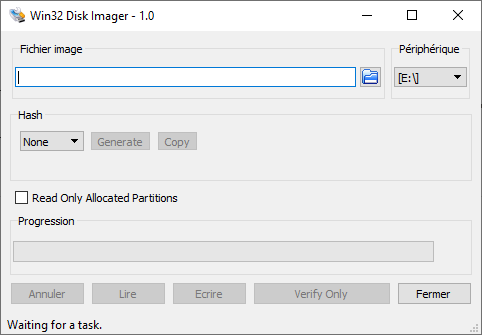
Download and run Win32 Disk Imager
N.B.: An alternative to this software is balenaEtcher, which runs on Linux and MacOS.
Reading SD cards with Win32 Disk Imager
Before reading the map, choose a name and location for the .img file.
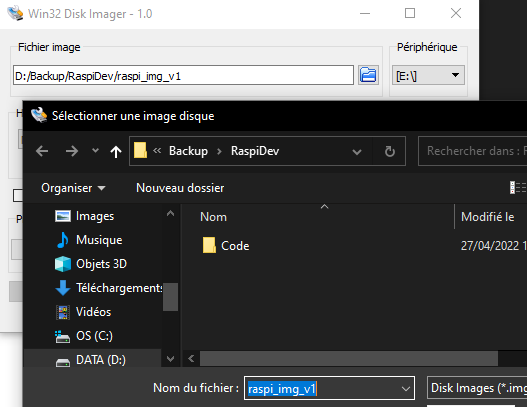
Select the device to be backed up (in this case E:_). Then press “Read”.

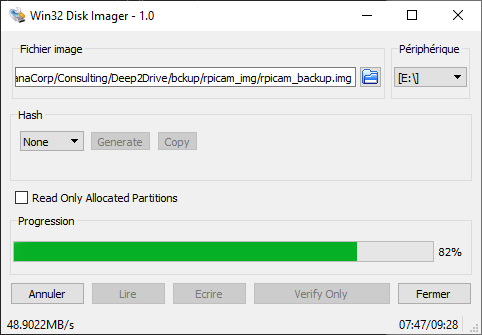
Writing to SD card with Win32 Disk Manager
To load the backup onto a new card, simply insert the SD card and select the volume under Win32 Disk Imager.
Then press “Write”.
Once loading is complete, you can insert the SD card into your Raspberry Pi and switch it on. You should find your Raspberry Pi just as you left it.
You can repeat this procedure for each development iteration to keep the Raspberry Pi configuration for your projects.
Negative points and alternatives
The downside of this method is that the entire SD card is recorded. You’ll end up with files ranging from 32 to 128GB, which is huge, especially if you have several projects. In another tutorial, I propose a light backup method that will enable you to quickly restore your Raspberry Pi.


