In this tutorial, we’ll look at the best practices for arranging a Python project so that it can be shared and deployed.
Whether it’s software, a library, a web app or a mobile app, if you want to share your work, you need to organize and document it properly.
You can apply these practices to the Serial Monitor project
Create a virtual environment
When you want to create a project that you’re going to share and maintain over the long term, it’s essential to integrate it into a virtual environment to isolate its dependencies (libraries used, versions, etc.).
Under Windows, make sure that the version of python you are using can be called with python.exe
python -m pip install python3-venv–> pour installerpython -m venv venv–> créer un environnement virtuelsource venv/bin/activate–> activer l’environnementdeactivate–> désactiver l’environnement
N.B.: Under Windows, to open the console at the desired location, you can create a start_console.bat file into which you copy the command
start cmd.exe
You can run the file by double-clicking to open the terminal.
Once the environment has been created, you can add or remove packages.
pip install <package_name>
pip install <package_name>==<version>
pip uninstall <package_name>
And keep track of the packages and versions used in the requirements.txt file.
pip freeze > requirements.txtPython project file architecture
Based on Kenneth Reitz’s recommendations, here’s the file structure to adopt.
- If your project consists of a single file
helloworld/
│
├── .gitignore
├── helloworld.py
├── LICENSE
├── README.md
├── requirements.txt
├── setup.py
└── tests.py- For more complex projects involving different modules
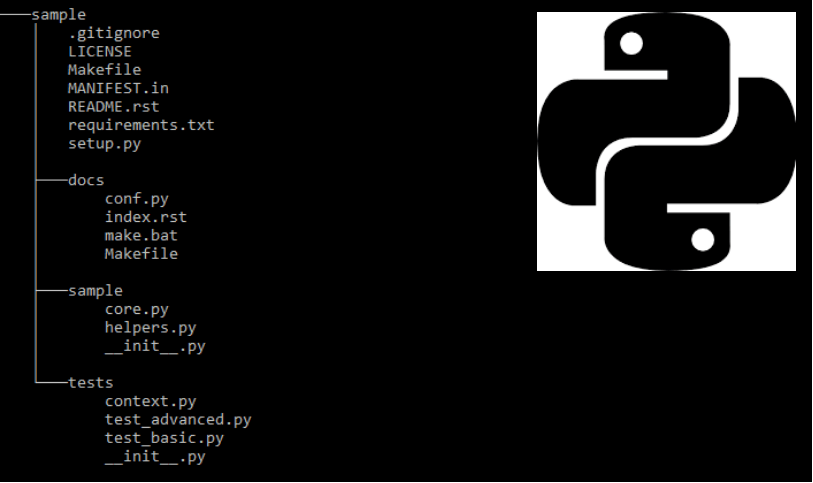
sample
│
├── docs
│   ├── conf.py
│   ├── index.rst
├── sample
│   ├── __init__.py
│   ├── core.py
│   ├── helpers.py
├── tests
│   ├── test_basic.py
│   ├── test_advanced.py
├── LICENSE
├── README.md
├── requirements.txt
├── setup.py
N.B.: To display your folder tree, you can use the command tree
In practice, you’re free to create your own folder architecture. The important thing is that it’s functional, modular and organized.
Here is a description of the essential architecture files
- sample.py or sample: contains the source code with one or more modules
- README: project description, installation guide, source and example. Possible evolutions
- LICENSE: contains license and copyrights under which you publish the code
- requirements.txt: contains all dependencies and versions required by the script
- setup.py: manages the distribution and construction of the Python project
- docs: contains project documentation
- tests: contains the project’s test scripts
Once you’ve set up this architecture, you can use and adapt it for all your Python projects.


