In this tutorial, we’ll look at how to program a smartphone application using React Native and VSCode. React Native is a powerful tool for creating cross-platform applications (Android, IOs) using the JavaScript language. Visual Studio Code is a code editor for development in C++, Python and React Native.
We’ve already seen how to create an Android application with App Inventor 2 in the context of an Arduino or Raspberry Pi project. With React Native, although more complex, you’ll be able to create more advanced applications and develop on Android and IOs.
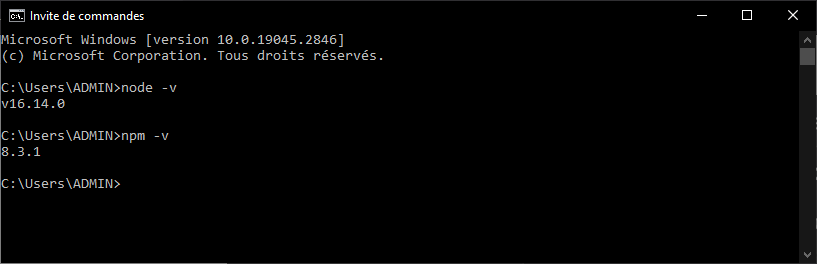
Installing Node.js
Node.js is a Javascript runtime environment for back-end and front-end development.
To install Node.js on your Windows computer, simply download the installer
Once you’ve installed Node.js, you’ll have access to npm (Node Package Manager), which lets you install the necessary packages.
Installing and configuring Android Studio
Download and install Java JDK 11
Configure JAVA_HOME in environment variables (C:\Program Files\Microsoft\jdk-11.0.17.8-hotspot\)
Download and run the Android Studio installer
Configure ANDROID_HOME in environment variables (C:\Users\ADMIN\AppData\Local\Android\Sdk)
Open Android Studio. On the Home window, click on Configure then AVD Manager
Here you can define the virtual devices on which to test your application.
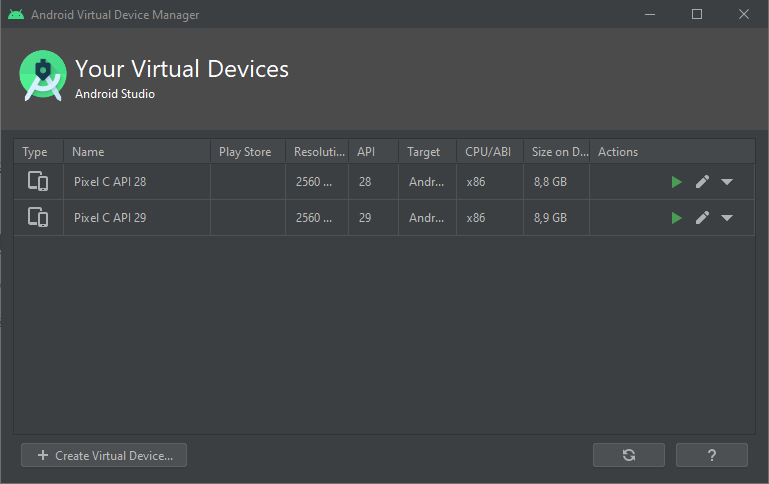
N.B.: The installation and configuration of Android Studio and the correct operation of virtual devices may depend on the installation of Android SDK, Java SDK and Gradle, etc. Check that the versions are compatible.
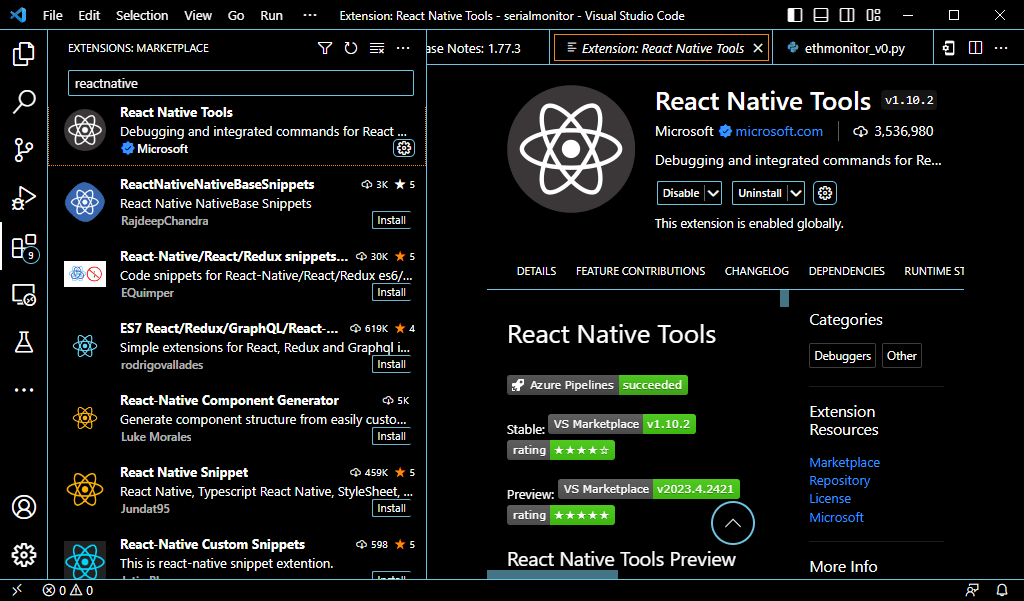
Installing and configuring Visual Studio Code
To install Visual Studio Code, simply download and run the installer
Once the software is installed, you can add the extensions required for development under React Native with VSCode.
Creating a React Native project
Create a folder containing your ReactNative project, then open it in VSCode.
In the terminal,
npx react-native@latest init CustomApp
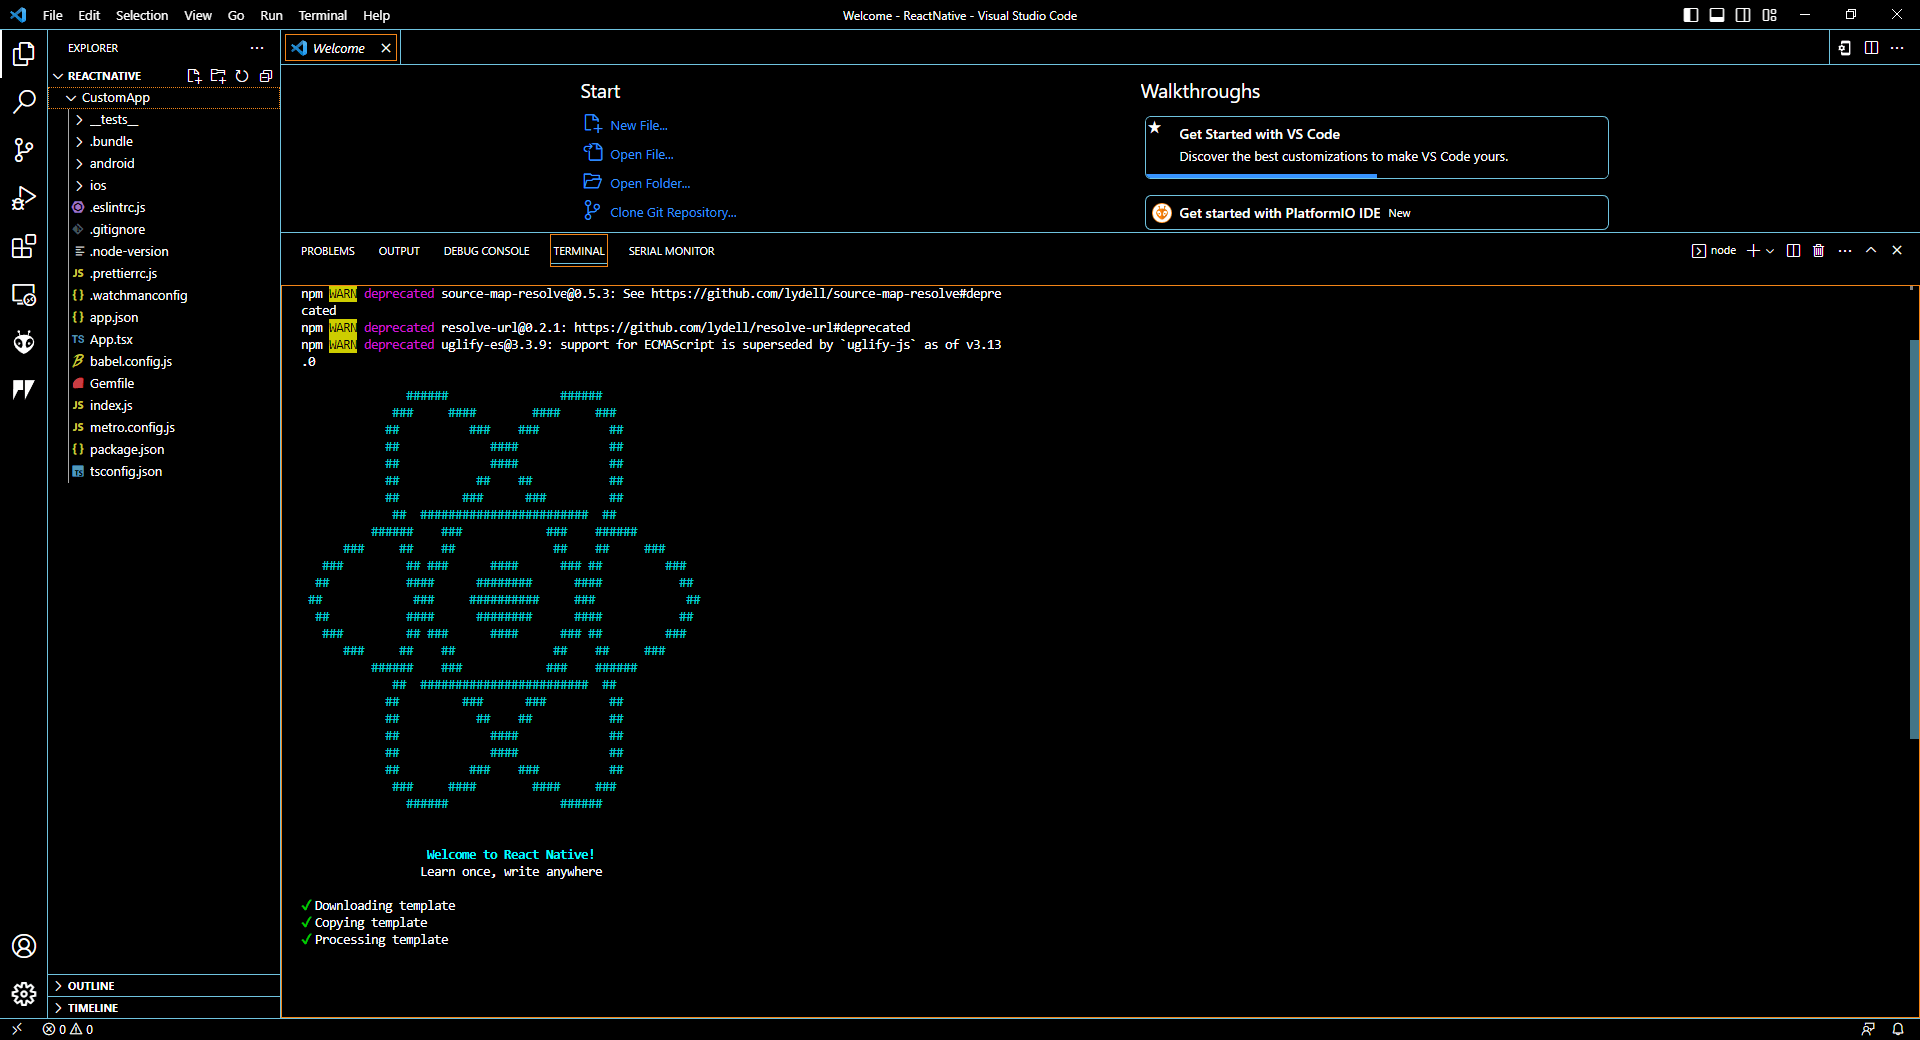
Install dependencies with yarn and launch the application
cd CustomApp
npm install -g yarn
yarn install
npx react-native start
Then press “a” to run it on Android
View the application on an Android device
On your Android phone, in “Settings”, go to “Additional settings” then “Developer options”. Look for the “USB debugging” option and enable it. This will enable you to install applications via the USB port.
You can check that your device is correctly detected and configured with the adb devices command.

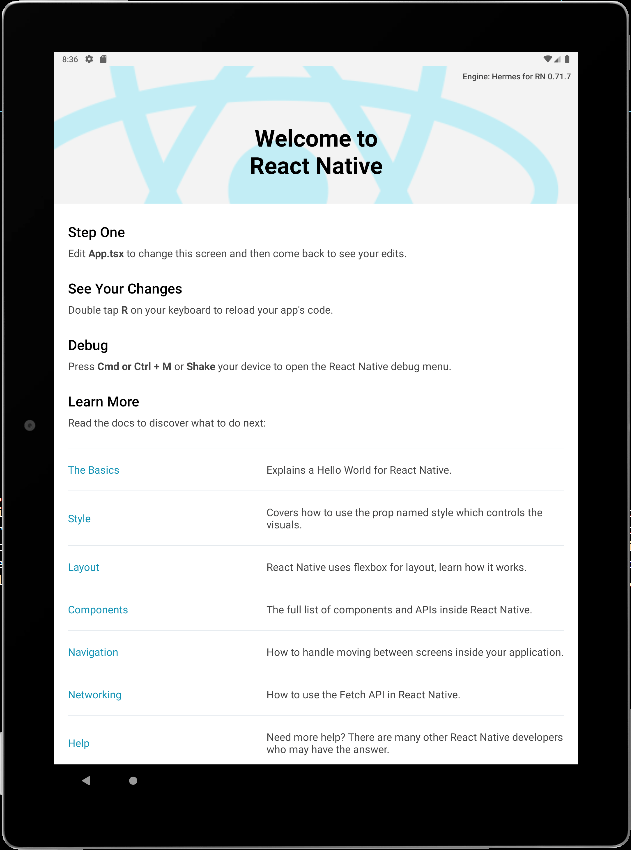
Once your device is correctly configured, if you relaunch the application it will be downloaded and installed on the device.
You are now able to develop and install your application on a device.
N.B.: If you have difficulty installing a simulator or if you don’t have a device, you can also view the results on CodeSandBox to test your application.
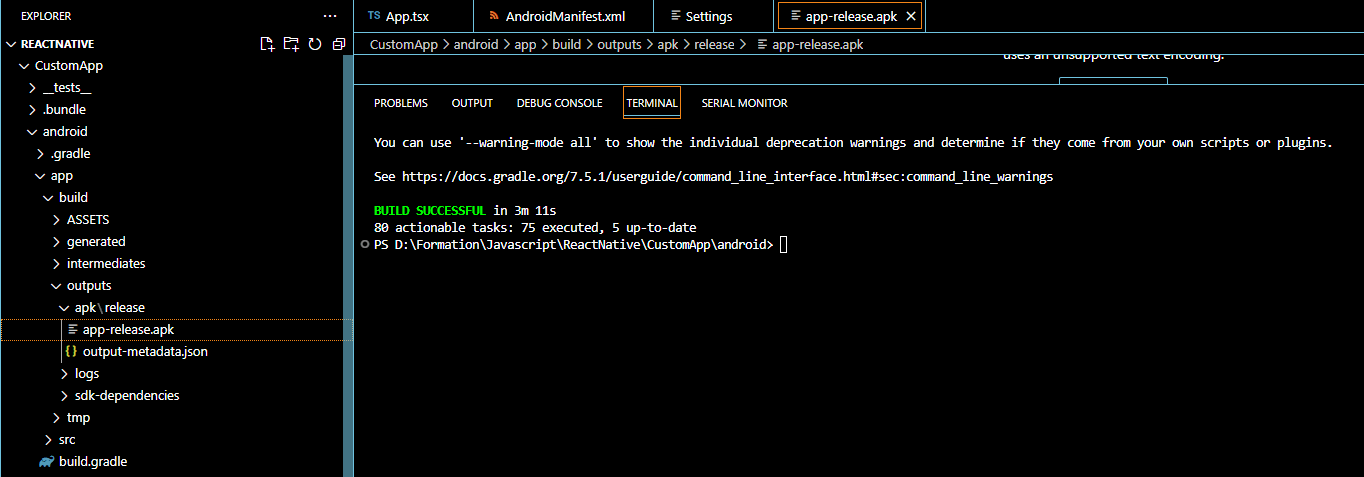
APK generation
Once your application has been tested and validated on a simulator or real device, you can generate the APK file. This file can be downloaded to any device with a compatible OS, and is used to install the application.
In the android/build.gradle file, check that the SDK version (API level) corresponds to the target platform version
buildscript {
    ext {
        buildToolsVersion = "33.0.0"
        minSdkVersion = 21
        compileSdkVersion = 33
        targetSdkVersion = 33

        // We use NDK 23 which has both M1 support and is the side-by-side NDK version from AGP.
        ndkVersion = "23.1.7779620"
    }
    repositories {
        google()
        mavenCentral()
    }
    dependencies {
        classpath("com.android.tools.build:gradle:7.3.1")
        classpath("com.facebook.react:react-native-gradle-plugin")
    }
}
At the root of the CustomApp project, enter the following commands on VS Code
cd android
./gradlew assembleRelease
It is possible to clean up the compilation before generating the build with the command
./gradlew clean
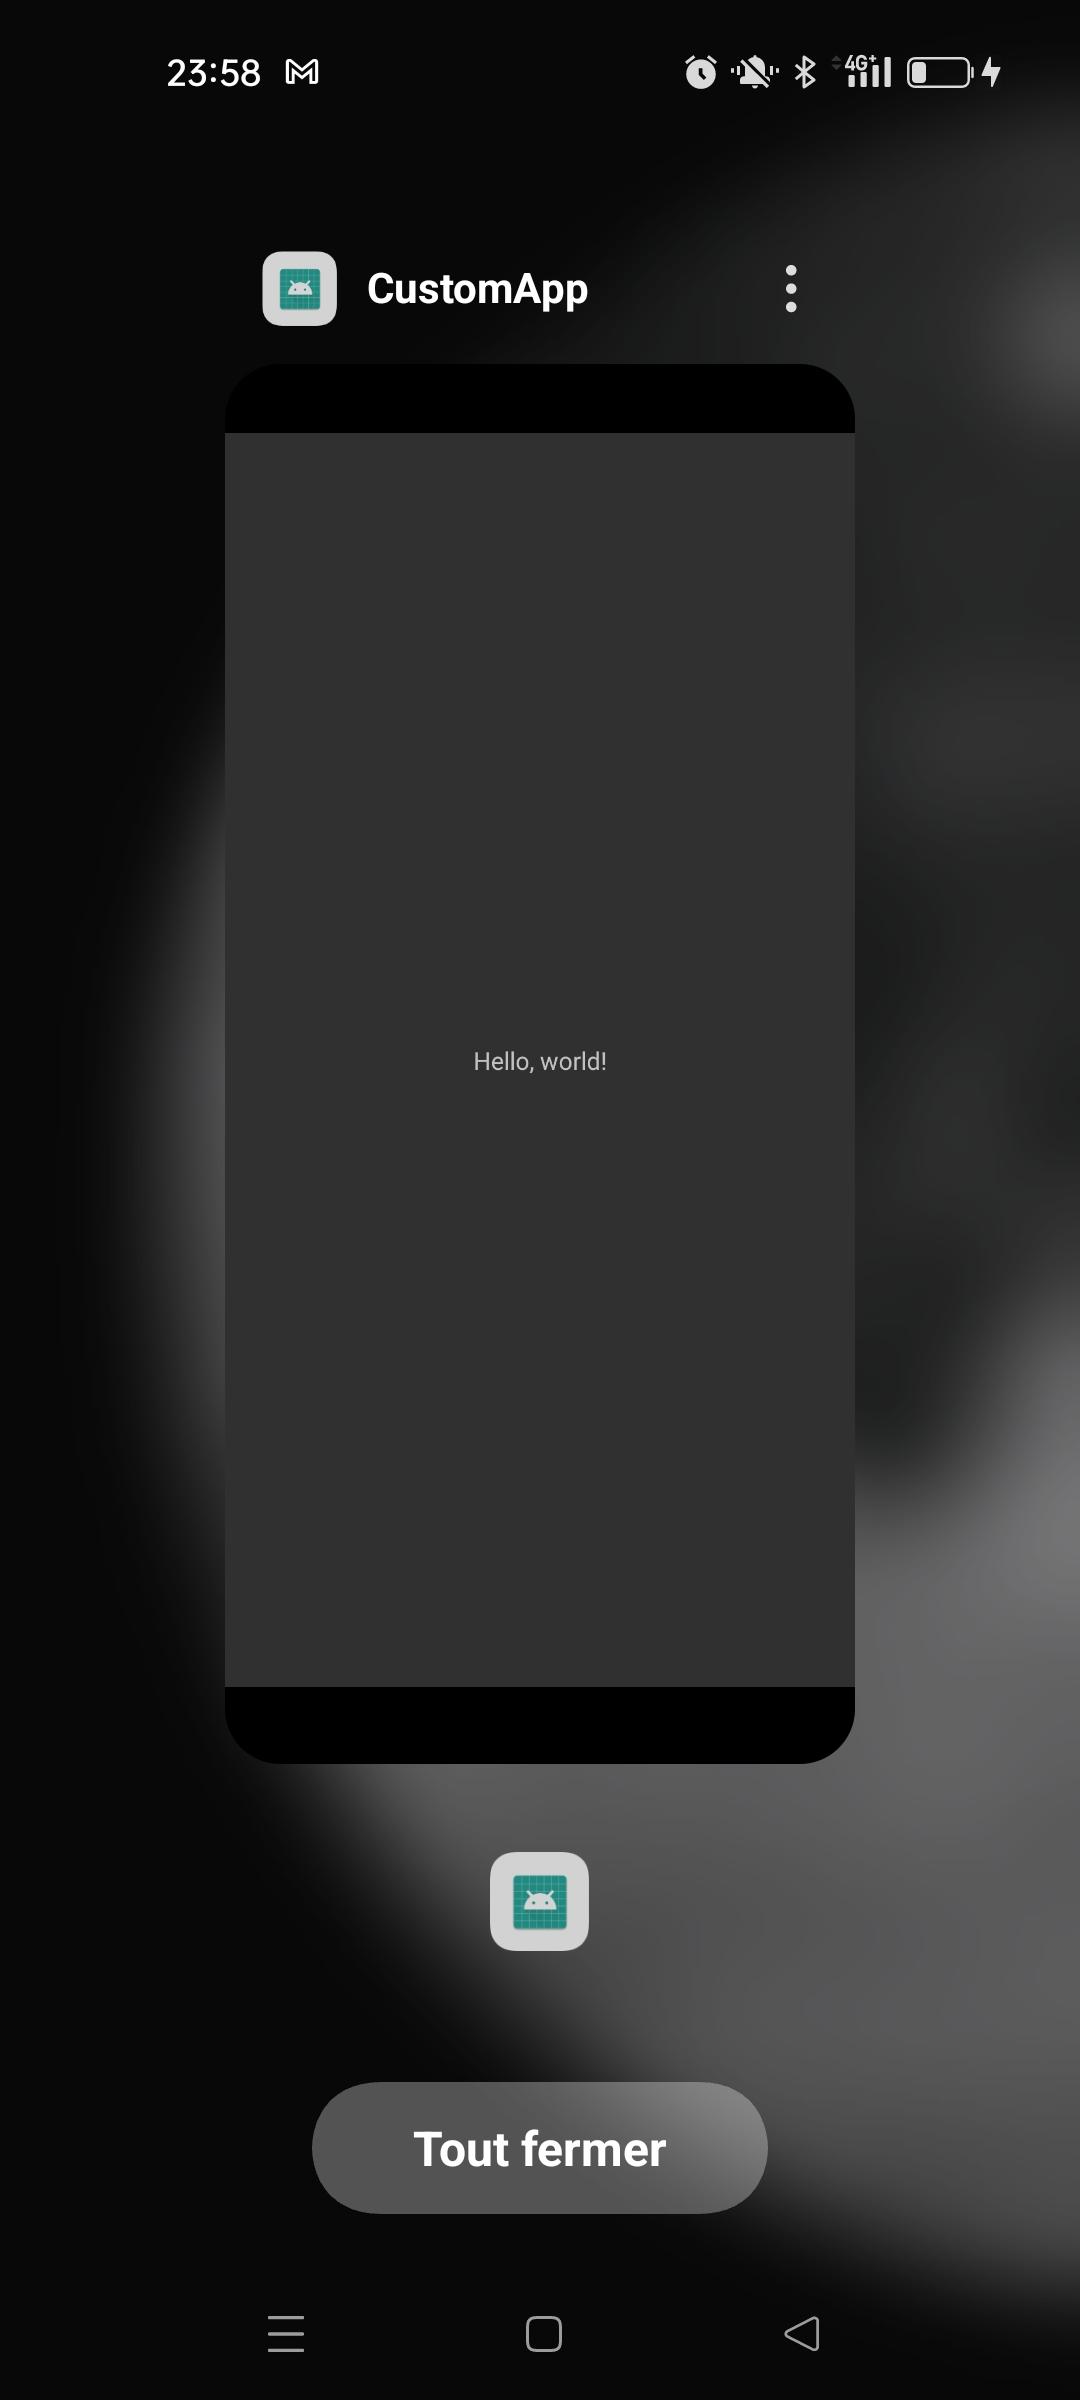
Modify application icon
Application icons can be found in the android folder
To replace the application’s default icons, you need to create icons of different sizes. This can be done easily with the IconKitchen tool, which loads an image and generates all icon formats. Once you’ve downloaded the IconKitchen-Output folder, you can replace the following folders in your project’s res folder.
- mipmap-hdpi
- mipmap-mdpi
- mipmap-xhdpi
- mipmap-xxhdpi
- mipmap-xxxhdpi
N.B.: Modify the file name with the original file name if necessary, or change the file name in AndroidManifest.xml
React Native: best practices
There are different ways of doing the same thing, especially in programming. However, the experience of many shows that good habits allow you to work more efficiently.
- Add TypeScript to improve code readability and prevent bugs
- Use responsive styles that adapt to different screen sizes
- Use platform-dependent styles
- Prefer functional components to class components
- Create a theme in which you specify the interface styles
- Define the various user paths
Applications
- Create IOs or Android applications to communicate with connected objects based on Android, Raspberry Pi, ESP32, ESP8266, etc.
- Creating a Bluetooth terminal on Android


