A large number of microcontrollers such as the STM32 can be programmed with the Arduino IDE. Arduino boards are powerful and very convenient for learning and projects, with an extremely large support community. However, there are other microcontrollers (e.g. NodeMCU, Feather from Adafruit or ArduCam ESP32S etc.), some very powerful, some very specific or very connected, that you may need to use because you have a specific need or because you prefer to use them.
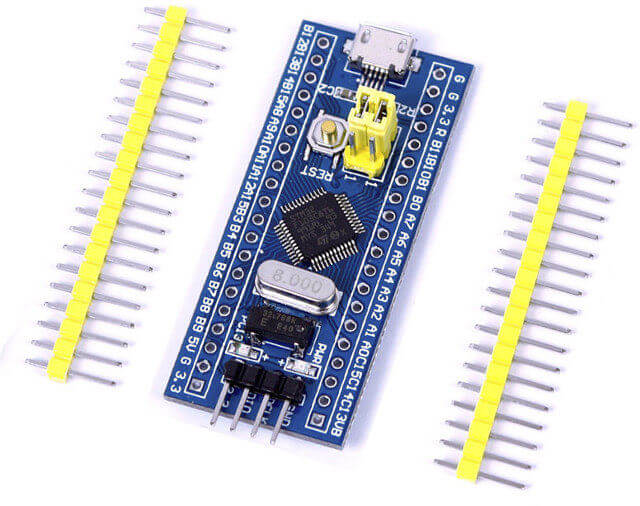
The way of configuring the Arduino IDE is similar between these different cards. We will see in this article the procedure to configure and program the STM32 Blue Pill.
Installing drivers on the computer
Normally, the driver should install automatically when you connect the STM32 to your computer.
If not, you will have to download the folder Arduino_STM32.zip. You have to unzip it in the folder /Documents/Arduino/hardware (hardware folder to create if it doesn’t exist)
Then open a cmd prompt and go to the folder
cd Documents/Arduino/hardware/driver/win
Then launch the .BAT
install_drivers.bat
Once the driver is installed, you can check the port name in the device manager. The microcontrollers connected to the computer can be found under the “Ports (COM and LPT)” tab. The STM32 device should be named “Mapple Serial”.
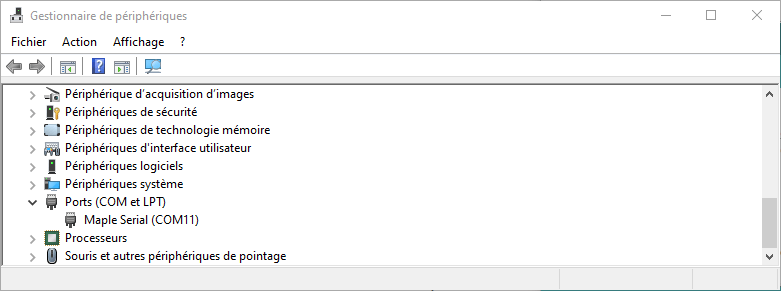
Once the driver is installed, it will be possible to communicate and upload code to the device.
Add JSON managers
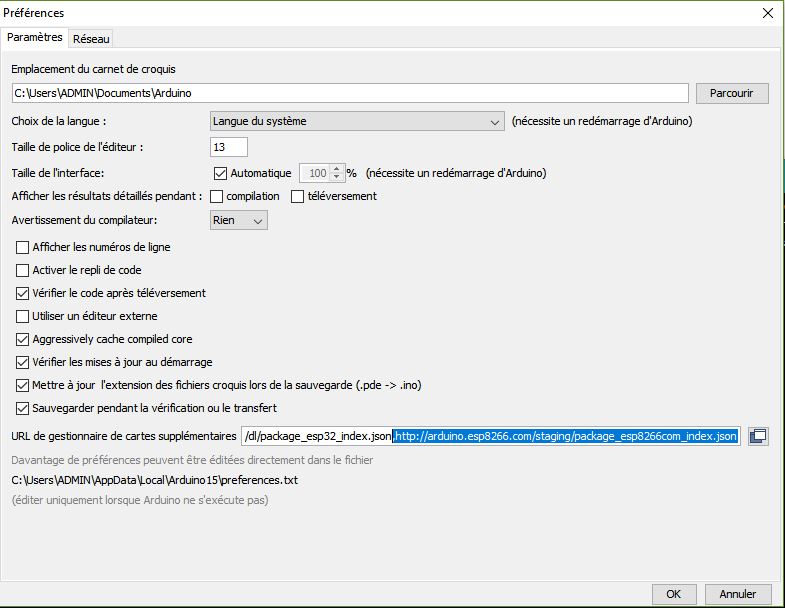
To be able to program other microcontrollers with the Arduino IDE, it must know their configurations. It is possible to install board managers containing all the tools necessary for their programming. To retrieve the drivers, the corresponding URL must be found. In the case of the STM32, the URL is http://dan.drown.org/stm32duino/package_STM32duino_index.json
(Other possibility seen on the web: https://raw.githubusercontent.com/stm32duino/BoardManagerFiles/master/STM32/package_stm_index.json)
Then open the File>Preferences window of the Arduino software. At the bottom of the page you will find a text box in which you can enter the URL: “URL for additional map manager”. (don’t forget to separate the URLs with a comma “,”)
Installing managers
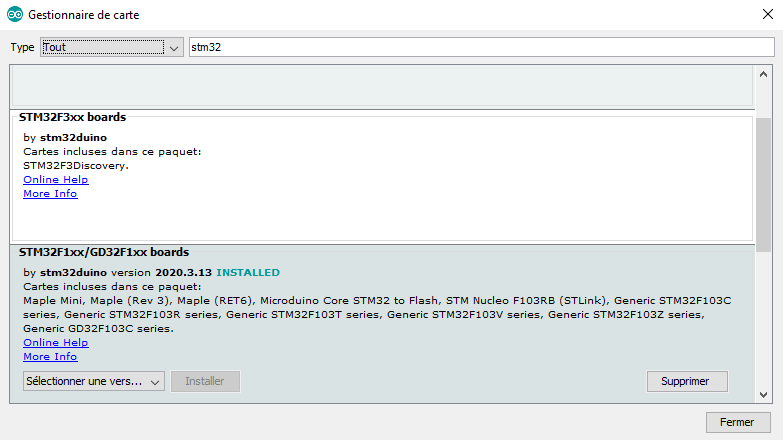
Under the “Tools” tab, follow the path “Board Type > Board Manager”. The IDE will load the map catalog from the URL.

If you search for the STM32 microcontroller in the search bar, the package to be installed should be displayed.
Select configuration
Once the management package is installed, the microcontroller should appear in the Available Card Type choices.
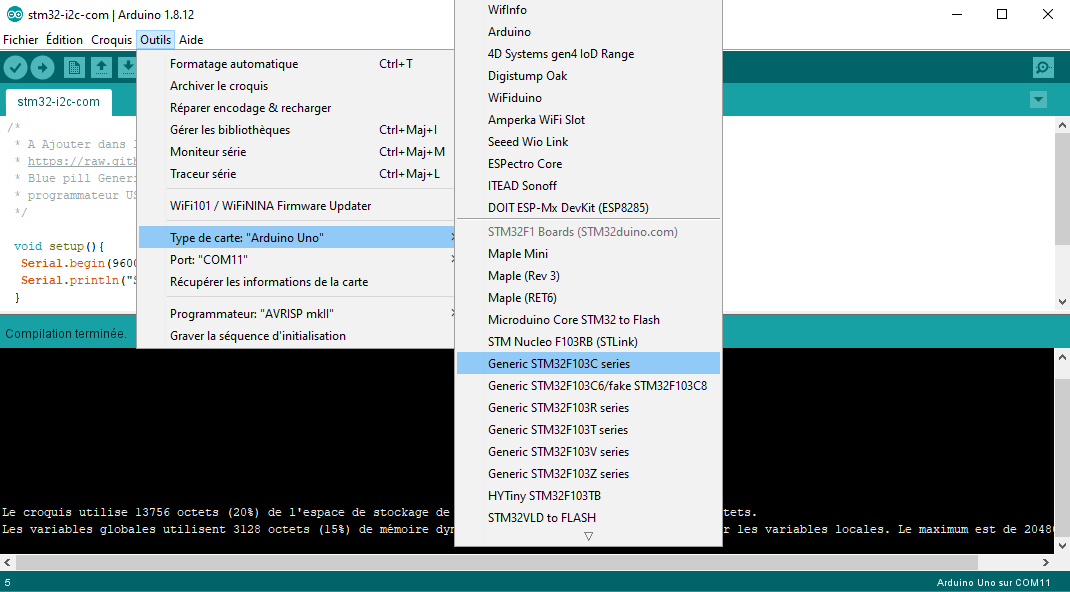
You will then need to know the characteristics of your card in order to select the right parameters. After this you should be able to program the microcontroller STM32.


