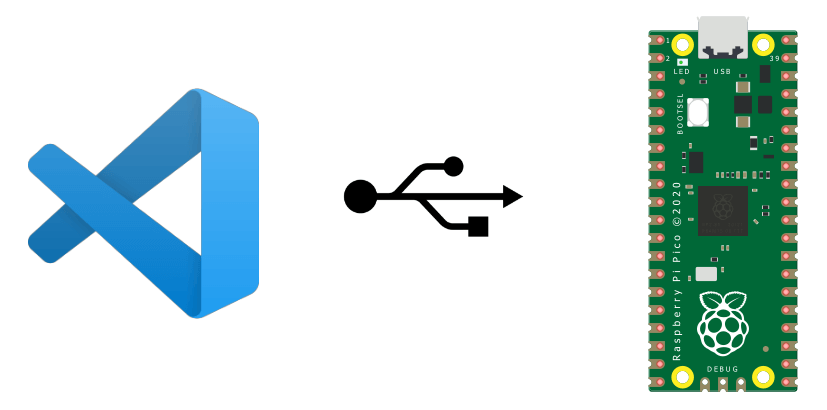
Let’s take a look at how to program the Raspberry Pi Pico microcontroller in C++ using Visual Studio Code. The Raspberry Pi Pico board is a microcontroller based on the RP2040 chip from Raspberry Pi. It is programmable in C++ and MicroPython and can interact with any type of equipment.
Hardware
- Computer
- Raspberry Pi Pico
- USB B Male to USB Micro B cable
Installing and configuring Visual Studio Code
Go to the Visual Studio Code download page and download the version corresponding to your OS.
Launch the installer and follow the procedure
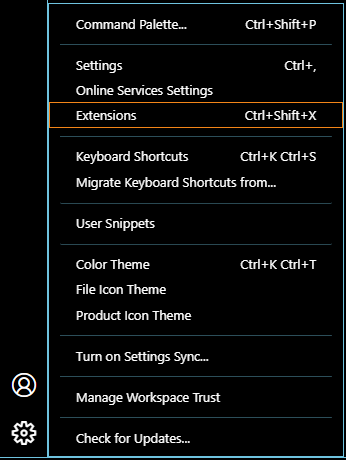
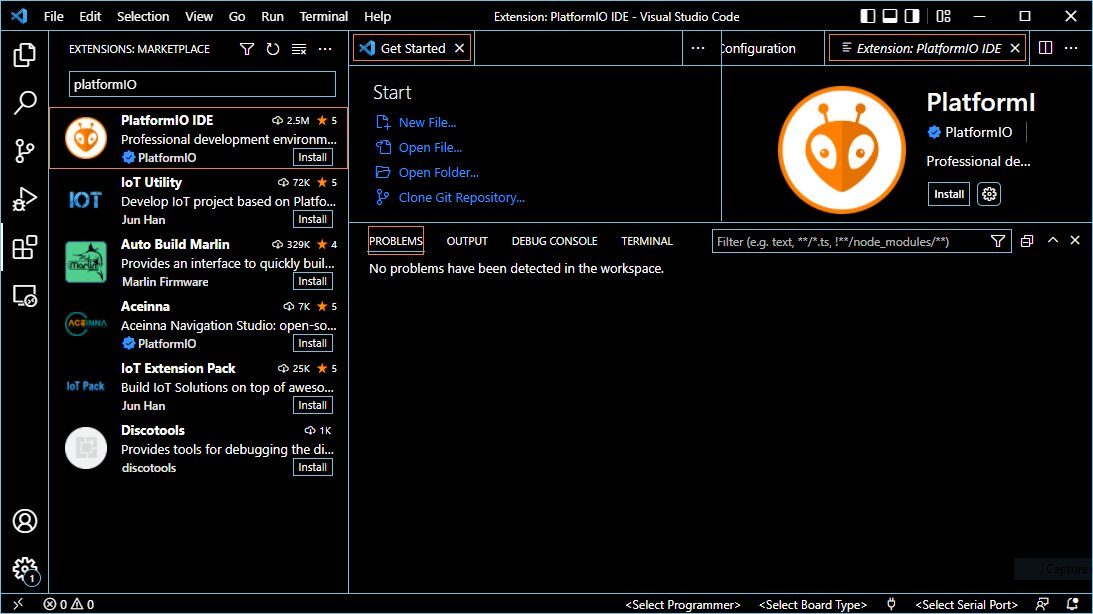
In Extensions, search for and install PlatformIO IDE
N.B: If the PlatformIO installation displays an error, please follow the solutions described on this page. For solution3: update platformio version (i.e: get-platformio-1.1.2.py)
Creating a project for Raspberry Pi Pico
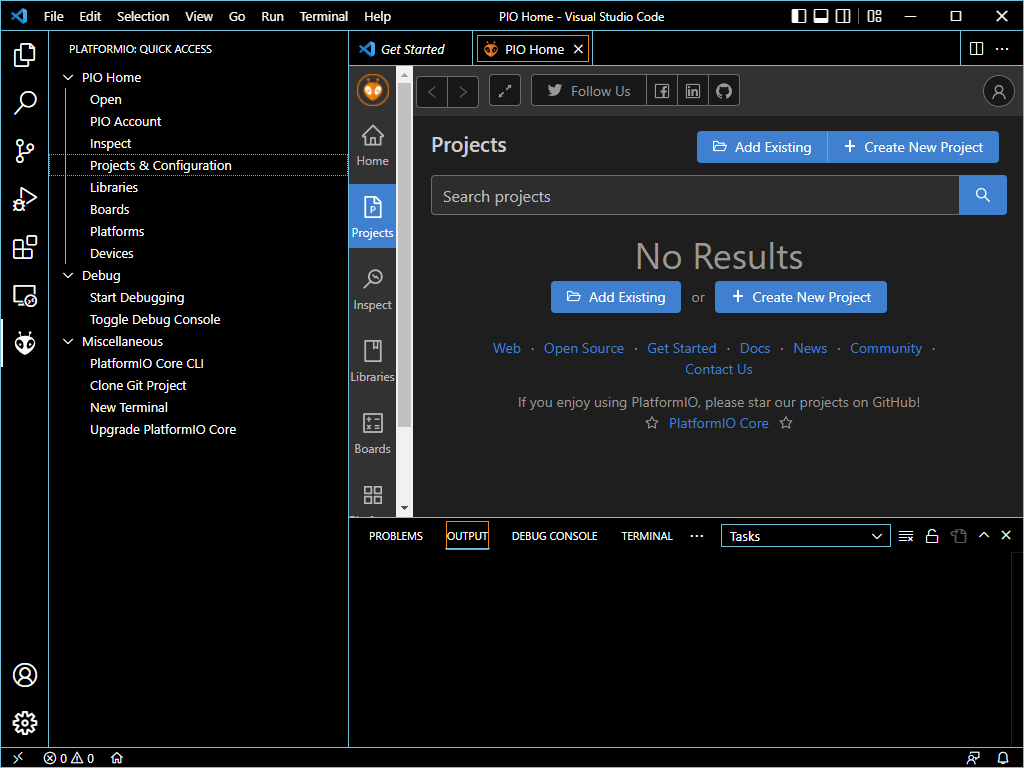
Cliquez sur l’icone PlatformIO dans la barre à gauche puis sélectionnez Projects & Configuration dans le menu Quick Access. Créer un nouveau projet
Search for the Raspberry Pi Pico board and select the Arduino Framework
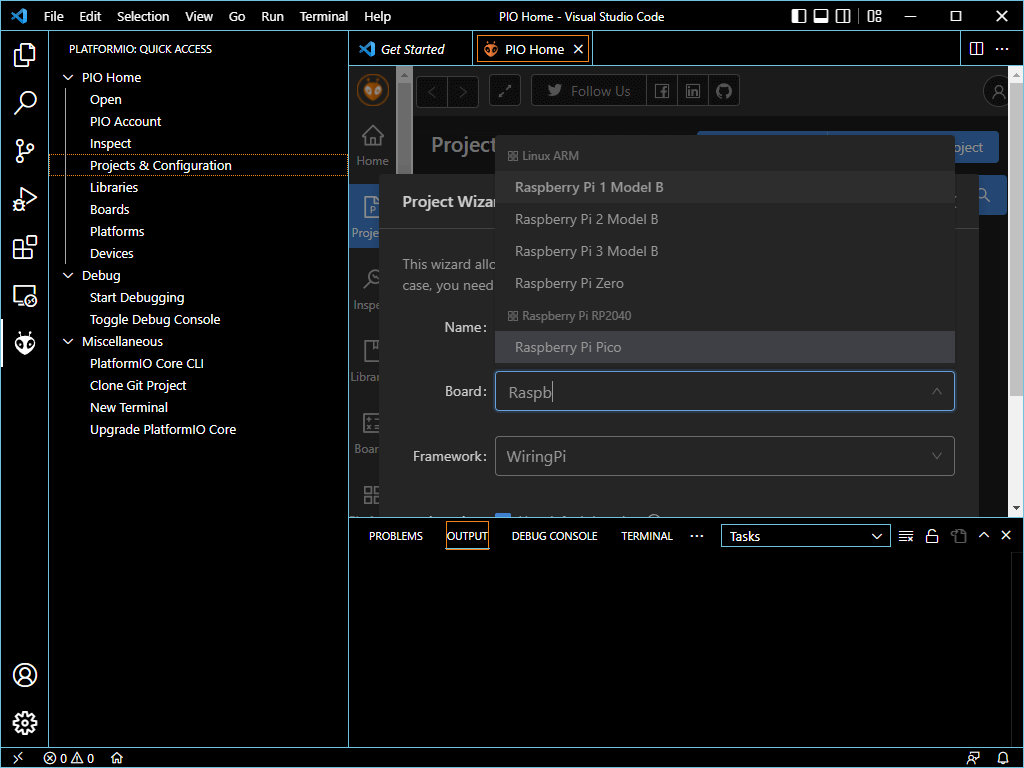
Search for the Raspberry Pi Pico board and select the Arduino Framework
#include <Arduino.h>

//Variables
bool ledStatus = 0;

void testLed( ){
	digitalWrite(LED_BUILTIN,HIGH);
  	Serial.println(F("LED ON"));
	delay(500);
	digitalWrite(LED_BUILTIN,LOW);
  	Serial.println(F("LED OFF"));
	delay(500);
}

void setup(){
	//Init Serial USB
	Serial.begin(9600);

	Serial.println(F("Initialize System"));
	//Init led
	pinMode(LED_BUILTIN,OUTPUT);

}

void loop(){
	testLed();
}
Once you’ve written your code, you can compile it by clicking on the “Build” icon.
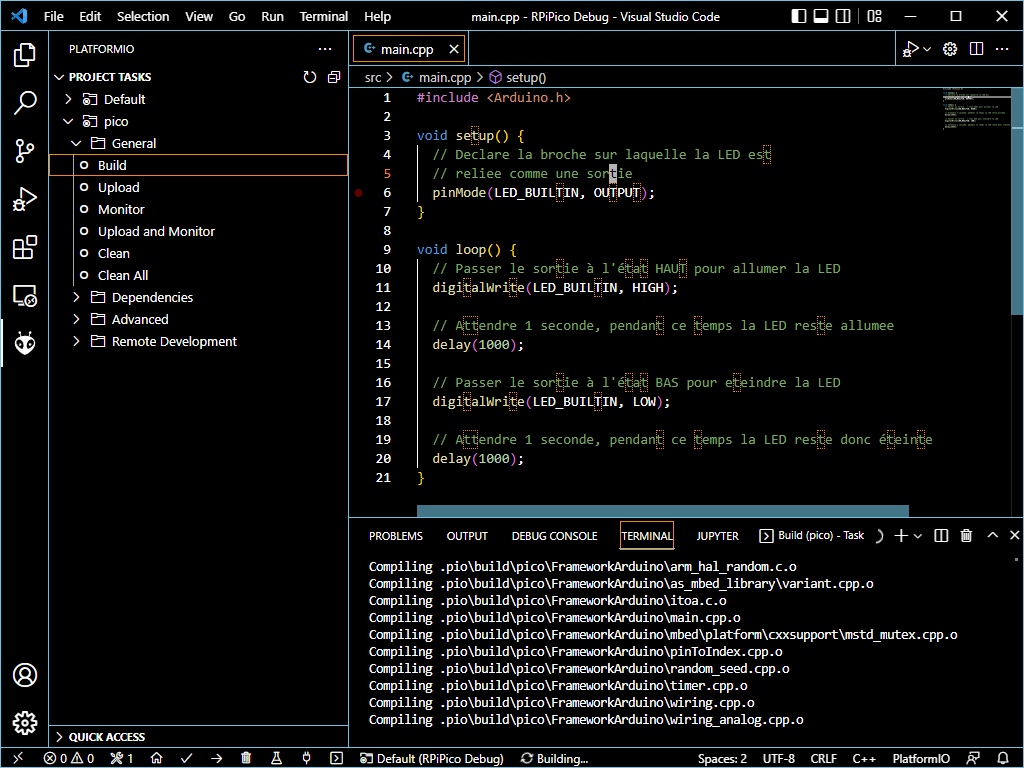
Once you’ve written your code, you can compile it by clicking on the “Build” icon.
You can then copy the firmware.uf2 file to the Raspberry Pi Pico, which is then seen as a USB storage device.
Upcoming uploads
Once the first code has been loaded onto the Raspberry Pi Pico, it will no longer be available as a USB storage device. To load a code again, you’ll need to either:
- Unplug the RPi Pico and plug it back in, keeping the BOOTSEL button pressed. You can now copy the compiled uf2 file.
- Use PlatformIO’s Upload function to program the Pico with Visual Studio
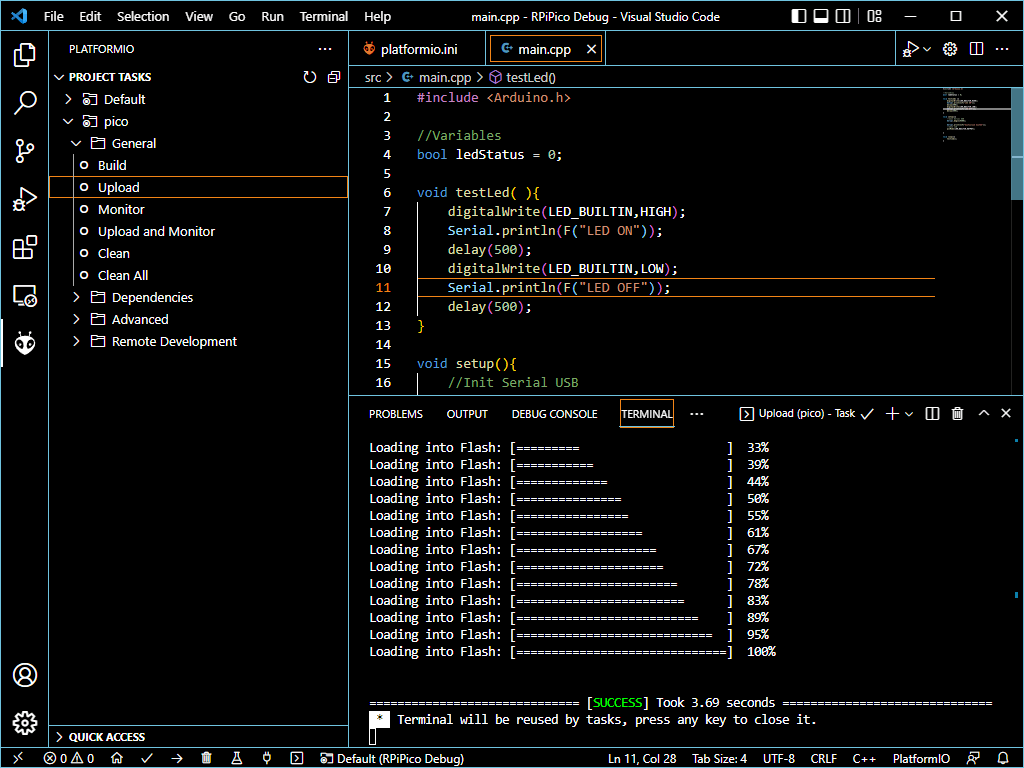
N.B.: If PlatformIO’s Upload button doesn’t work, you can try installing libUSB with Zadig
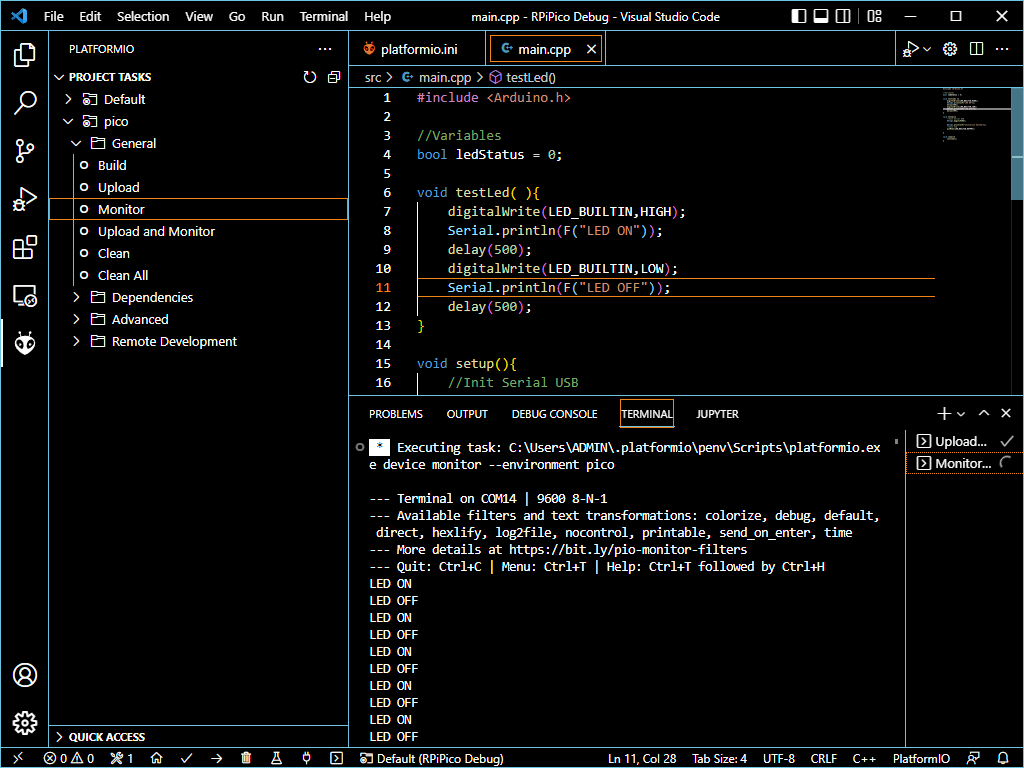
Results
As with Arduino, you can observe debug messages in PlatformIO’s serial monitor.
Sources
- Overview of Pico
- Raspberry Pi Pico documentation
- Installer le pilote USB avec Zadig
- Programming Arduino with Visual Studio Code


