In this tutorial, we’ll look at how to access the Raspberry Pi desktop remotely using NoMachine. It can be very interesting to communicate with your Raspberry Pi microcomputer remotely, whether to avoid having to walk around with a screen, keyboard and mouse, or if you’re using it in headless mode. You can also take advantage of the computer’s software and Internet browsing while working on the Raspberry Pi.
Hardware
- Computer
- Raspberry Pi 3B+ (Configured with Raspbian and connected to WiFi)
Installing NoMachine on Raspberry Pi
Before downloading NoMachine, check the configuration of your Raspberry Pi by typing uname -a or cat
pi@raspberrypi:~ $ cat /proc/cpuinfo
processor	: 0
model name	: ARMv7 Processor rev 4 (v7l)
BogoMIPS	: 38.40
Features	: half thumb fastmult vfp edsp neon vfpv3 tls vfpv4 idiva idivt vfpd32 lpae evtstrm crc32
CPU implementer	: 0x41
CPU architecture: 7
CPU variant	: 0x0
CPU part	: 0xd03
CPU revision	: 4
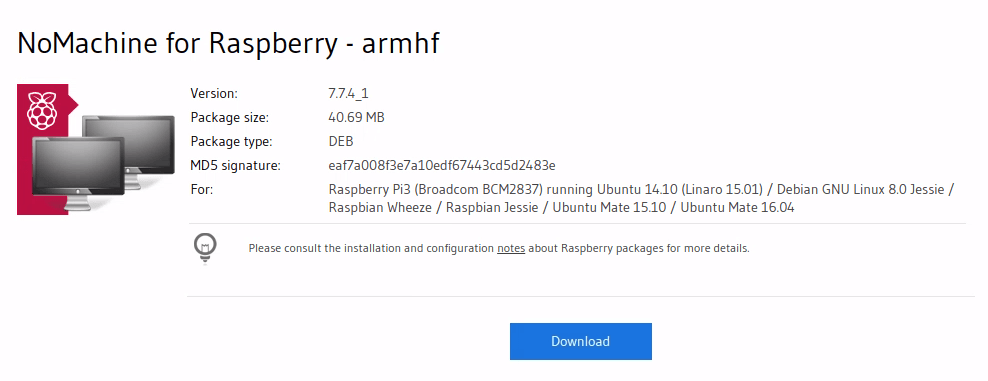
Download NoMachine from this link. Choose the package compatible with your version of Raspberry pi and OS
You can then install the software using the terminal in the download folder
$ cd Downloads
$ sudo dpkg -i nomachine_4.6.12_1_armv6hf.deb
Once installed, the icon should appear in the top right-hand corner of the desktop.
Installing NoMachine on your computer
You can download the NoMachine access software here.
Remote connection to the Raspberry Pi
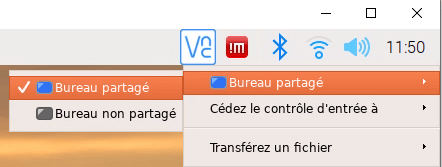
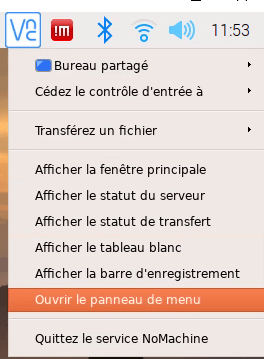
First, in the Raspberry Pi’s NoMachine menu, select the “shared desktop” option.
If the computer and Raspberry Pi are connected on the same network, the Raspberry Pi should be visible when you launch the software on the computer.
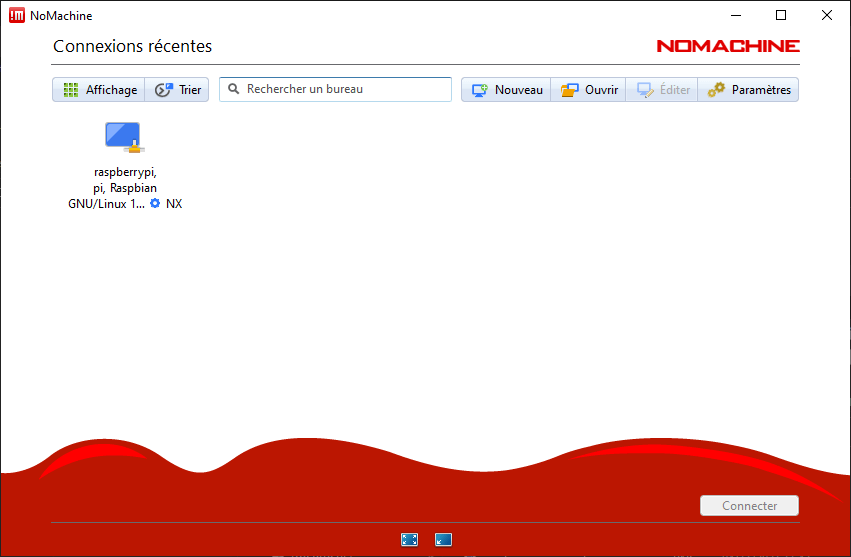
The software asks for the Raspberry Pi login and password to authorize the connection (default: login pi, mdp: raspberrypi).
Once the password and login have been entered, the remote desktop should be displayed.
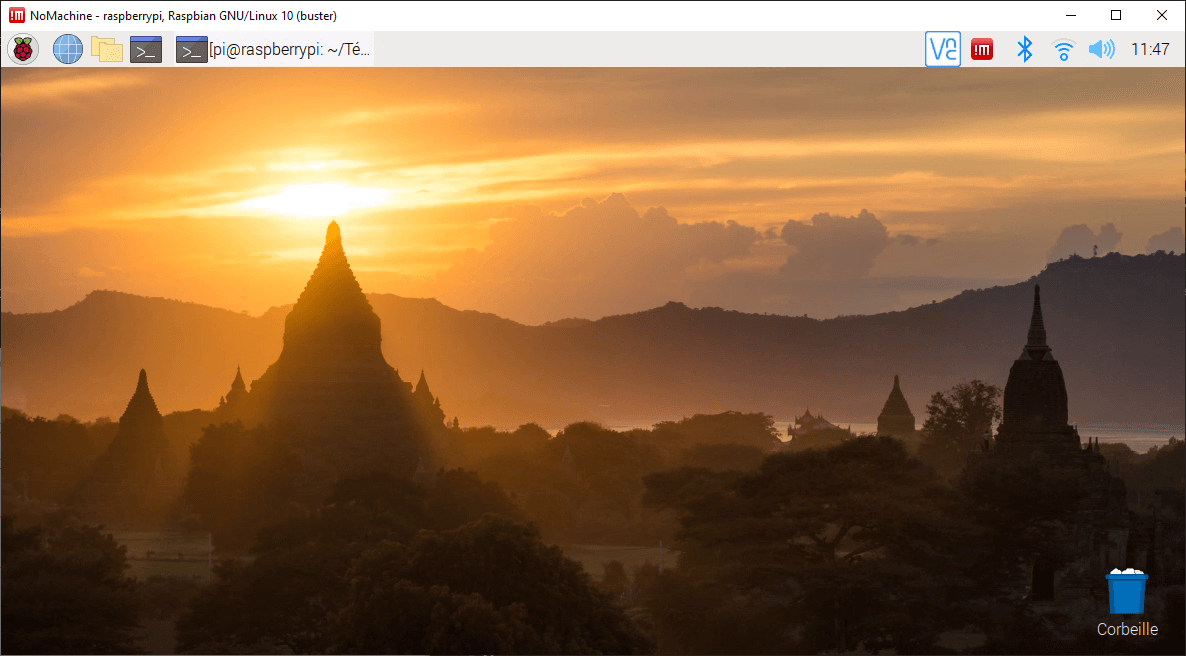
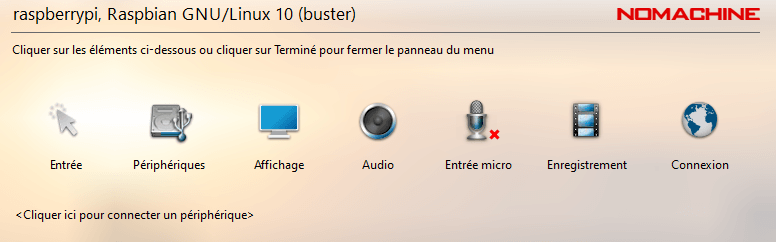
To configure the NoMachine window and settings, go to the menu on the Raspberry Pi
You then have access to various options for displaying the use of the microphone, peripheral, etc.
Issue: Setting the NoMachine keyboard language
In some cases, the virtual keyboard ^may be misconfigured and output “qwerty” instead of “azerty”, even though the configuration seems correct on both the Raspberry Pi and your computer. To solve this problem, enter the following command in the terminal with the desired language option (here fr for French).
setxkbmap -model pc105 -layout fr
You need to run this command every time you start the Raspberry Pi. Alternatively, you can add the command to server startup to run it automatically
sudo nano /etc/xdg/lxsession/LXDE-pi/autostartand place the command line at the end of the file

Applications
- Working on your Raspberry Pi headless


