If you are doing home automation, you will inevitably come across, at one time or another, an electrical relay module. The relay is a controllable switch that allows to isolate the control part from the power part. It is a very used component when you want to make the link between electronics and electricity. It allows to open or close a contactor on a power circuit according to a signal between 0 and 5V.
Material
- Computer
- Arduino UNO
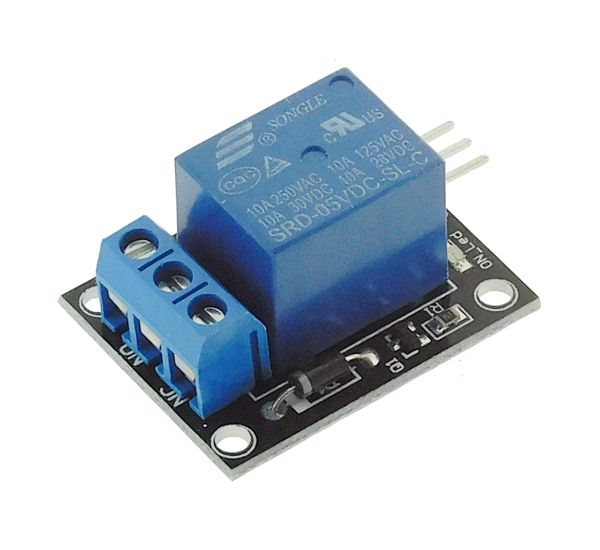
- Relay module
Principle of operation
The relay consists of a solenoid and a mechanical contactor. When the current is high enough on the input terminal, the solenoid becomes magnetized, which forces the contactor to close the power circuit. Since there is no mechanical connection between the control circuit and the power circuit (magnetic actuation), there is a galvanic isolation between the two circuits; this protects the control circuit.
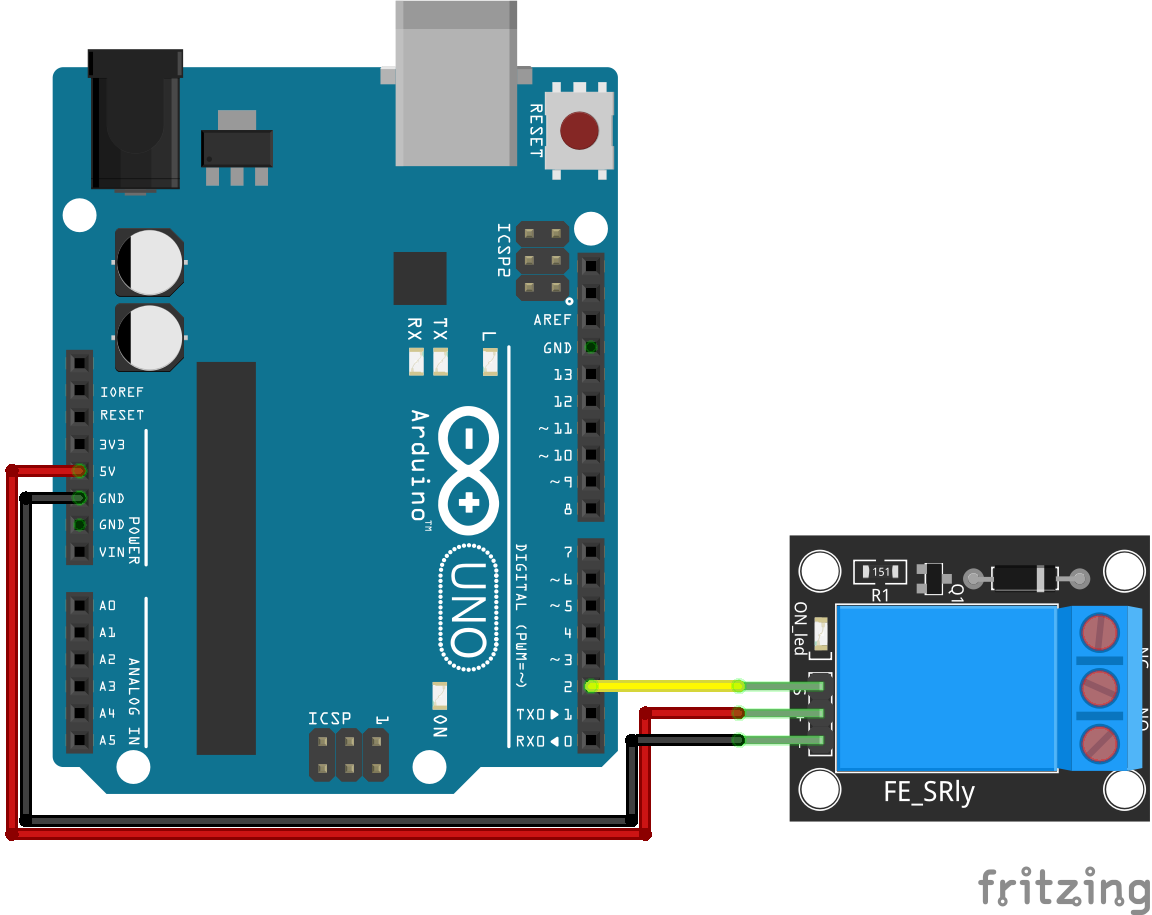
Scheme
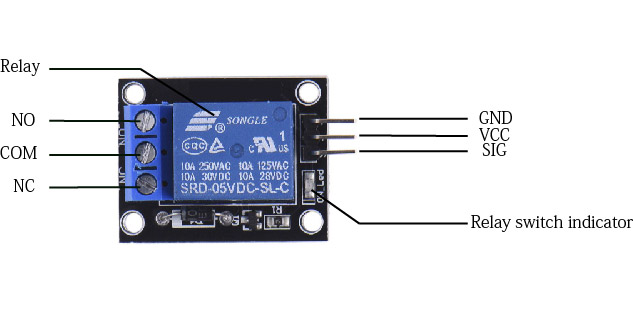
We will see here the connection of a relay module which is often present in electronics kits. There are three input pins (Signal, Vcc, Gnd) as for a servomotor. The relay is usually connected to a digital output of the microcontroller. There is usually a 3-pin terminal block at the output of the module that corresponds to the outputs Naturally Open (NO), Common (COM) and Naturally Closed (NC). The output device will be connected to the COM terminal and the NC or NO terminal depending on your use.
Generally, the safest mode is chosen in case of a control failure. For example, the relay cuts off the circuit feeding the boiler in case of a problem to prevent it from heating continuously.
Code
The code to drive a relay is as simple as setting a pin high or low. For this we use the digitalWrite() function.
//Parameters
const int digPin = 2;

void setup() {
  //Init Serial USB
  Serial.begin(9600);
  Serial.println(F("Initialize System"));
  //Init pwm output
  pinMode(digPin, OUTPUT);
}

void loop() {
  digitalWrite(digPin, HIGH);
  delay(500);
  digitalWrite(digPin, LOW);
  delay(500);
}
Result
On some relay modules there is an LED to help you observe the status of the relay. When the relay closes, the LED lights up and it emits a mechanical sound. If this sound is not compatible with your application, you will have to turn to the use of transistor(DC) or triac(AC).
Applications
- Create a connected switch
Sources
Retrouvez nos tutoriels et d’autres exemples dans notre générateur automatique de code
La Programmerie


