
It is possible to play sounds through a speaker with an Arduino board and an SD card module. The TMRpcm.h library allows you to manipulate audio files but does not read all types of files. We are going to see a method to convert or create audio files compatible with Arduino.
Audacity software
To convert and create audio files we will use Audacity which is an open-source software that allows recording, editing and editing of audio tracks.
Download the software to thisaddress and install it.
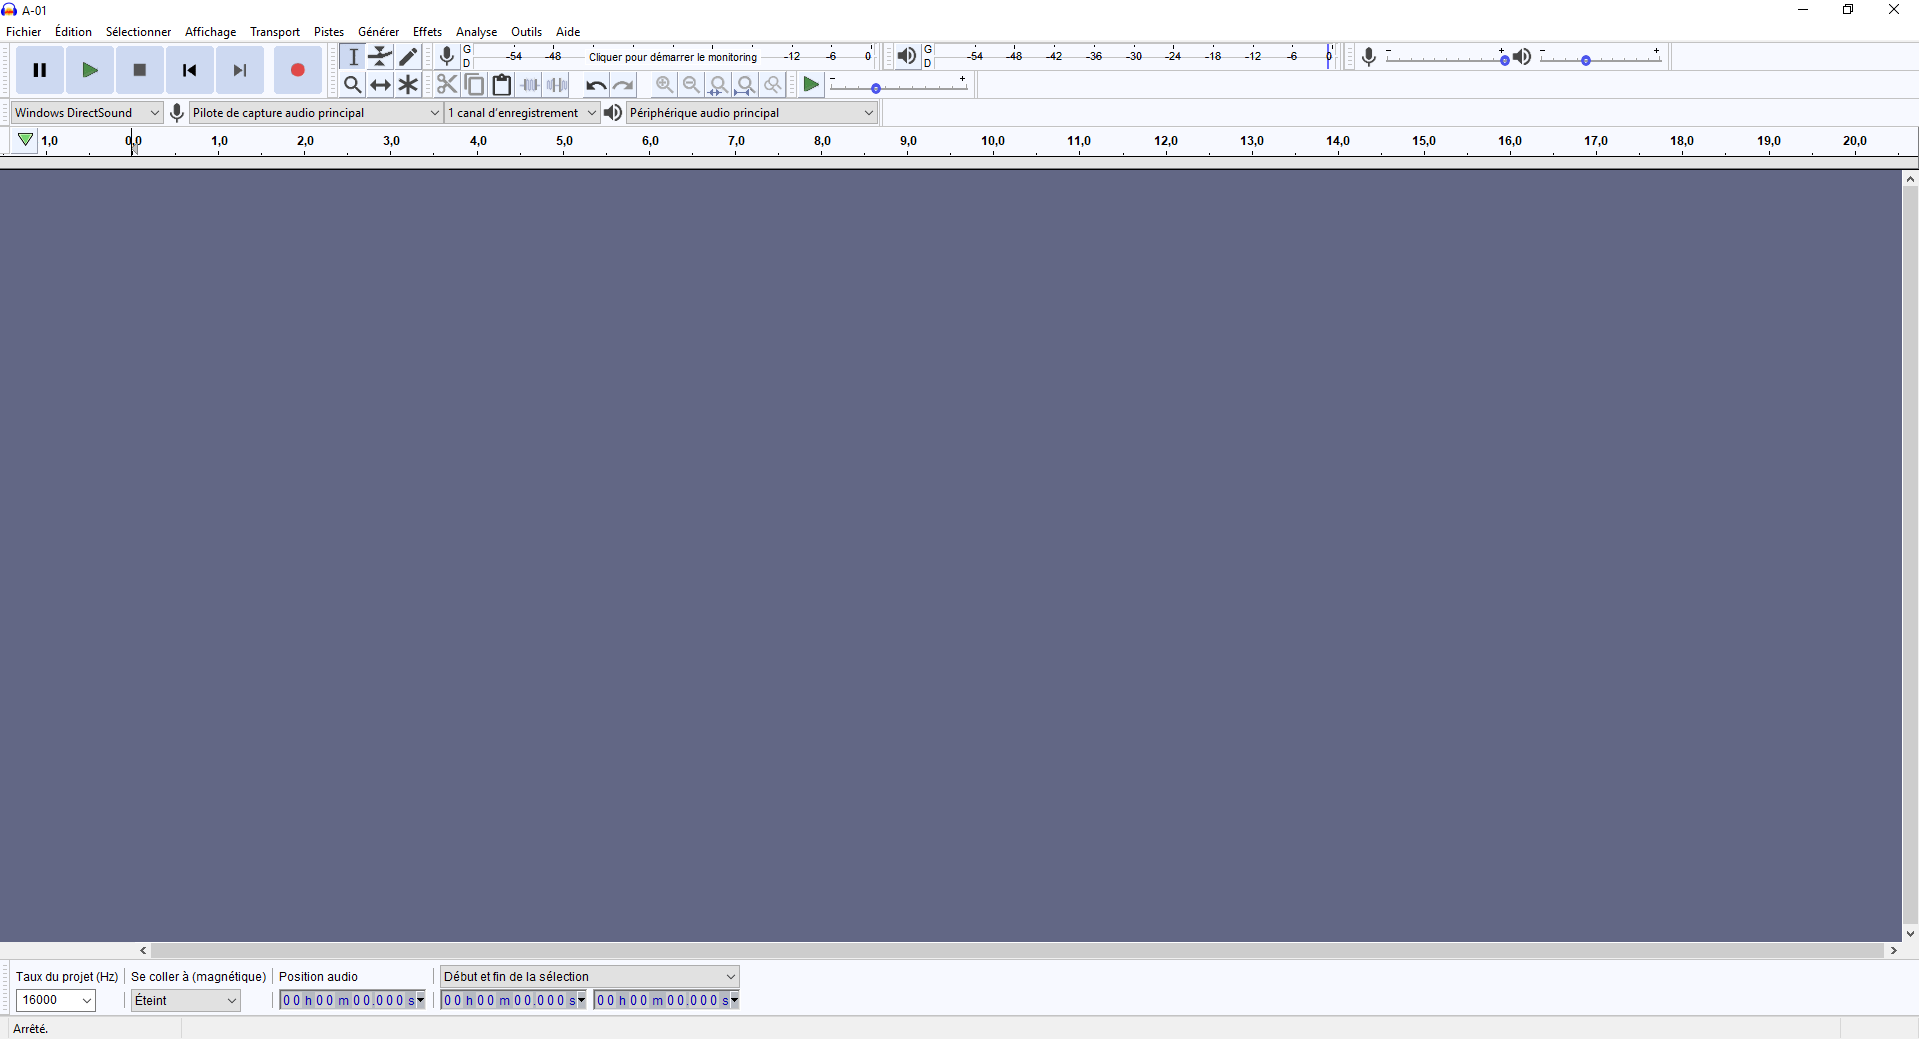
On the graphical interface, the most interesting functions to know are:
- Taskbar buttons: play, pause, stop, jump to start, jump to end and save
- In the “Effect” menu, the functions “Noise reduction…” to reduce the ambient noise and “Pitch change…” to modify the timbre of a voice for example.
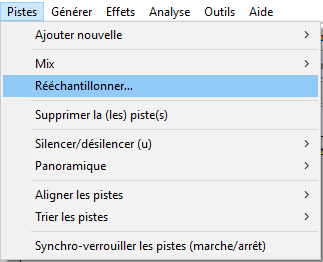
- In the “Tracks” menu, the “Mix> Stereo to mono mix” and “Resample” functions
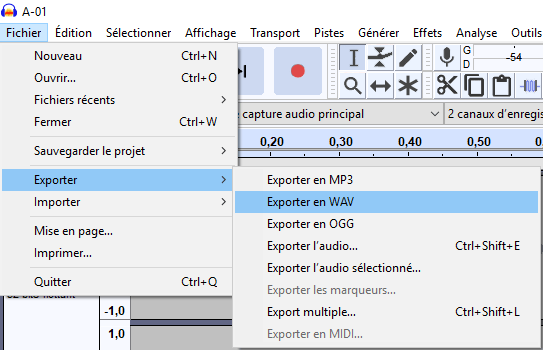
- And finally, “File> Export…”, to allow you to generate the Audio files.
Create or modify a file compatible with Arduino
Open a file
To modify an existing file (a downloaded WAV file for example), simply open the file with Audacity or drag it into the interface, you can then manipulate it as you see fit.
Record a voice or sound
You can create voices for your robot by recording your own voice and modifying it a little if you wish.
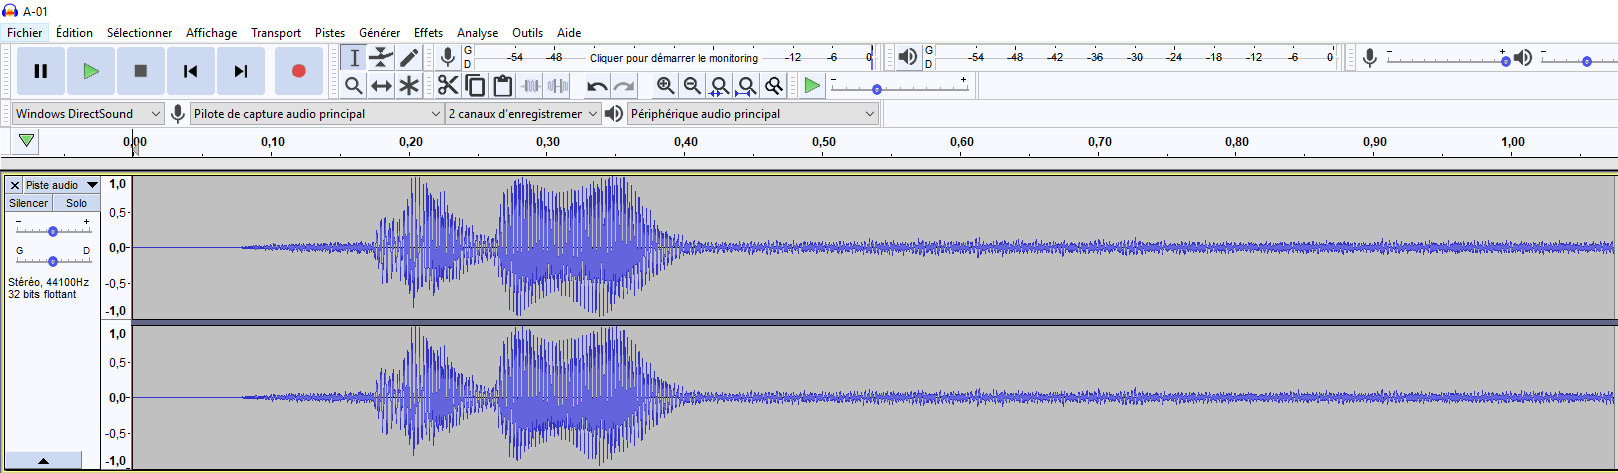
To record your voice, click on the “record” button. Say the word or phrase you want to record and press “stop”. The waveform corresponding to your voice should appear.
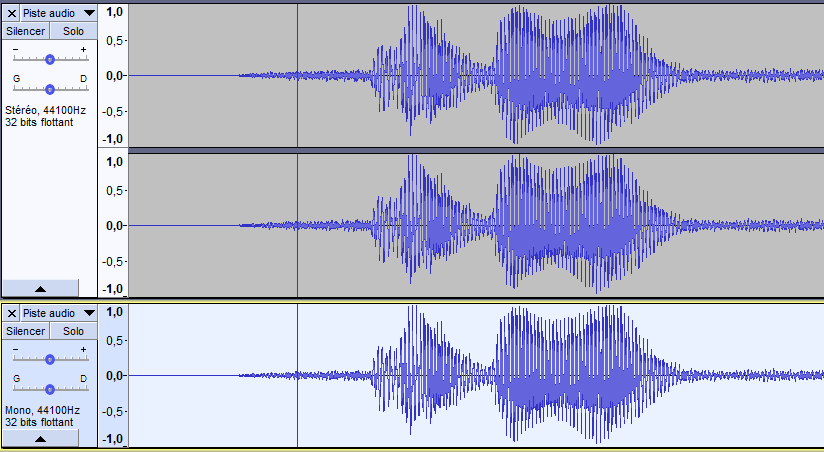
Copy the track with the keyboard shortcuts Ctrl + C and Ctrl + V to keep track of the original recording.
Stereo to mono mixer
Arduino is capable of playing Mono files, convert your track from stereo to mono.

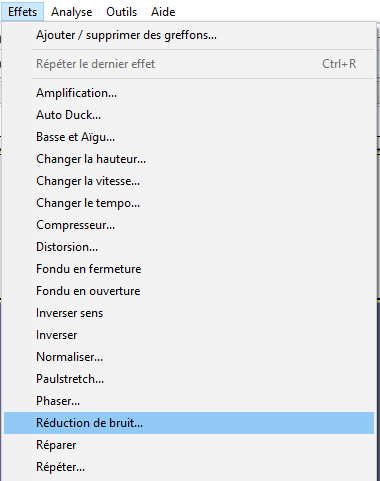
Reduce ambient noise
For clarity, it is best to filter out ambient noise to keep only the recorded voice or sound. To do this, select a part of the file where there is no voice (the area must be large enough to be representative). Then select the “Noise reduction…” effect from the menu.

In the window, click on “take the noise profile”. Audacity has saved the ambient noise profile to be attenuated in memory. Double click on the track to select it in its entirety.

Then select the Noise Reduction effect again and click on “confirm”. The noise around the voice has a reduced amplitude and is heard less when listening to the tape.

You can repeat this procedure until the noise level is acceptable.
Resample at 16kHz
So that the TMRpcm library can read audio files, it is preferable to sample them at 16000Hz. In “Track”, select “Resample” then in the list, the value “16000” and confirm.
Export to WAV
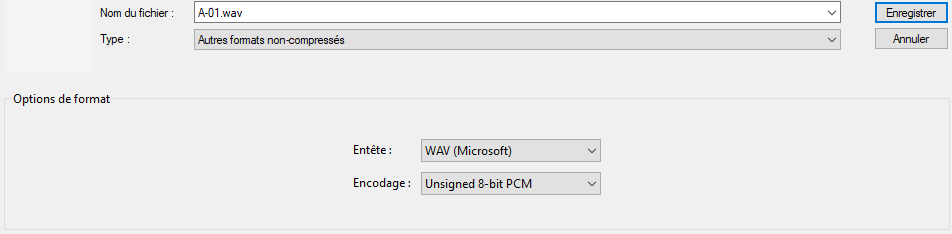
You must then export the file in the correct format so that the Arduino board can read it correctly. In “File”, select “Export”, then “Export to WAV”. Select “Other uncompressed formats” as the type and then “Unsigned 8bit PCM” as the encoding.
You just have to paste the audio file in an SD card to be able to play it with an Arduino or other card. Don’t forget to change the file name in the code.
Application
Find other examples and tutorials in our Automatic code generator
Code Architect


good