In this tutorial we will configure Visual Studio Code to run C
Hardware
- Computer
- Arduino UNO board or other
- USB cable to connect Arduino board to PC
Installing Visual Studio Code and PlatformIO IDE
Follow the installation steps to download .Net 6.0
Then open Visual Studio Code.
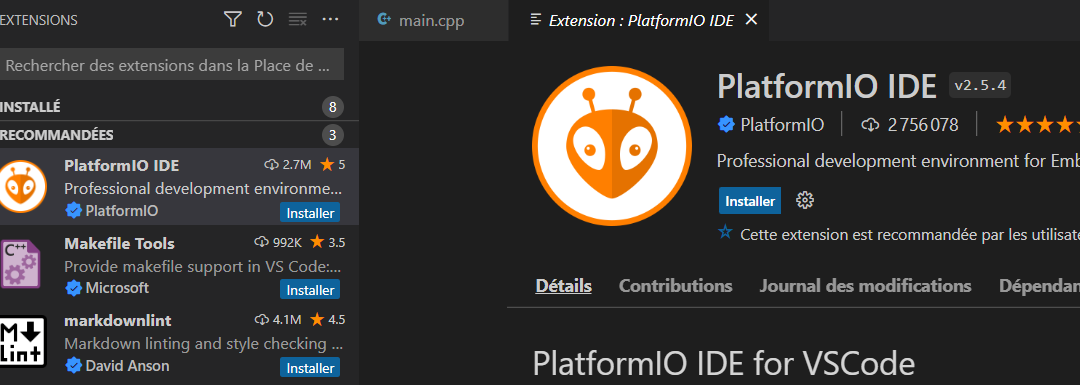
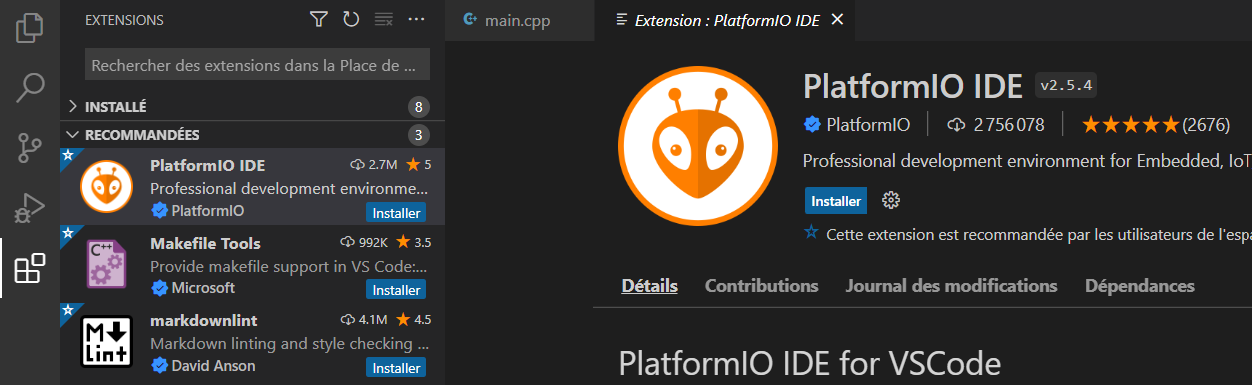
Look for PlatformIO IDE in the “Extensions” tab in the left-hand column of Visual Studio Code and click on “install”.
Once installed, close and relaunch Visual Studio Code so that the software is properly configured with PlatformIO IDE. You should then be taken to the IDE home page.
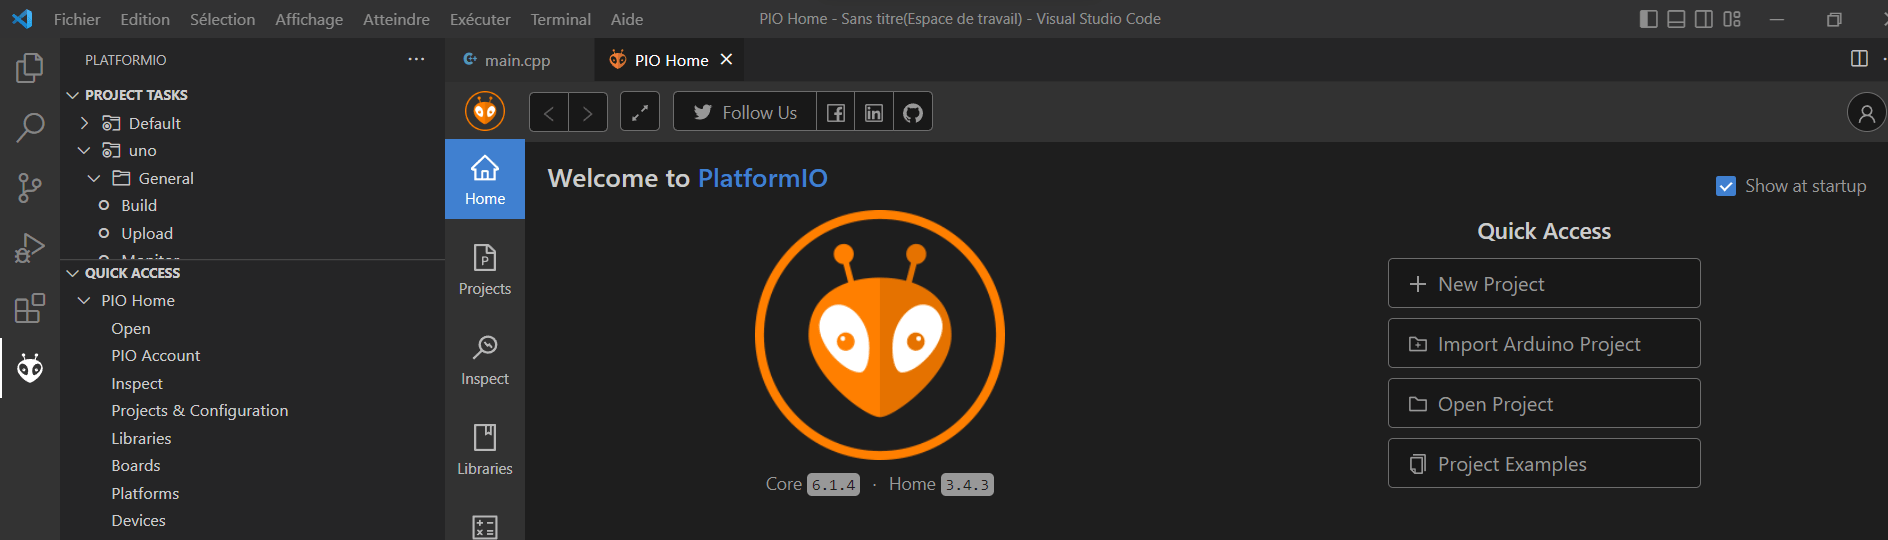
Start your first C Project with PlatformIO IDE
To do this, click on “+ New Project” and fill in the window that appears.
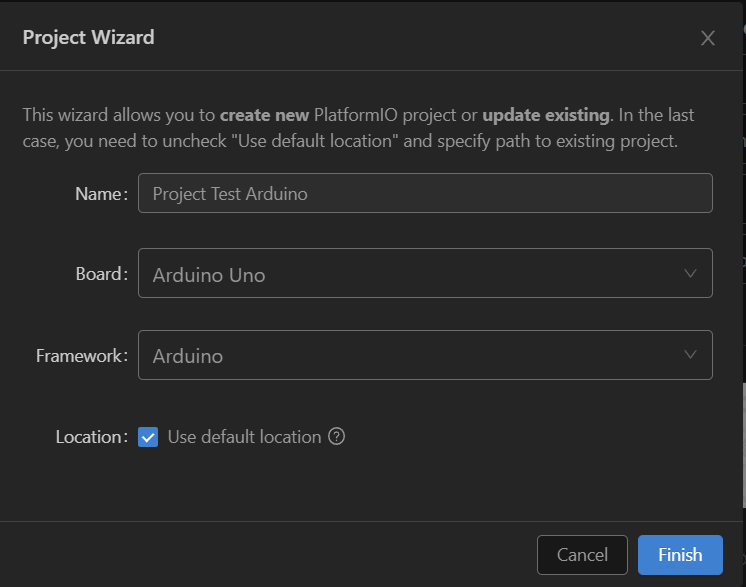
Here, as an example, I’ve chosen an Arduino Uno board and the framework will also be of the Arduino type, i.e. we’ll find the setup() and loop() functions in the main main file. Project creation can take a little time.
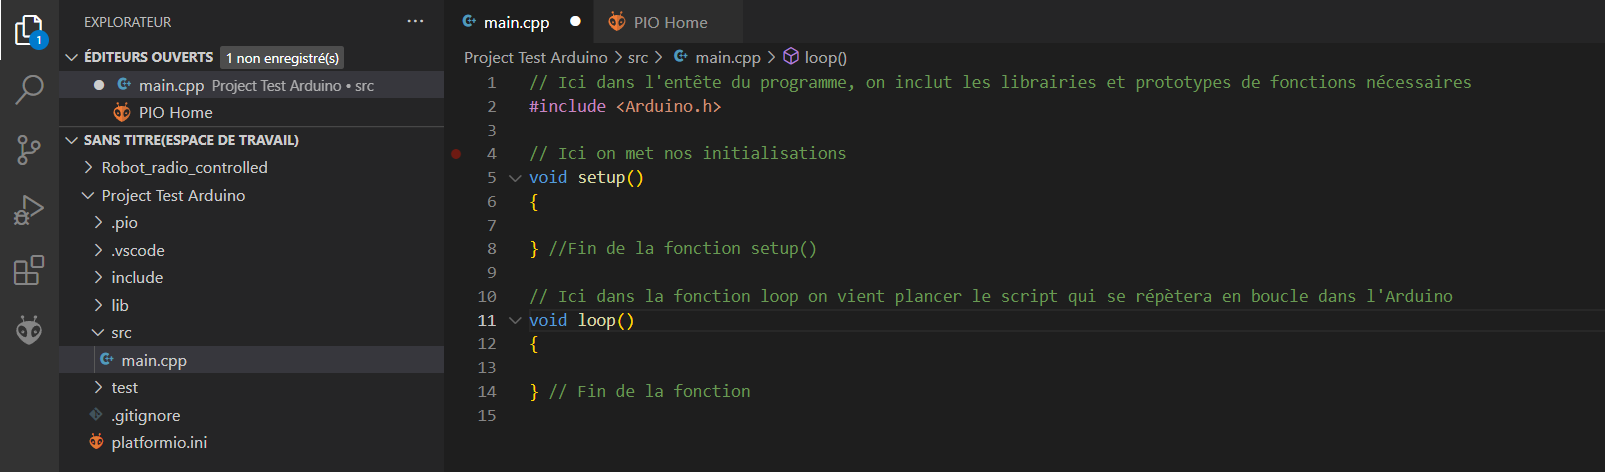
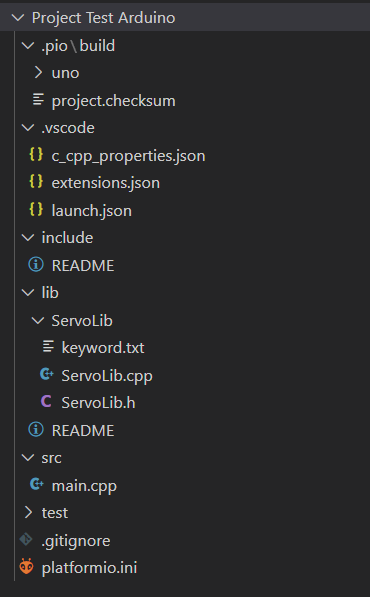
On the left-hand side of our project workspace, you’ll find a number of subfolders. The “src” folder contains the project’s source scripts, including the main “main.cpp” file, in which we’ll write our script for programming our Arduino Uno board. In this pre-built Arduino framework, you’ll notice that the “
Getting started with a C program on PlatformIO IDE
To test your first C project on PlatformIO IDE, you’ll upload a small program to flash an LED on the Arduino Uno board and get feedback via serial link on the LED’s status on the Visual Studio Code terminal.
// Ici dans l'entête du programme, on inclut les librairies et prototypes de fonctions nécessaires
#include <Arduino.h>

// Ici on met nos initialisations
void setup()
{
    Serial.begin(9600); //ouverture pour communiquer via le port série
    pinMode(13, OUTPUT); //On initialise le pin 13 qui est associé à la LED en sortie pour pouvoir l'allumer et l'éteindre
} //Fin de la fonction setup()

// Ici dans la fonction loop on vient placer le script qui se répètera en boucle dans l'Arduino
void loop()
{
  digitalWrite(13,HIGH); //Place le pin digital 13 à l'état HAUT (5V) -> Led allumée
  Serial.println("Led allumée");//Nous renvoie par la liaison série l'état de la Led Allumé
  delay(500); //Met en pause le programme pendant la valeur de 500 en ms

  digitalWrite(13,LOW); //Place le pin digital 13 à l'état BAS (0V) -> Led éteinte
   Serial.println("Led éteinte");//Nous renvoie par la liaison série l'état de la Led éteinte
  delay(500); //Met en pause le programme pendant la valeur de 500 en ms
} // Fin de la fonction
Once you’ve copied and pasted your program, you can upload it. To upload the program, there are shortcuts that you can activate by clicking on them at the very bottom of Studio Visual Code :

- compile the program ;
- compile, clean and download the program to the Arduino board (the USB PORT used is detected automatically);
- clean the Terminal and the connected microcontroller card (delete the script recorded on it);
- test the program ;
- open a monitor for the Serial Link and receive (or send) data from the card. When this “Serial Monitor” is open, it is impossible to upload a program. So before uploading a new program, close the monitor by clicking once on the terminal, then pressing Ctrl + C ;
- Opens a Terminal.
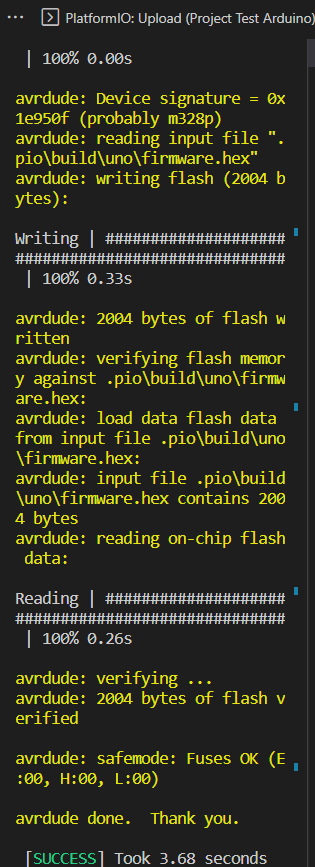
Once you’ve clicked upload, you should get a return in a terminal that confirms the compilation and upload was successful that looks like this:
Then click on the command to open a Monitor to establish the serial link.
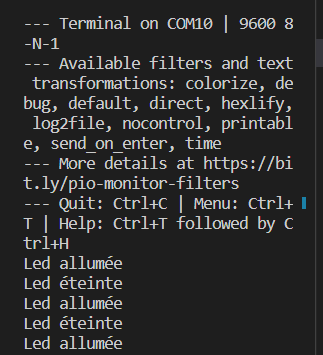
You can then observe the LED status feedback live on the monitor.
How to install an external library on Visual Studio Code for the PlatformIO IDE
That’s all there is to it. First, download your external library. Once you’ve got a .zipp file, you need to extract it (or copy and paste the uncompressed library folder) into that folder (in this case, the library we’ll be using as an example is ServoLib, used to facilitate servo-motor control):
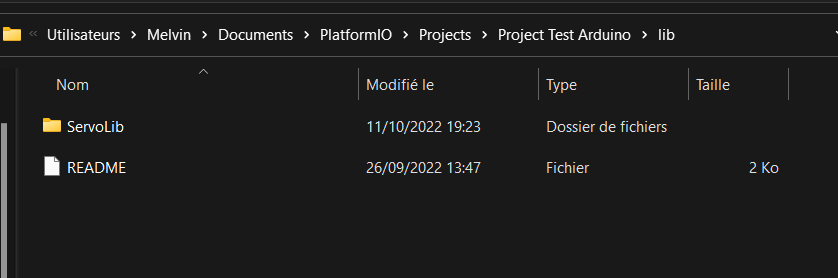
You can access your project’s “lib” folder, designed to host external libraries, via Visual Studio Code.
Once a library has been installed in your project, you need to include it in the program header, such as :

Now you have all the basics you need to get started with PlatformIO IDE for C programming.


