
In this tutorial, we’ll look at how to install ROS2 on a Linux machine, in particular a Raspberry Pi 4 running Ubuntu. ROS2 is an interesting framework to tackle when working on embedded systems such as robots.
Hardware
- Computer with Internet access
- 32GB SD card
- Raspberry Pi+HDMI display+keyboard
This tutorial can be followed for other Linux machines
Ubuntu download and SD card configuration
We’ll look at how to configure the SD card to install ROS2 (Iron Irwini) on Raspberry Pi. This version of ROS2 is compatible with Ubuntu Jammy.
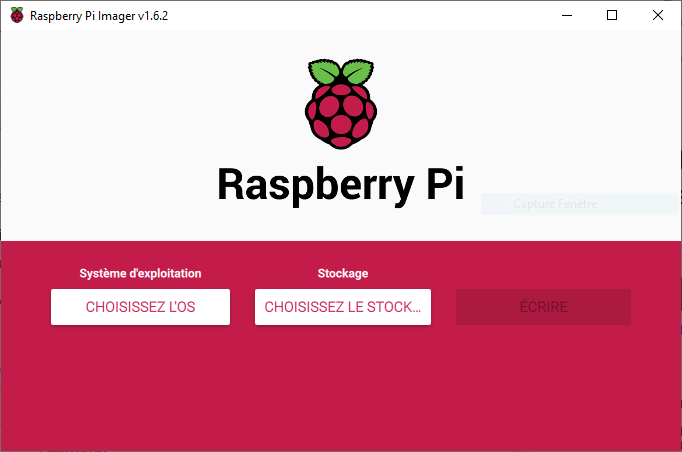
To do this, download the Ubuntu image (Jammy jellyfish) or select the OS under Raspberry Pi Imager > General OS > Ubuntu > Ubuntu Desktop 22.04.3 LTS (64bits)
N.B.: you can find the version compatibility between ROS and OS and the Ubuntu version names to check that you’re installing the right versions. Select the 64bit version for best support (tier1)
Install the OS image using Raspberry Pi Imager on the SD card
Once the image has been written to the SD card, you can insert it into the Raspberry Pi and power it up.
You can then follow the configuration instructions on the Raspberry Pi screen.
Setting up a remote connection
If you wish, you can configure the remote connection on Raspberry Pi. This step is optional, but may make life easier for you when developing on ROS2 on Raspberry Pi.
N.B.: on Ubuntu, to connect remotely withort a monitor, you need to modify the file
#dtoverlay=vc4-kms-v3d
hdmi_force_hotplug=1
hdmi_group=1
hdmi_mode=16
Installing ROS2
To install ROS2, you must first check that the Universe repository download is enabled. In Software & Updates > Ubuntu Software

Then add the GPG key for ROS2
sudo apt install curl -y
sudo curl -sSL https://raw.githubusercontent.com/ros/rosdistro/master/ros.key -o /usr/share/keyrings/ros-archive-keyring.gpg
Then add the repository to the list of sources (/etc/source.list.d)
echo "deb [arch=$(dpkg --print-architecture) signed-by=/usr/share/keyrings/ros-archive-keyring.gpg] http://packages.ros.org/ros2/ubuntu $(. /etc/os-release && echo $UBUNTU_CODENAME) main" | sudo tee /etc/apt/sources.list.d/ros2.list > /dev/null
For development, you can install the dev tools
sudo apt update && sudo apt install ros-dev-tools
Finally, you can install ROS2, depending on the version you’ve chosen (desktop or base).
sudo apt install ros-iron-desktop
or
sudo apt install ros-iron-ros-base
Uninstall ROS2
To uninstall, you need to remove the package and the repository
sudo apt remove ~nros-iron-* && sudo apt autoremove
sudo rm /etc/apt/sources.list.d/ros2.list
sudo apt update
First step with ROS2
Once ROS2 has been installed, you can load the environment with
source /opt/ros/iron/setup.bash
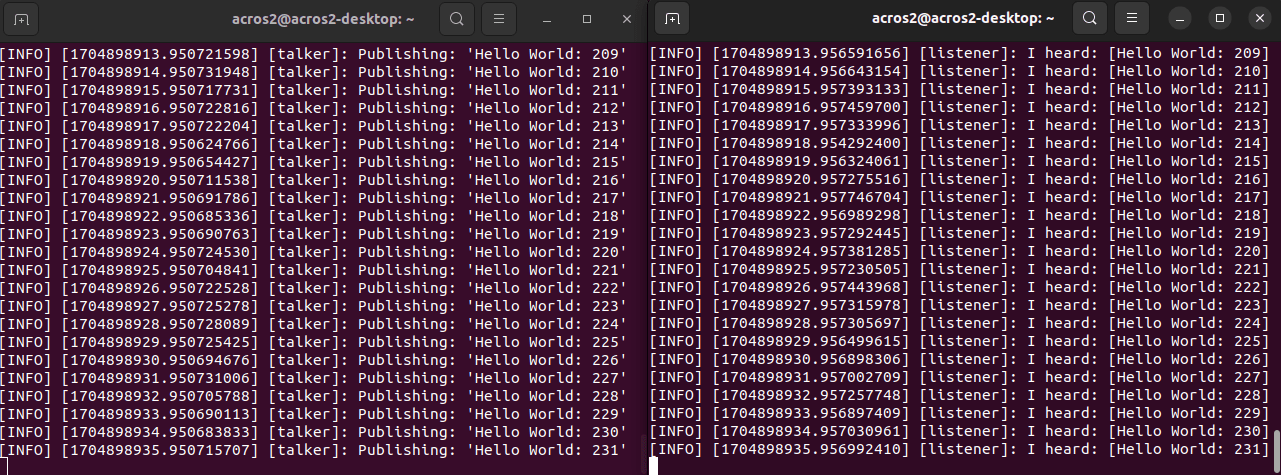
You can test the installation using the talker/listener example
In a terminal, launch the talker
source /opt/ros/iron/setup.bash
ros2 run demo_nodes_cpp talker
In a second terminal, launch the listener
source /opt/ros/iron/setup.bash
ros2 run demo_nodes_py listener
To check the list of environment variables
printenv | grep -i ROS
To get the list of objects in execution, you can use the commands
ros2 node list
ros2 topic list
ros2 service list
ros2 action list
Installing TurtleSim
A great tool for learning and understanding how ROS2 works is TurtleSim
Check its installation using the command
ros2 pkg executables turtlesim
If this is not the case, you can install turtlesim using the command
sudo apt install ros-iron-turtlesim
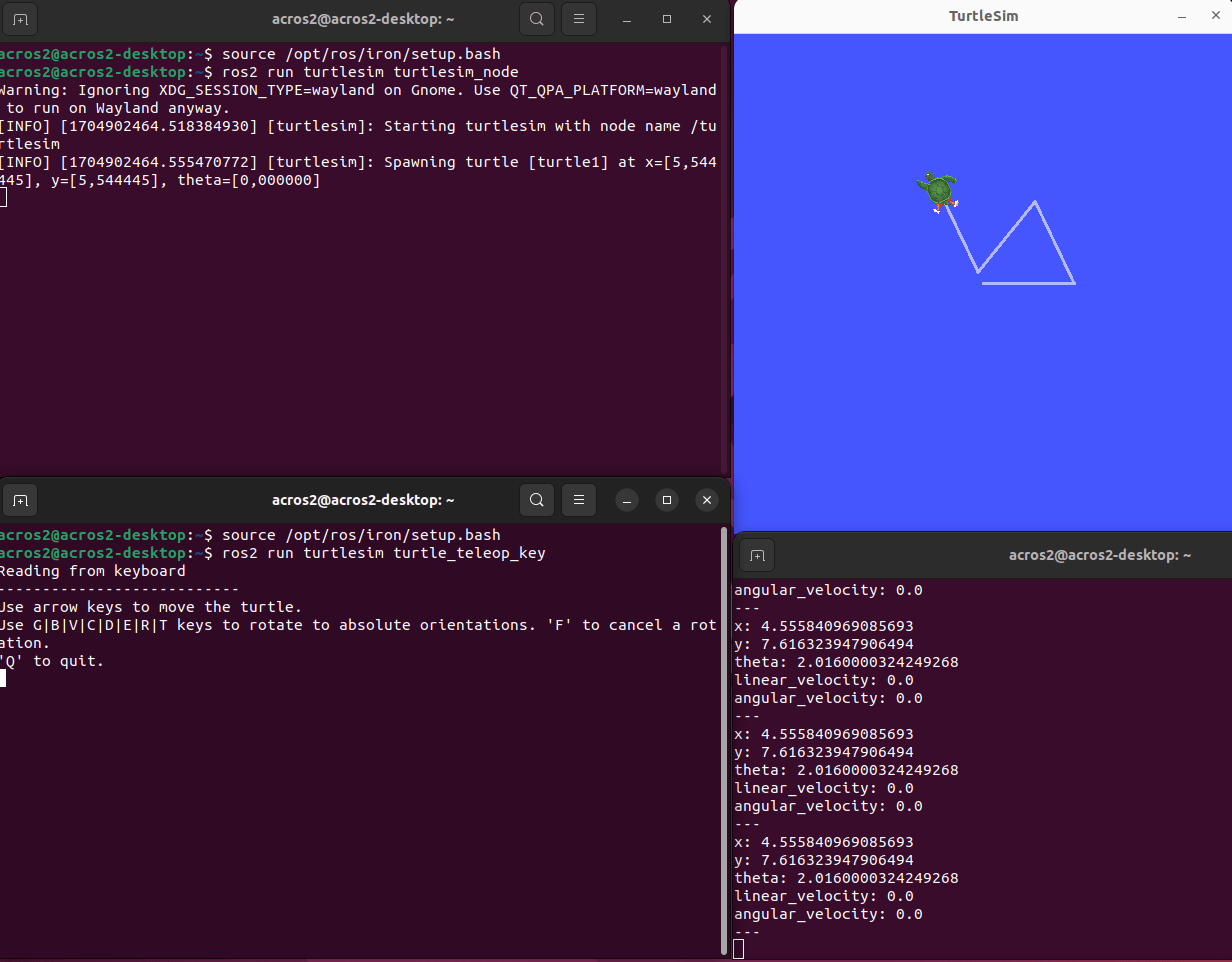
In a terminal launch turtle sim
ros2 run turtlesim turtlesim_node
In another terminal, launch keyboard control
ros2 run turtlesim turtle_teleop_key
To observe what’s going on, in a third terminal, spy on the topic with the command
ros2 topic echo /turtle1/pose
You can find the list of available topics using the command
ros2 topic list


