The Raspberry PI board is a very powerful microcontroller widely used in retrogaming or as a server. The Rapsberry Pi is a very simple microcomputer that we will discover in this tutorial.
Material
- Computer
- Screen
- HDMI cable
- Keyboard
- Raspberry PI 3
- Micro SD card
- Mouse
- Charger micro USB B
Software installation
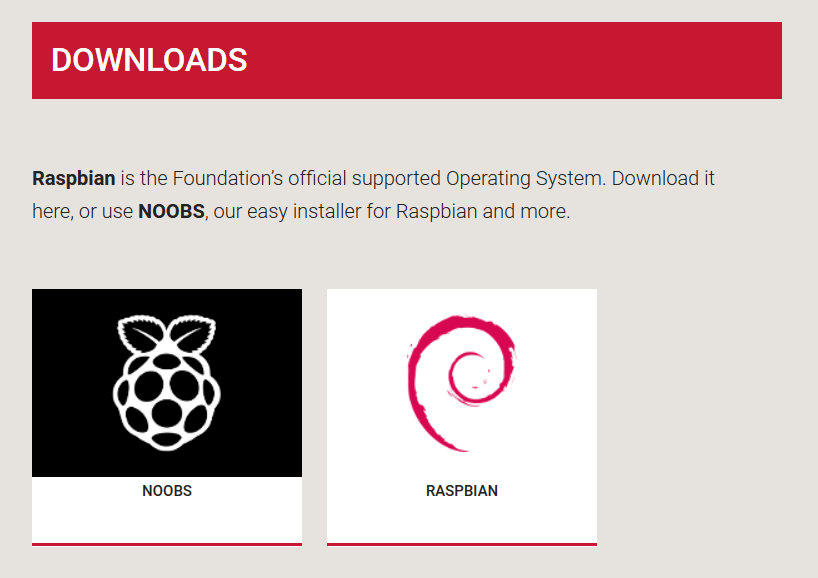
Download the offcial Raspbian installer NOOBS on the Raspberry PI website.
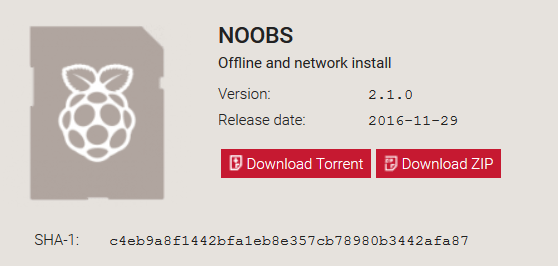
Once the ZIP file downloaded, extract the files in a folder NOOBS.
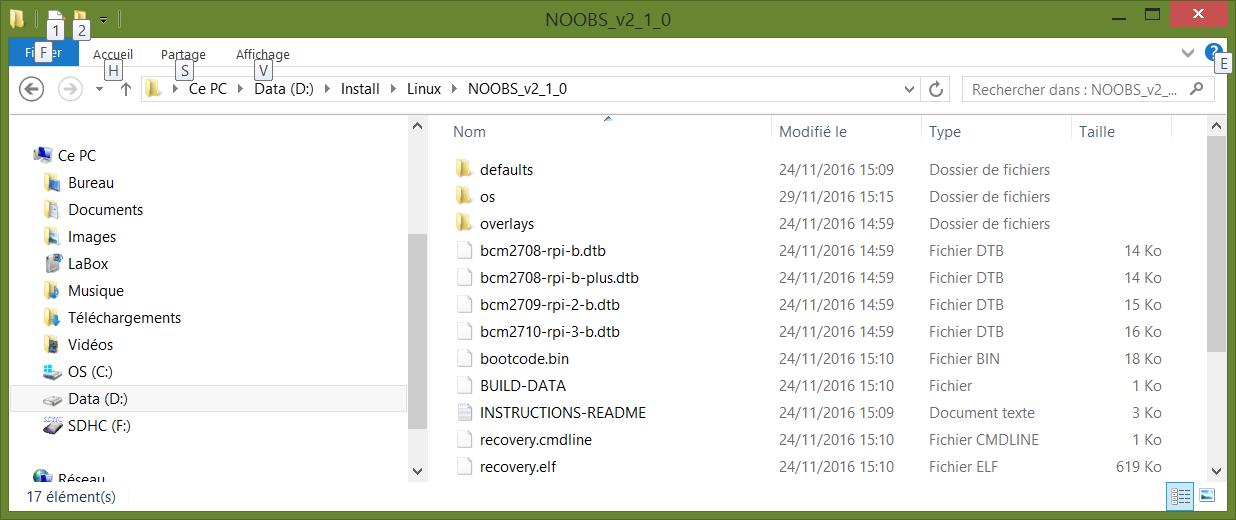
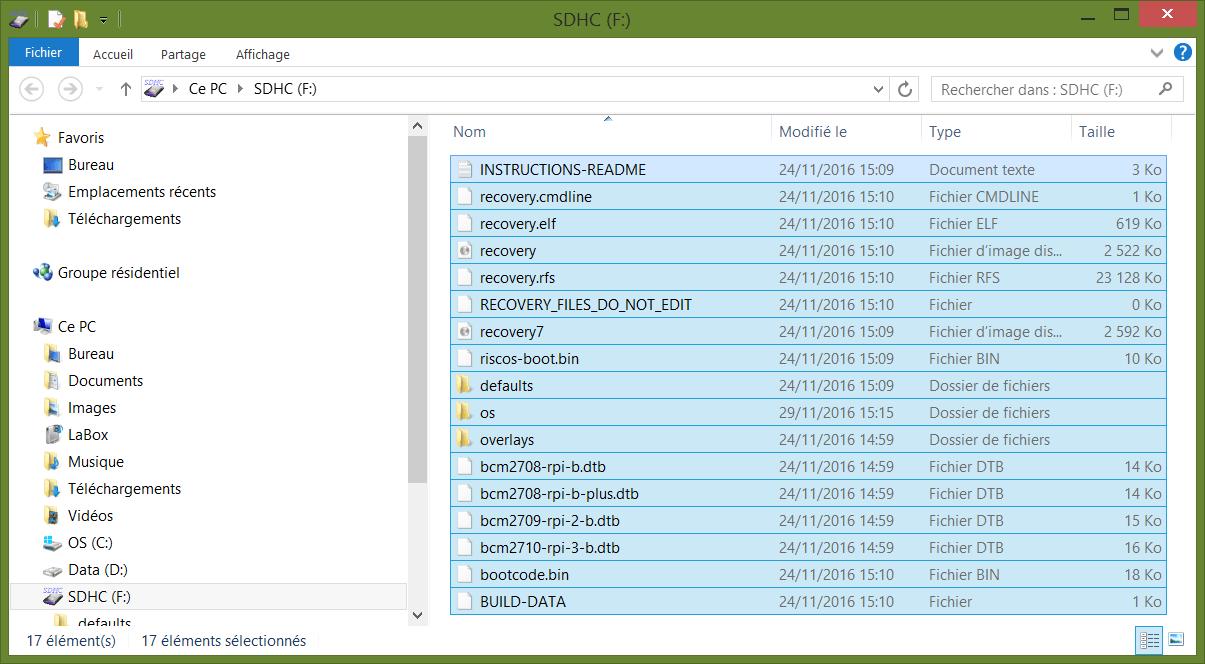
Format the SD card and copy-paste all the files from the NOOBS folder.
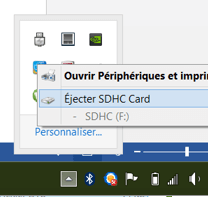
Safely eject the SD card from your computer and insert it in the adequate slot of the Raspberry PI.
Connect screen, mouse and keyboard to the Raspberry Pi.
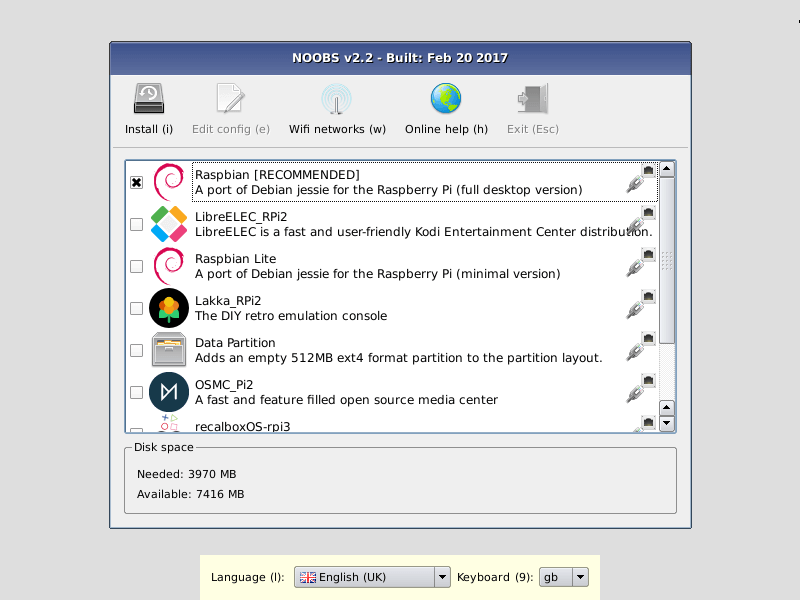
Power up the board by connecting the charger. NOOBS starts automatically and ask you to choose an OS. Select Raspbian.
Raspberry Pi configuration
Once the OS is installed, the desktop is displayed and you are ready to start playing.
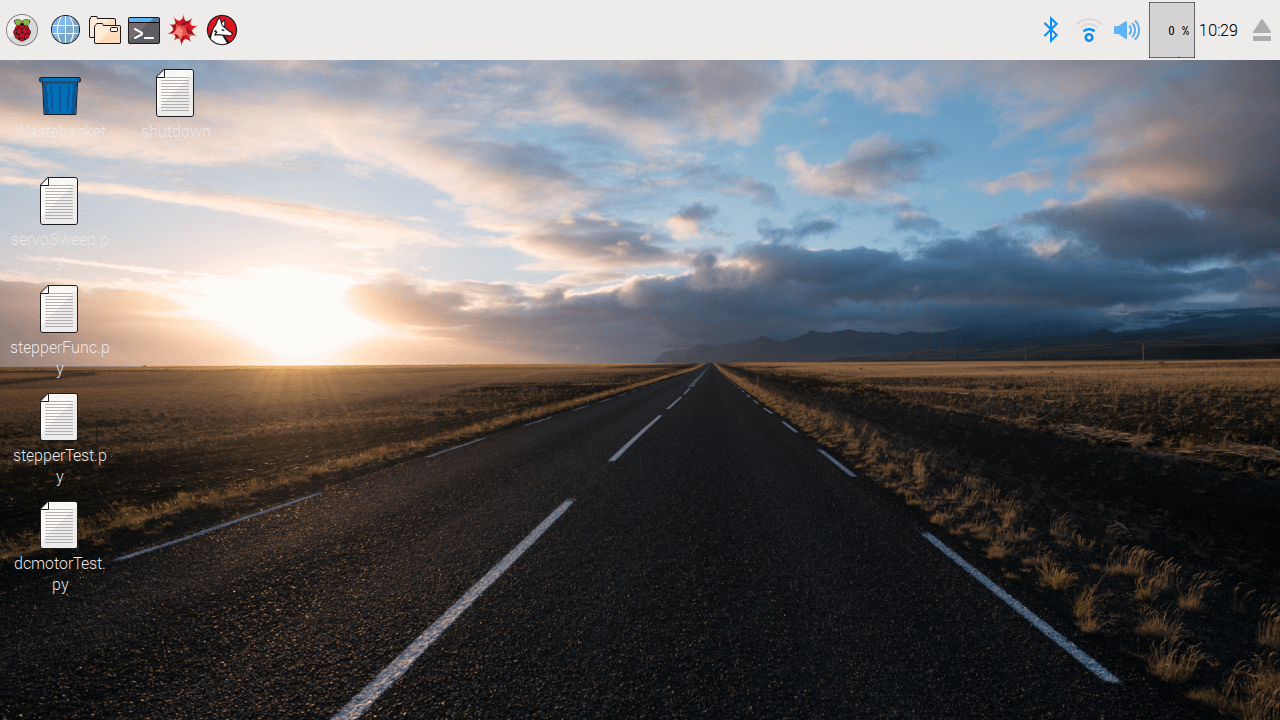
The most important tool on Linux is certainly the Terminal. Which you’ll be using oftenly for updating, installing, modifying, etc. . You can find its icon ![]() on the upper-left corner of the screen.
on the upper-left corner of the screen.
To check the installed OS version, enter the command cat /etc/os-release in a Terminal. The folowing information, or similar, should be displayed.
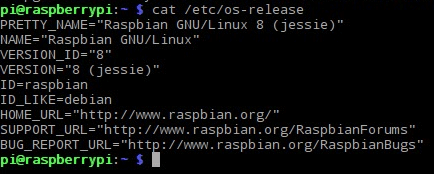
This information will be useful in case of compatibility issue.
Depending on the screen that you have, the desktop might not be displayed correctly. The resolution of the screen should be modified accordingly to your hardware. To do so, we use the configuration tool, raspi-config.
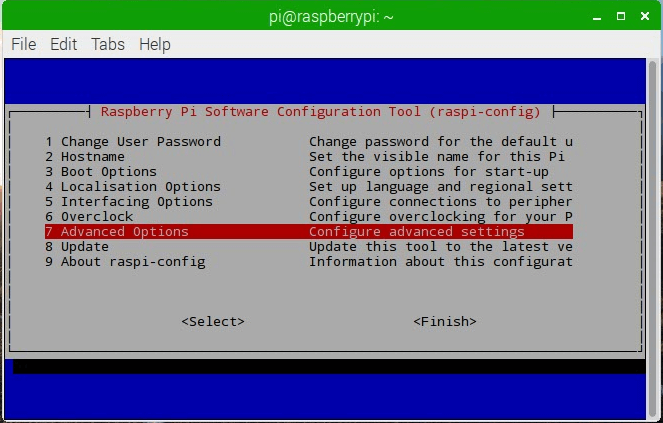
In a Terminal, enter sudo raspi-config. A menu appears. The resolution parameters are located under Advanced Options> Resolution. If this is not present in your menu, it means that the tool need to be updated. Go to Advanced Options > Update. After update is done, the manu appears again and the option should be present.
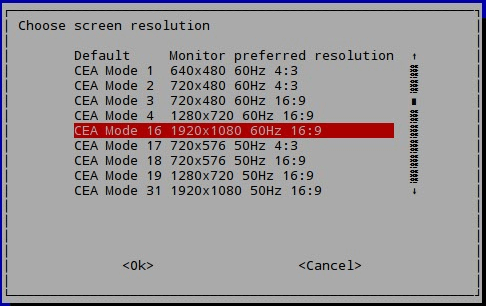
Once the correct parameter is selected, the Raspberry Pi must be rebooted by entering the command sudo shutdown -r now.
Useful command line
- Install software sudo apt-get install <package_name>
- Udpate OS sudo apt-get udpate et sudo apt-get upgrade
- Restart Raspberry Pi sudo shutdown -r now
- Shutdown Raspberry Pi sudo shutdown -P now or sudo halt
Geany
The language mostly used to program a Raspberry PI is Python. Other language such as C/C++, Java or Javascripts can be used as well.
Raspbian is delivered wit Geany which is a text editor that can be used to write and execute a Python code.
- Open Geany
- Create a new file
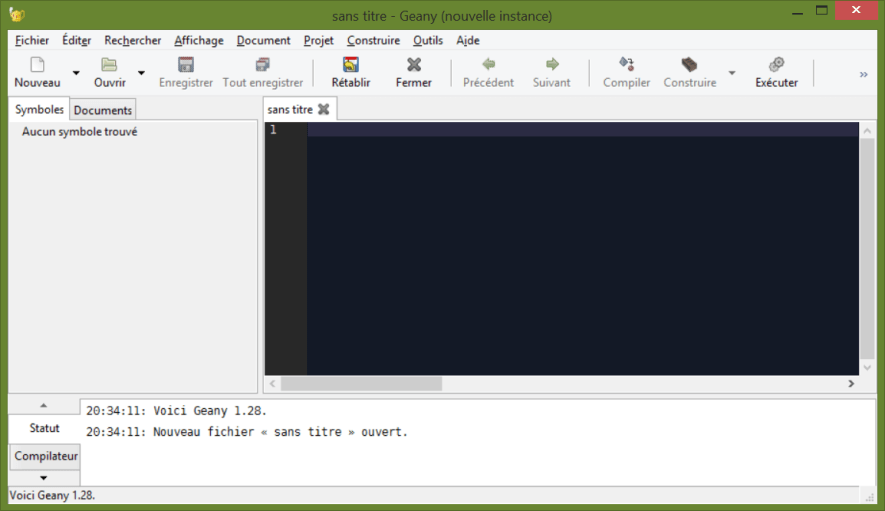
- In Documents > Define file type > Script language > Select Python source file

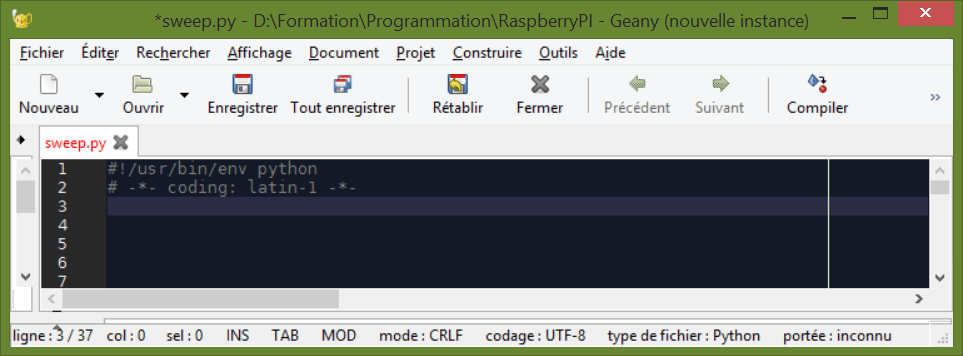
A python script needs at least two bash command to compile:
- where to find python
- what encoding to use
Execute code
The code is directly written on the Raspberry PI. It can be executed with Geany using the key F5. To execute a Python script at start-up, the rc.local file should be modified using sudo nano /etc/rc.local and adding the directory path to your scirpt ex: sudo python /home/pi/myFiles/myPrgm.py.
Shutdown Raspberry PI
To shutdown the Raspberry PI properly, you should open a Terminal and type the command sudo halt.
Note on the language
Variables and parameters
In Python, keywords are not used to define variables. The first use of the variable define the type
nom_variable = valeur_intiale
You can also create your own variables by creating classes.
Functions
Functions are generally used when the same piece of code is used several time in a program. Functions are defined using the keywords def.
def nomFonction(entree):
    """write code here"""
    return  sortie
A function can be defined wihtout input or output.
def nomFonction():
    print("Execute function")
An initial value can be defined to the function input which enable the function to be called without parameter.
def nomFonction(entree=5):
    return entree

print(nomFonction()) #return 5
print(nomFonction(1)) #return 1
Condition structures
Once functions and variables are defined, we need to specified to the program when and how to use them. To do so, we use condtions structure which contains the logical part of the code.
- if…else…
” if I have this condition, then I do this, else I do that “
Ex:
value=0
if value<=20:
	print("Value is lower or equal to 20")
else:
	print("Value is greater than 20")
- for
” for this sequence of numbers, I do this “
Ex:
for i in range(20):
	print("This iteration i = {}".format(i));
- while
” While this condition is true, I do this”
Ex:
while value<10:
	print("Code in the while loop is executed")
	value+=1
print("This code is executed after the while loop");
Lists
It’s possible to create a list which contains several variables of different types.
myList=[] # empty list
myList.append("a") #add character "a" at the end of the list
myList= [1,5,6,9,8]
len(myList) #return number of elements in the list
To enumerate the éléments of a list liste, we can use the loop for.
for i in range(len(myList)):
      print(myList[i])
or equivalent
for e in myList:
      print(e)
If you want to use index and element, you can use the function enumerate
for i,e in enumerate(myList):
      print("index {} : element {}".format(i,e))
You can find more informations on list here.
Test and combine those expressions to obtain the functionality that you want.
If you have difficulties installing your RaspberryPi or if you think some information are missing, please let us know by leaving a comment or sending us a message.
Sources
- https://www.raspberrypi.org/documentation/installation/
- https://docs.python.org/2/tutorial/datastructures.html
Find other examples and tutorials in our Automatic code generator
Code Architect


