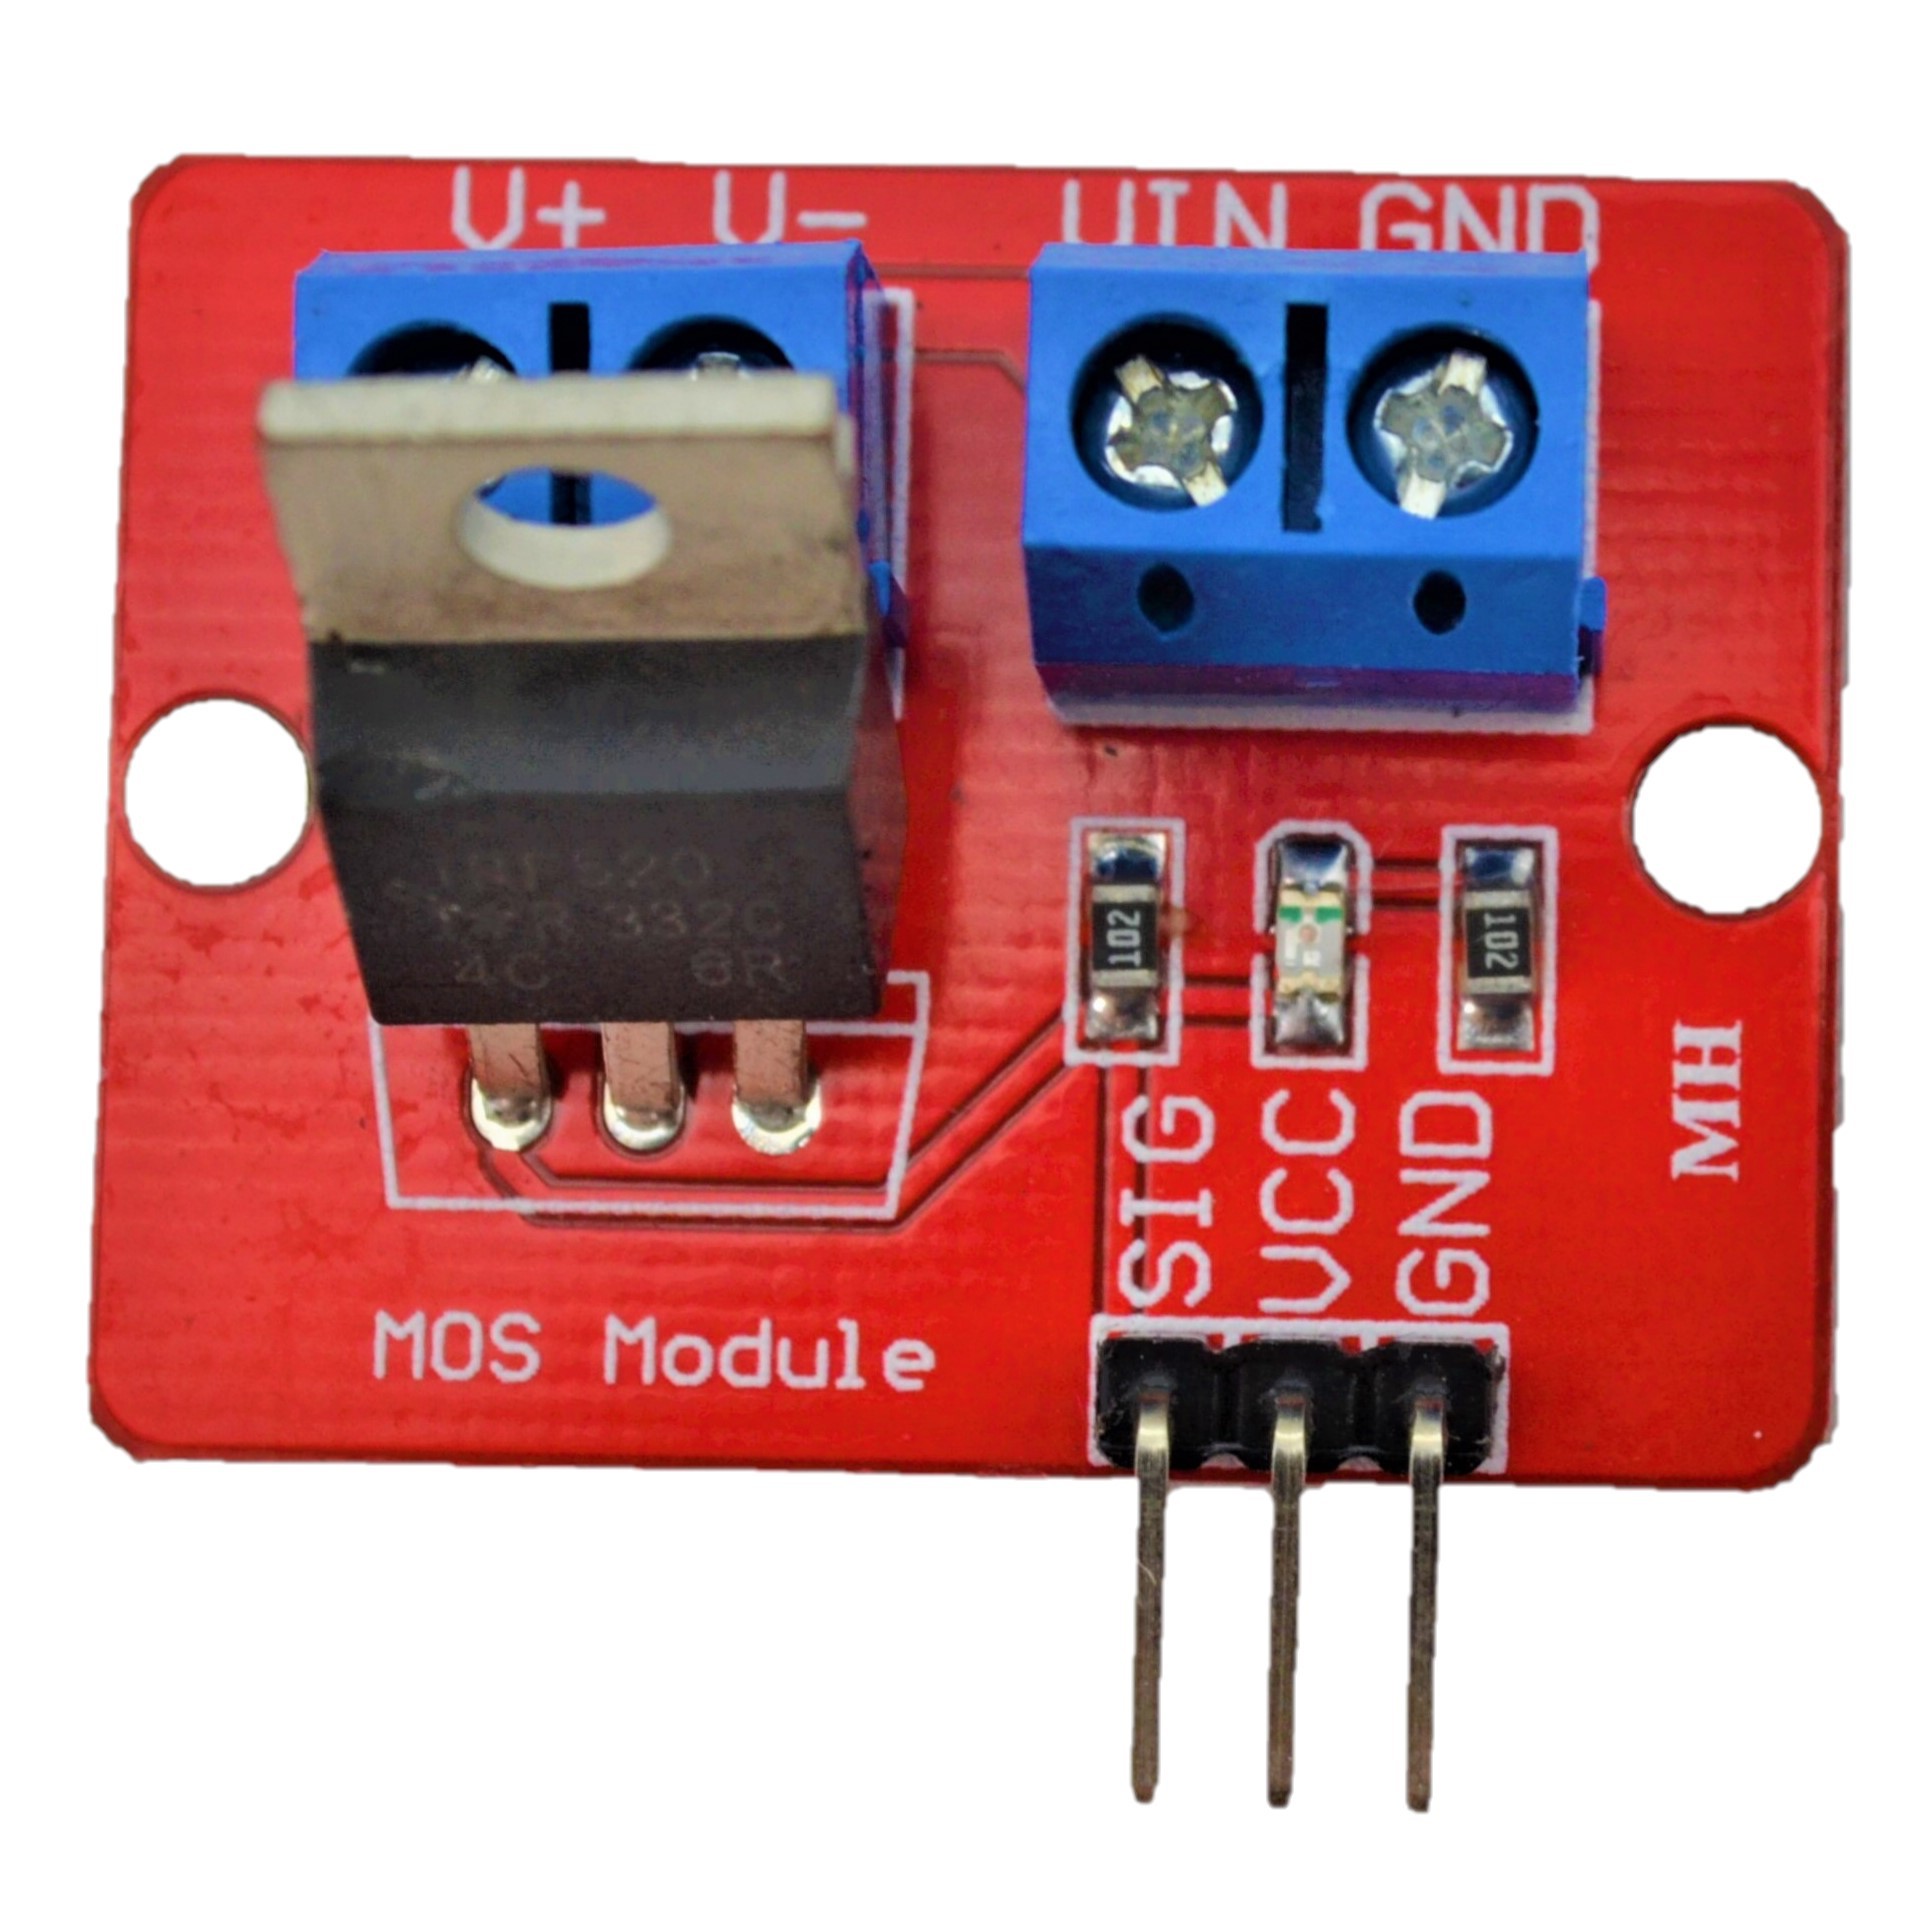
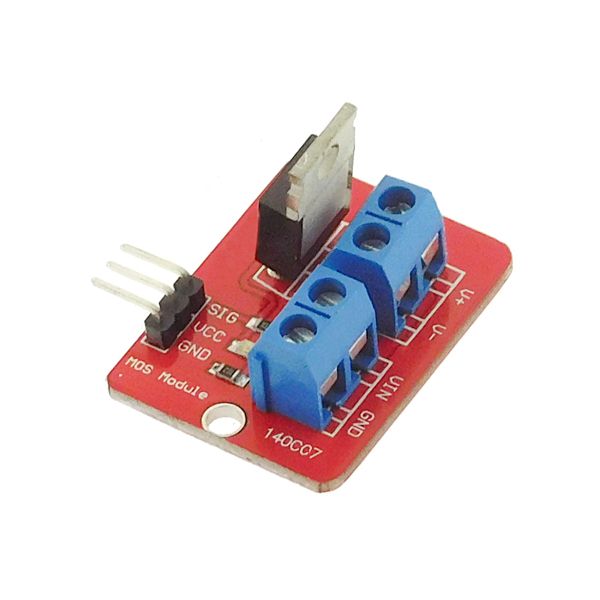
The transistor module is composed of an electronic component, which can be seen as a controllable switch, which lets pass a current proportional to the voltage at its terminals when it exceeds a certain threshold. It allows, with a very low power signal, to supply a module requiring a higher power.
In particular, it allows to convert a PWM signal from a microcontroller (usually 3 or 5V) into a PWM signal for a higher power device.
Material
- Computer
- Arduino UNO
- Transistor module
Principle of operation
The transistor is a semiconductor device based on two PN junctions. The PN junction, in semiconductor physics, is used in most diodes. In a PN junction, the material becomes conductive when the voltage across it is high enough.

Before choosing your transistor or Mosfet, check that the voltage and current rating are compatible with what you want to power.
Scheme
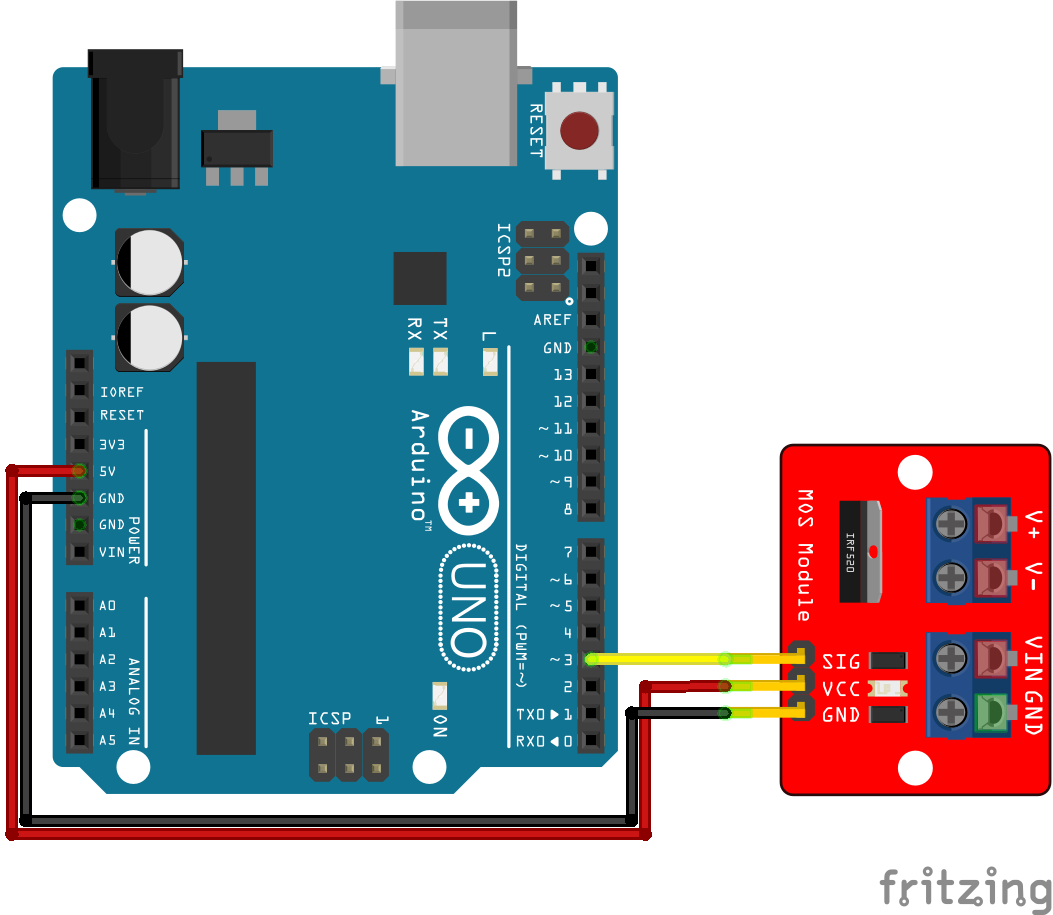
The transistor is often presented in the form of a component with 3 legs, the common, the collector (drain) and the base (gate). The common is connected to the ground, the base to the PWM control and the collector to the current source. The placement of the device, to be powered by the transistor, depends on the type of PNP or NPN transistor.
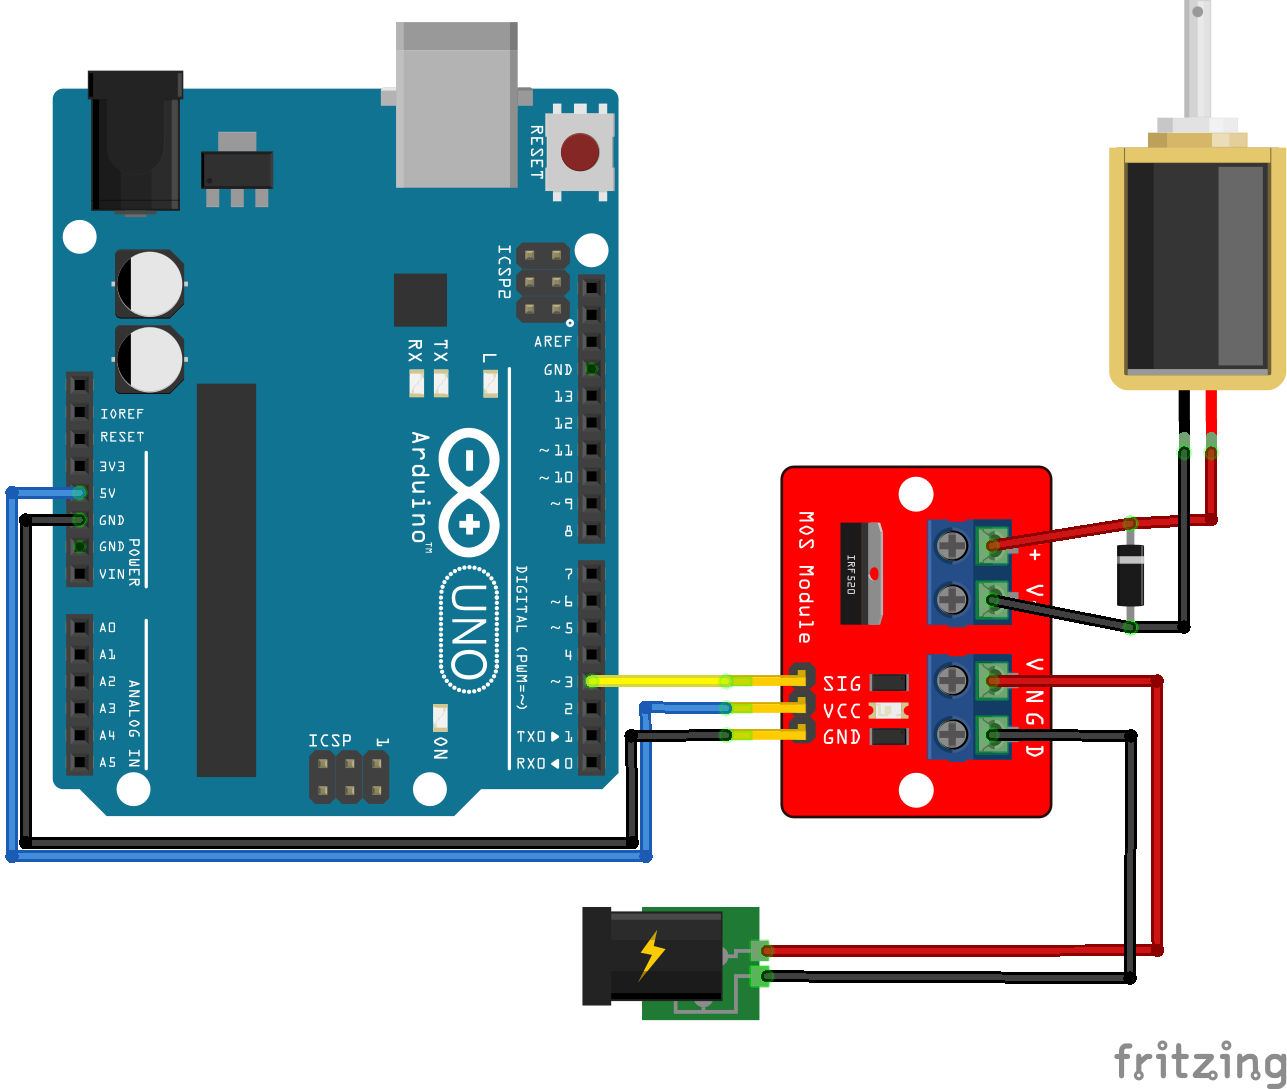
The transistor should be seen as a PWM signal amplifier between the base and the collector. Note that you have to use a PWM output of the microcontroller like pin 3 of the Arduino UNO.

Caution: When using a transistor to drive an inductive load, such as an electric motor or solenoid, it is advisable to place a freewheeling diode at the output to protect the transistor.

Code
The transistor is driven by a PWM signal. So we will use the analogWrite() function to vary the voltage at its terminals.
//Parameters
const int pwmPin = 3;

void setup() {
  //Init Serial USB
  Serial.begin(9600);
  Serial.println(F("Initialize System"));
  //Init pwm output
  pinMode(pwmPin, OUTPUT);
}

void loop() {
  for (int i = 0; i < 250; i++) {
    analogWrite(pwmPin, i);
    delay(50);
  }
  for (int i = 250; i >= 0; i--) {
    analogWrite(pwmPin, i);
    delay(50);
  }
}
Result
When the voltage at the common and base terminals is higher than a certain threshold, the transistor becomes conductive and current flows through the circuit. Pay close attention to the level of voltage and current drawn when selecting the transistor. It may be damaged if it is undersized.
Applications
- Vary the brightness of a 3W LED


