One of the main objective in robotics is to make things move. A way to do that is to use servomotors. In this tutorial, we’ll see how to program your Arduino to control such a device and we’ll learn how to use libraries especially Servo.h.
Prerequisit: Programming with Arduino
Material
- Computer
- Arduino UNO
- USB cable to connect Arduino to computer
- 3x M/M jumper cable
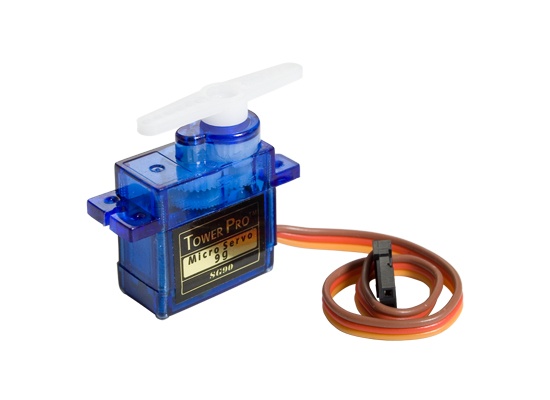
- 1x Servomotor
Servomotor
Servomotors are small devices containing embedded mechanics and electronics. There are widely used in modelism, robotics and other applications. Their name comes from the fact that they control their position (or velocity) on their own.
Basically, a servomotor is composed with a small dc motor, a gearbox and embedded electronics that can be easily commanded using Pulse Width Modulation (PWM) from a microcontroller.
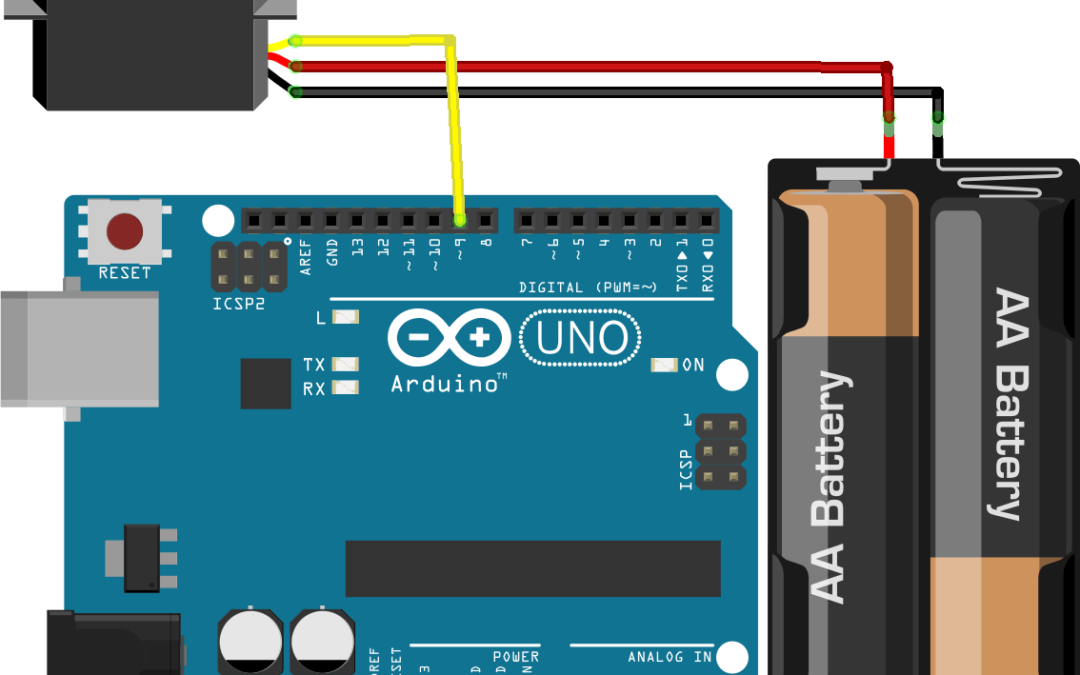
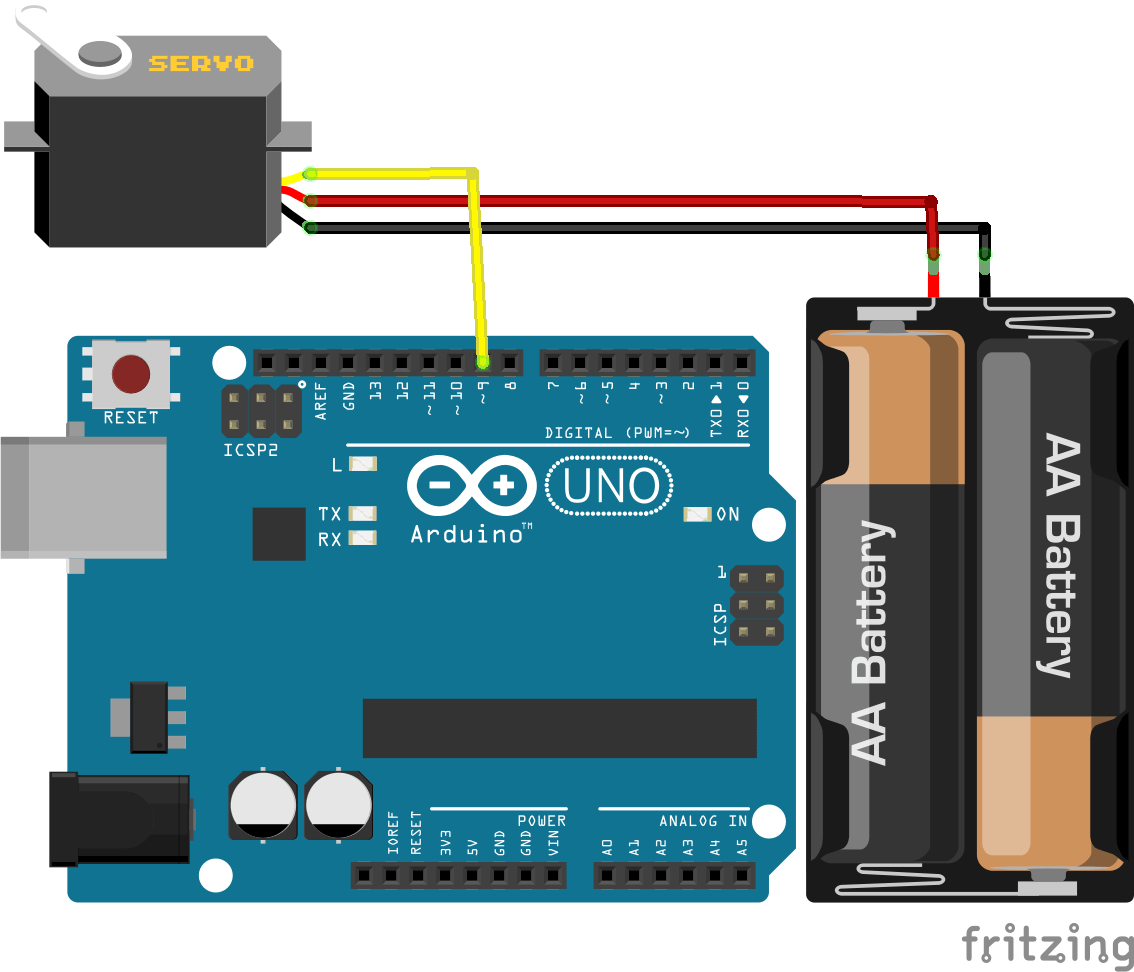
Wiring
Servomotor is powered through the black/brown cable (GND) and the red cable (+5V) and recieve the PWM signal on the yellow/white cable (pin9). Depending on the number of or power of servomotors you want to use, servomotor can be powered by the Arduino board but there is usually an external power source. The board is powered by the computer via the USB cable.
Base code to control a servomotor
To control the servomotor in position, we only need to apply a PWM comand which is easily done using Arduino.
//Constants
#define UPDATE_TIME 20

//Parameters
int servoPin = 9;
int pulse = 1500;

void setup() {
  // Initialization
  pinMode(servoPin,OUTPUT);
  Serial.begin(9600);
}

void loop() {
  // main
  digitalWrite(servoPin,HIGH);
  delayMicroseconds(pulse);
  digitalWrite(servoPin,LOW);
  delay(UPDATE_TIME);
}
A more elegant way to do that is to convert the servo position into pulse width. To do that, a little math is required.
- 5V during 500µs (0,5ms) correspond to 0 degree
- 5V during 1500µs (1,5ms) correspond to 90 degrees
- 5V during 2500µs (1,5ms) correspond to 180 degrees
Once the formula establish, we can implment a function to convert position to pulse width.
//Constants
#define UPDATE_TIME 20

//Parameters
int servoPin = 9;
int angle = 1500;

void setup() {
  // Initialization
  pinMode(servoPin,OUTPUT);
  Serial.begin(9600);
}

void loop() {
  // main
  digitalWrite(servoPin,HIGH);
  delayMicroseconds(convertAngleToImp(angle));
  digitalWrite(servoPin,LOW);
  delay(UPDATE_TIME);
}

// Declare function
int convertAngleToImp(int ang){
  float a = 2000/180;
  float b = 500;

  return int(a*ang+b);
}
More complex codes can be written in Arduino using this basic knowledge and some librairies such as the Servo.h library.
In this example the use of digitalWrite() is to show you the principle of PWM signal. Pratically, the function analogWrite() will be used to actuate servo or LED.
//Déclaration des constantes
#define UPDATE_TIME 20

//Déclaration des paramètres
int servoPin = 9;


void setup() {
  // Code d'initialisation
  pinMode(servoPin,OUTPUT);
  Serial.begin(9600); // Initialise la communication série PC/Arduino
}

void loop() {
  // Code principal
  for(int i=0;i<180;i++){
    analogWrite(servoPin,convertirAngleEnPWM(i));
    delay(UPDATE_TIME);
  }
delay(200);
  for(int i=180;i>=0;i--){
    analogWrite(servoPin,convertirAngleEnPWM(i));
    delay(UPDATE_TIME);
  }
 delay(200);
}

// Déclaration d'un sous fonction
int convertirAngleEnPWM(int ang){
  float a = 255.0/180.0;
  return (a*ang);
}
Servo control using Servo.h
We saw that functions can be created to reuse code easily into the same file. Those functions can be put into library, external files, that allo<s them to be used in any applications. They are used to organize and clarify the code and to avoid copy-paste. The library can be used by adding a simple line of code (and by reading the documentation to use it correclty).
//Libraries
#include <Servo.h>

//Constants
#define UPDATE_TIME 15
#define MAX_POS 180
#define MIN_POS 0

//Parameters
int servoPin = 9;
int pulse = 1500;

//Variables
Servo myServo;  // create servo object

int pos=0;    // variable contenant la position du servomoteur

void setup() {
  myServo.attach(servoPin);
}

void loop() {
  for (pos = MIN_POS; pos <= MAX_POS; pos += 1) {
    myServo.write(pos);
    delay(UPDATE_TIME);
  }
  for (pos = MAX_POS; pos >= MIN_POS; pos -= 1) {
    myServo.write(pos);
    delay(UPDATE_TIME);
  }
}
Create your own library ServoLib.h
Library can be created when the same code is used for several applications. To create a library, two files have to be written in C-code (.cpp and .h file). The .H file, called header contains classes, variables and functions declarations. Those files must be saved under the same name as the parent folder and placed in the directory : .Documents/Arduino/libraries.
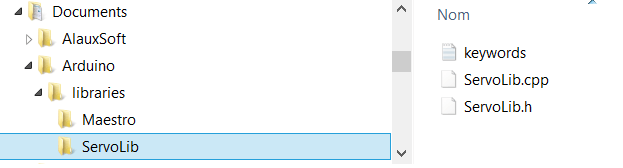
File ServoLib.h
#ifndef ServoLib_h
#define ServoLib_h

//Constants
#define UPDATE_TIME 15
#define MAX_POS 180
#define MIN_POS 0
#define MAX_PULSE_WIDTH 2500
#define MIN_PULSE_WIDTH 500

//Class
class ServoLib
{
 public:
  ServoLib(); //constructeur
  int servoPin; //broche du servomoteur
  void attach(int pin);
  void sendPosition(int value);
  int convertAngleToImp(int ang);
  void applyImp(int pulse);
};

#endif
File ServoLib.cpp
#include <ServoLib.h>

ServoLib::ServoLib(){}

void ServoLib::attach(int pin){
  servoPin=pin;
  pinMode(servoPin,OUTPUT);
}

void ServoLib::sendPosition(int value){
  int pulse=0;
  if (value<MIN_POS)
    value=MIN_POS;
  else if (value>MAX_POS)
    value=MAX_POS;

  value=map(value,MIN_POS,MAX_POS,MIN_PULSE_WIDTH,MAX_PULSE_WIDTH);
  pulse=this->convertAngleToImp(value);
  this->applyImp(pulse);
}

void ServoLib::applyImp(int pulse){
  digitalWrite(servoPin,HIGH);
  delayMicroseconds(pulse);
  digitalWrite(servoPin,LOW);
  delay(UPDATE_TIME);
}

int ServoLib::convertAngleToImp(int ang){
  float a = 2500/180;
  float b = 500;

  return int(a*ang+b);
}
An optionnal file can be added. It modifies the color of the function names in the Arduino IDE.
#######################################
# Syntax Coloring Map ServoLib
#######################################

#######################################
# Datatypes (KEYWORD1)
#######################################

ServoLib  KEYWORD1  ServoLib

#######################################
# Methods and Functions (KEYWORD2)
#######################################
attach KEYWORD2
sendPosition  KEYWORD2
convertAngleToImp KEYWORD2
applyImp KEYWORDS2

#######################################
# Constants (LITERAL1)
#######################################
UPDATE_TIME LITERAL1
MIN_POS LITERAL1
MAX_POS LITERAL1
MIN_PULSE_WIDTH LITERAL1
MAX_PULSE_WIDTH LITERAL1
Without keywords.txt

With keywords.txt

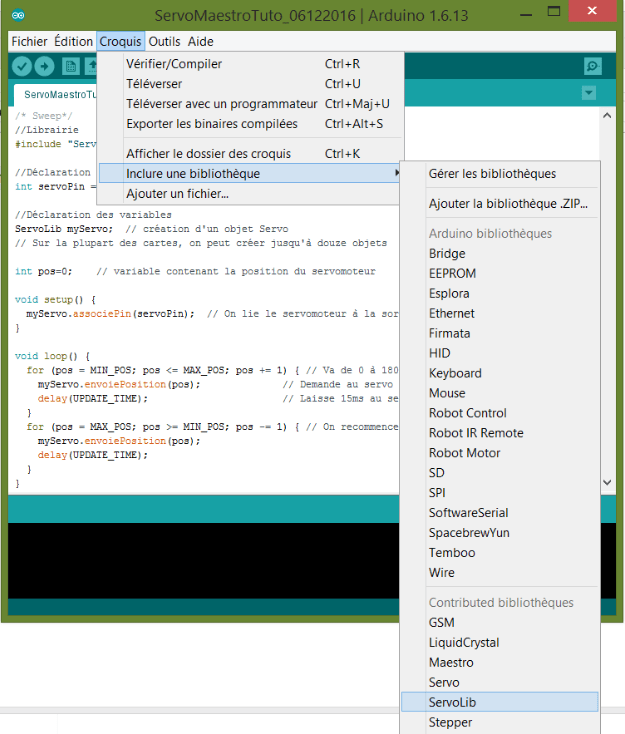
When you reload the IDE software, the freshly created library is available under Menu>Sketch> Include library
The code can then be simplify as follow:
//Library
#include "ServoLib.h"

//Parameters
int servoPin = 9;

//Variables
ServoLib myServo;

int pos=0;

void setup() {
  myServo.attach(servoPin);
}

void loop() {
  for (pos = MIN_POS; pos <= MAX_POS; pos += 1) {
    myServo.sendPosition(pos);
    delay(UPDATE_TIME);
  }
  for (pos = MAX_POS; pos >= MIN_POS; pos -= 1) {
    myServo.sendPosition(pos);
    delay(UPDATE_TIME);
  }
}
Next steps
Source
- THE source https://www.arduino.cc/
- Especially for servo https://www.arduino.cc/en/Reference/Servo
- For library : https://arduino.cc/en/Guide/Libraries
- Programming with Arduino
Find other examples and tutorials in our Automatic code generator
Code Architect


When ı do this, There come some error like, Output was not declared in this scope, or HİGH wasnt declared in this scope. How can ı solve?
It seems there is an error in the IDE installation. Download Arduino IDE and install it again
I solved this problem. But ı have another. What is the meaning of Update_time? When ı want to change, it doesnt work.