
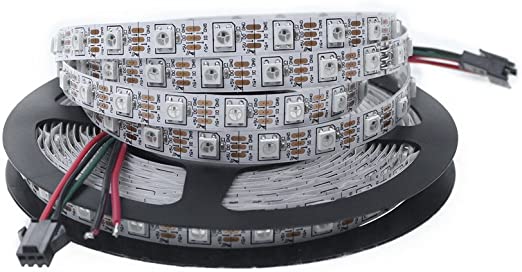
Using a WS2812B LED ribbon with Arduino
LED ribbons are made up of a succession of addressable RGB LEDs, i.e. the brightness and colour of each LED can be set independently. There are several ribbon models: single colour, non-addressable, 5 or 12V, etc. Pay attention to the model you want to use. Hardware...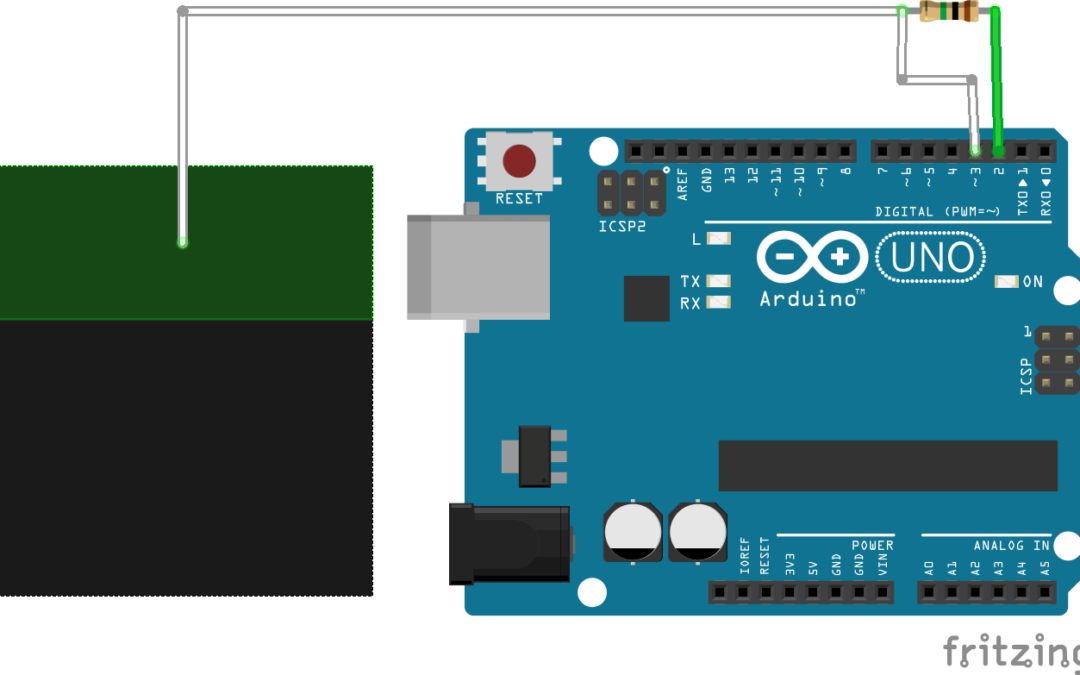
Create a Capacitive Sensor with Arduino
Capacitive sensors are commonly used in particular for object detection. They can, for example, detect the passage of an object on a conveyor belt or the level of a liquid in a tank. Closer to home, capacitive sensors are used in touch screens or as switches. In this...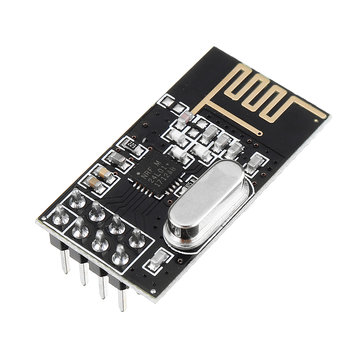
Using a NRF24L01 module with Arduino
The radio module NRF24L01 is a transceiver for establishing a connection and transferring data from one device to another via radio waves. Hardware ComputerArduino UNO x2USB cable A Male to B MaleNRF24L01 x2 Principle of operation The nRF24l01 module is a low-power...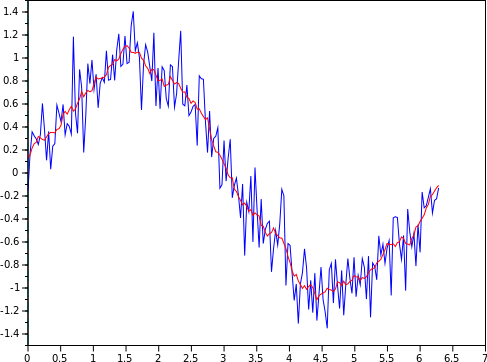
Implementation of the moving average in Arduino
An analogue sensor sends a voltage level, usually between 0 and 5V, representing a physical value. This voltage can be subject to measurement noise (electronic interference, electromagnetic interference, measurement accuracy, etc.). In some applications, you will need...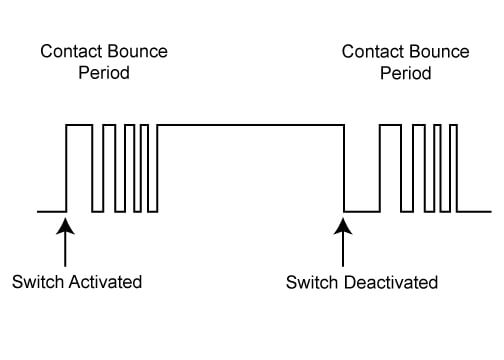
Implementation of the debouncing logic on Arduino
Anti-bounce or debouncing logic prevents the detection of parasitic changes of state of a sensor. When using sensors returning discrete states, such as a push button, it can happen, for mechanical or other reasons, that changes of state are detected that do not...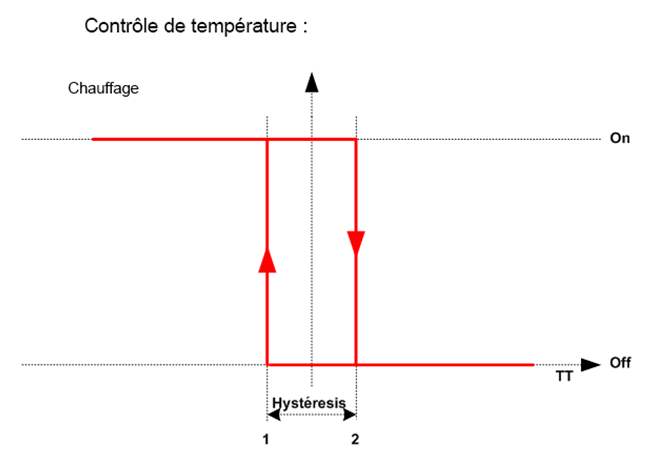
Implementation of a Measurement Hysteresis on Arduino
An analogue sensor sends a voltage level, usually between 0 and 5V, representing a physical value. This voltage can be subject to measurement noise (electronic interference, electromagnetic interference, measurement accuracy, etc.). In some applications, you will need...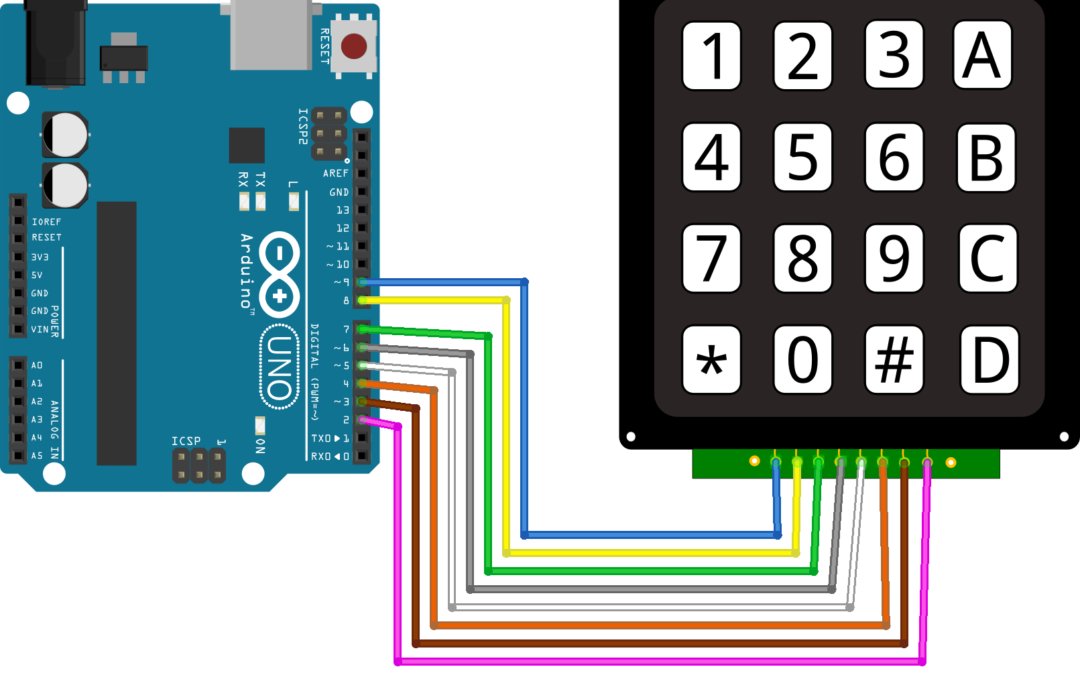
Using a 4×4 Digital Keypad with Arduino
Whether it’s a calculator or the keypad of a building, we commonly use numeric keypads. The 4×4 numeric keypad is a matrix of 16 buttons whose states can be detected by a microcontroller. Hardware ComputerArduino UNOUSB cable A Male to B MaleKeypad 4×4...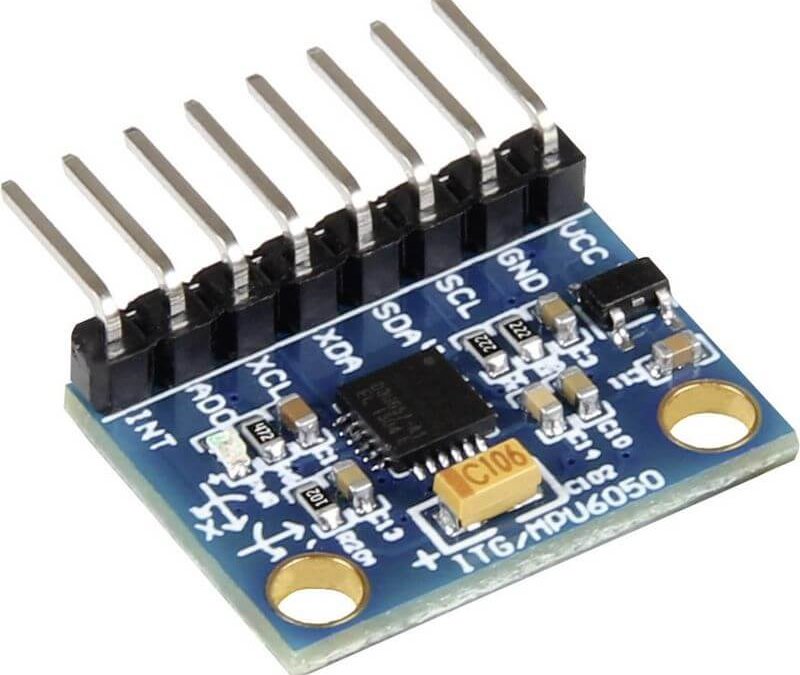
Using an MPU6050 Module with Arduino
The MPU6050 module is an inertial unit that measures the evolution of an object in space. It can measure linear and angular accelerations in the three axes of space. This component can be found in several applications such as video game controllers or smartphones. It...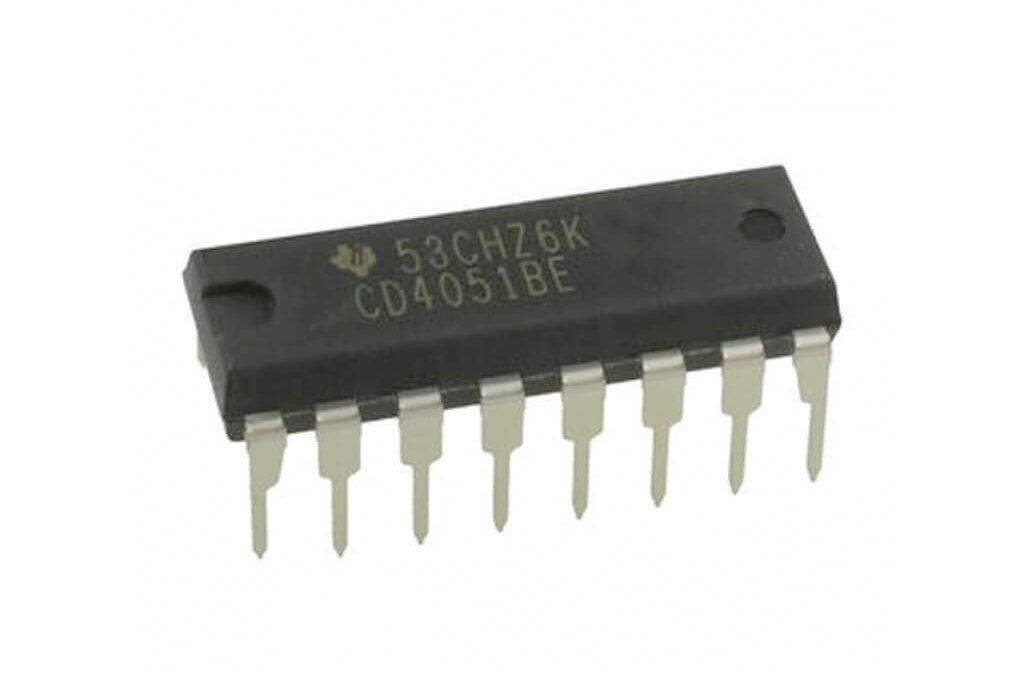
Using a multiplexer with Arduino
The multiplexer is an integrated circuit made up of logic circuits allowing several signals to be concentrated on the same output (mutiplexing or mux) or to connect an input to one of its N outputs (demultiplexing or demux). In this tutorial, we will see the use of...Products
-
 Robotic kit Quadrina Servo MG90S
208.33€
Robotic kit Quadrina Servo MG90S
208.33€
-
 STL file QuadrinaV1
1.50€
STL file QuadrinaV1
1.50€
-
 Robotic kit Rovy for DC Motor TTGM
137.50€
Robotic kit Rovy for DC Motor TTGM
137.50€
-
 Robotic kit WillySR Servo FS90R
100.00€
Robotic kit WillySR Servo FS90R
100.00€
License
![]()
Files are licensed under the Creative Commons – Attribution – Non-Commercial license